This post may contain affiliate links. See my disclosure policy.
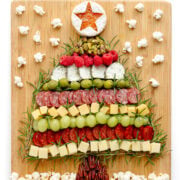
If you need a fun and festive appetizer for the holidays, this Christmas Tree Charcuterie Board is it! So cute, such a crowd-pleaser and it’s actually really easy to put together.

Pin this now to find it later
Pin It3 Reasons To Make This Christmas Charcuterie Board
- It’s just so cute! A charcuterie board is already a classic holiday appetizer but shaping it into a Christmas tree (or charcuterTREE!) makes it extra fun and festive. Perfect for holiday gatherings, always a crowd-pleaser and so easy to refill as everyone grazes.
- It’s genuinely easy to put together! No lies, it’s actually easy! No fancy salami folding techniques, no super artistic arrangements, no all day food art project. I’ll walk you through it step by step below… anyone can make this!!
- It’s totally customizable! Use whatever charcuterie board ingredients you love. Make it small, make it giant (whatever best suits your situation).

What You’ll Need
- A board: You can use any large wooden board, cutting board or even a sheet pan. I simply used the biggest rectangular wood cutting board I have (for reference mine is about 17.5 x 14 inches). If you happen to have a tree-shaped board hiding in a cupboard, this is the time to pull it out (but no need to go out and buy one).
- Fresh rosemary: Rosemary sprigs look so much like pine needles so they’re perfect for creating an outline and tucking between the rows to give some “real tree vibes”.
- Candied pecans or pecan halves: To make the “tree trunk”.
- White cheddar popcorn: For a fun snowy touch at the base of the tree.
- Ingredients for the tree: I stuck with red, white and green to keep things feeling festive. For mine, I used cubed white cheddar and gouda, sliced dry chorizo sausage and red wine salami, Castelvetrano olives, a small log of herbed goat cheese, green grapes, raspberries and shelled pistachios.
- For the star topper: A small round wheel of brie plus your favorite jam, preserves or jelly. You’ll also need a star-shaped cookie cutter that’s smaller than the brie.
How To Make This Easy Christmas Tree Charcuterie Board
Let’s walk through it step-by-step… promise, it’s super easy!
Step 1: Create the trunk and the snowy ground
Set your board in front of you vertically. Arrange some candied pecans or pecan halves in the shape of a little tree trunk at the bottom center of your board. Then, scatter some white cheddar popcorn along the bottom edge to represent a snow covered ground.

Step 2: Add the star on top
Before we keep building, let’s make the star so we don’t run out of room. Grab a small round wheel of brie (it cuts best when it’s cold, so if it feels too soft, pop it in the freezer for a few minutes).
Use a sharp knife to slice off the top of the brie. Press a star-shaped cookie cutter into the center of the top piece. Carefully lift it off to reveal a star cut-out in the center.
Spread your favorite jam, preserves or jelly on the cut surface of the bottom piece of brie. Then set the top piece back on.
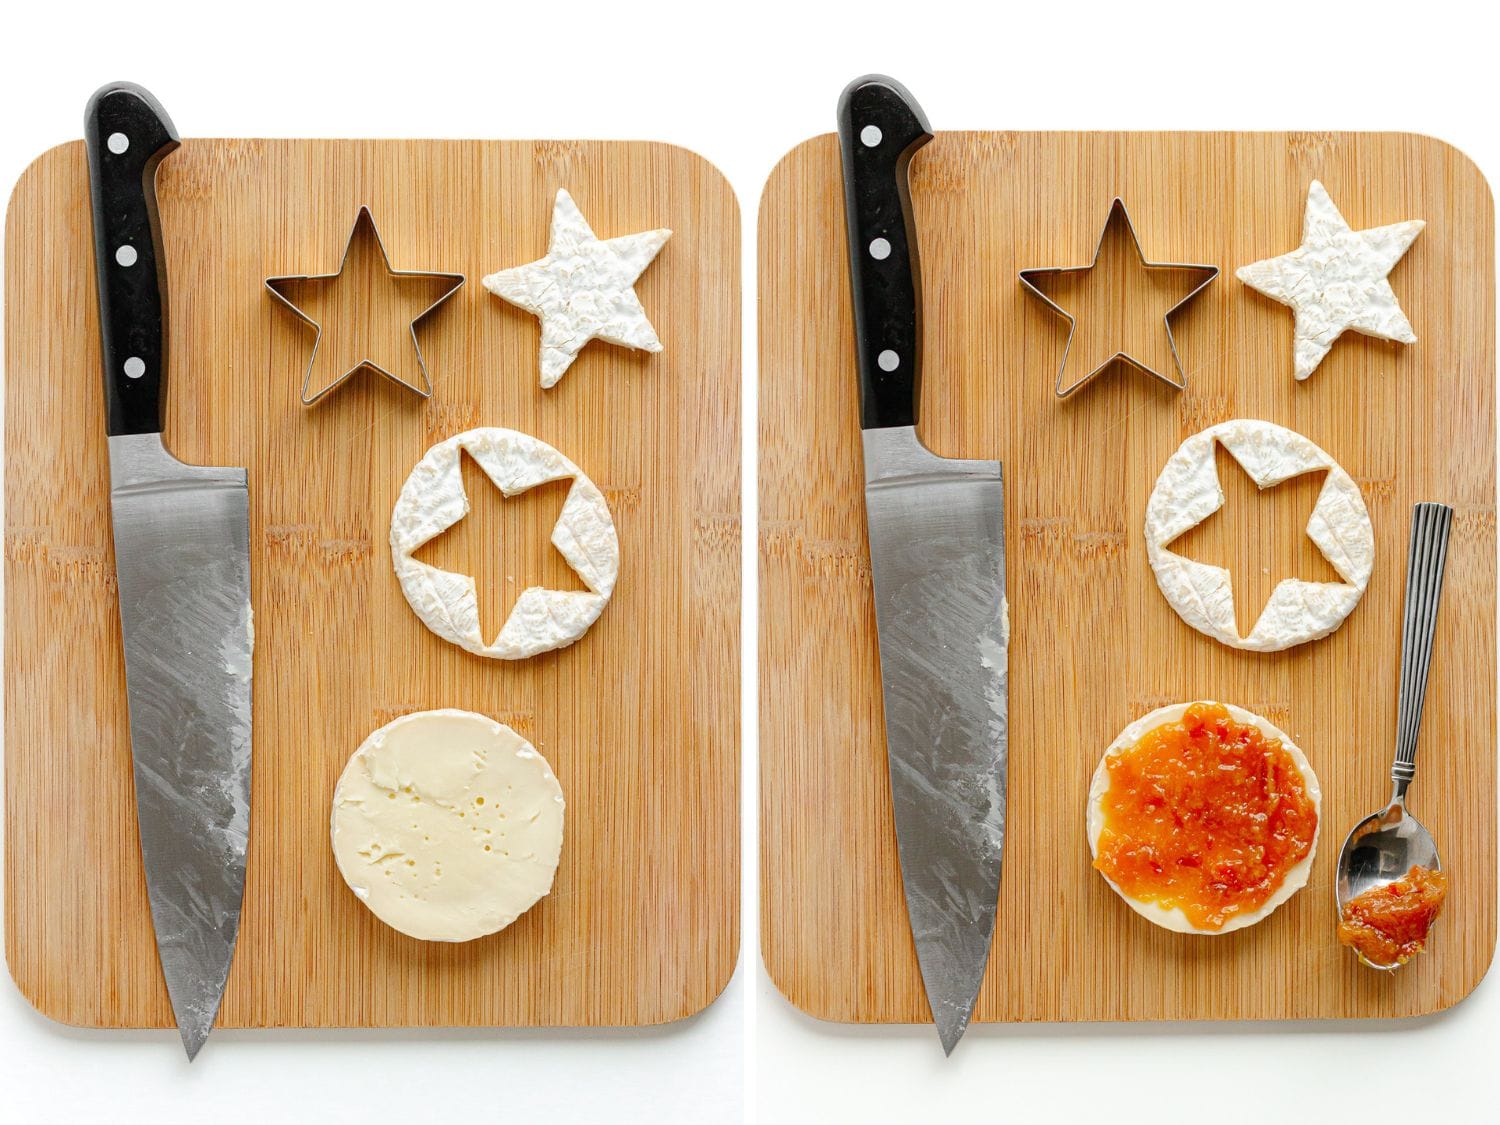
Place your finished star at the top center of the board.

Step 3: Make the tree outline
Use fresh rosemary springs to outline a simple triangle shape for your tree above the trunk with the top point sitting right under your brie star. This gives that pine tree look plus a nice easy guide to build on.

Step 4: Arrange the charcuterie board ingredients
Now start arranging your charcuterie goodies in horizontal rows inside the rosemary tree outline. Each row will get a bit shorter as you move up the tree so put the ingredients you want the most of toward the bottom.
If you want to go a little extra, tuck a few small rosemary sprigs between the rows and sprinkle on some extra white cheddar popcorn to give it that “falling snow” look

Ingredients On My Board
Use your favorite charcuterie board ingredients. I like sticking to Christmas colors (red, white and green) for that extra festive touch. For inspiration, here’s what I placed in each row, working from the bottom up: cubed white cheddar, sliced dry chorizo sausage, green grapes, cubed gouda, sliced red wine dry salami, Castelvetrano olives, small log herb goat cheese (sliced), raspberries and shelled pistachios.

Variations and Substitutions
The best thing about a charcuterie board is how customizable it is and this Christmas tree shaped version is no different. I tend to stick to a festive red, white and green color palette for the bulk of the ingredients but there are tons of options so use ingredients you love!
- For the star: I went with a brie star because I wanted another type of cheese on the board but you could also simply cut a star out of a thick slice of cheddar or even pop a cute star-shaped cookie on top.
- For the trunk: If pecans aren’t your thing, anything brown works (almonds, pretzel sticks, crackers, you name it).
- Red ingredients: I used dry chorizo, salami and raspberries. Some other red options include red grapes, strawberries, cherries, grape tomatoes, dried cranberries, prosciutto and pepperoni.
- Green ingredients: My board has Castelvetrano olives, green grapes and shelled pistachios. Other green options include sliced cucumbers, celery sticks, kiwi, raw pepitas and baby dill pickles.
- White ingredients: I used sliced goat cheese and cubed white cheddar and gouda but any white colored cheese works (havarti, provolone, fontina, mozzarella pearls, etc.).
- Make it vegetarian: Just skip the meats and load up on extra cheese, fruit or veggies.
TIPS
A Few Tips
- Since the bottom rows of the tree are the biggest, that’s the perfect spot for your “main” items like cheeses and meats.
- Try to stick with a festive Christmas color palette when choosing your charcuterie board ingredients (reds, whites and greens always look great!).
- Just have fun with it! Don’t worry about trying to make it look exactly like mine. Use the steps as a guide and just play around with it (yes.. full permission to play with your food!).
FAQ
You can totally get a head start by prepping the components 1-2 days in advance (things like cubing the cheese, slicing the dry salami, etc.). Keep the refrigerated items in separate airtight containers and stash them in the fridge and gather all the pantry ingredients together so they’re easy to grab. Then simply assemble the board before your guests arrive – it’s so easy once everything is prepped and ready to go!
If you have the fridge space, you can assemble the whole board up to a day ahead (though up to 2-4 hours ahead is ideal). Just cover with plastic wrap and store in the fridge until ready to serve.
Just separate everything out and store the items in their own airtight containers (cheeses in one, meats in another and so on). Pop them in the fridge for up to 2-3 days.

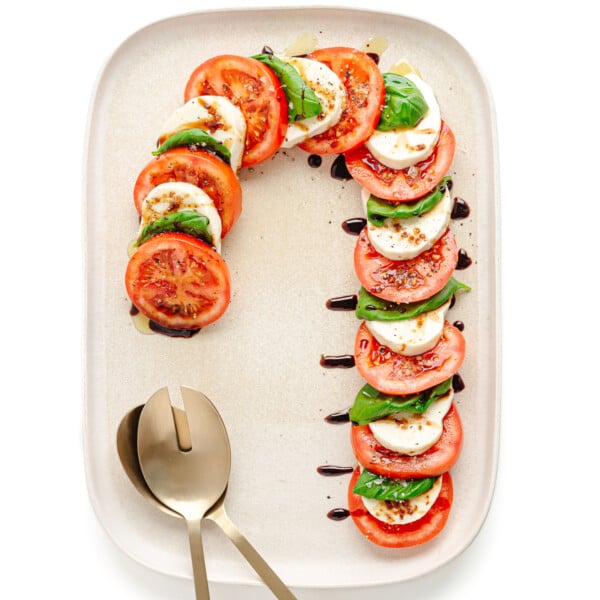
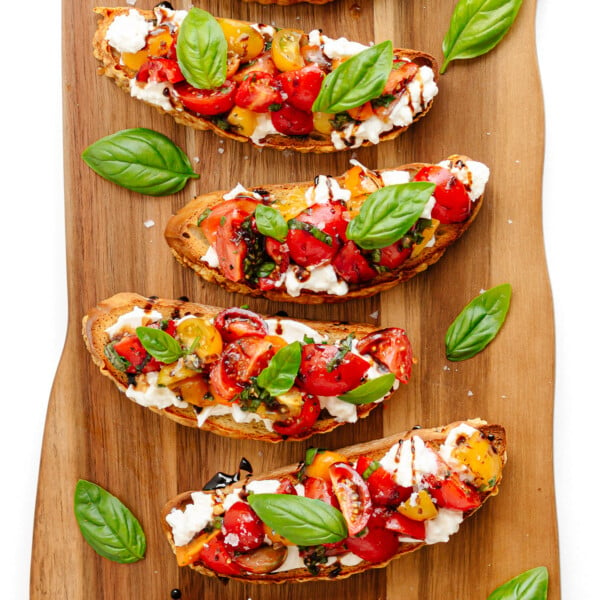
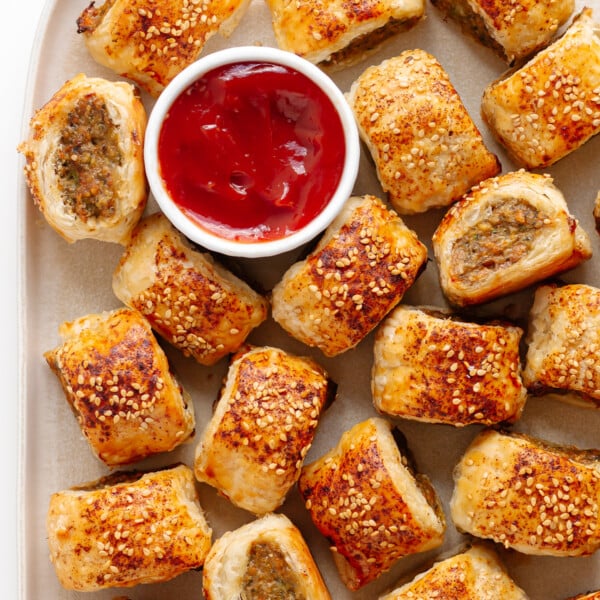
More Christmas Appetizers

I hope you have fun assembling your own Christmas tree charcuterie board! Please leave me a comment below if you make one or tag me on Instagram.
Christmas Tree Charcuterie Board
- Prep Time: 30 min
- Total Time: 30 min
- Yield: varies
- Category: Appetizer, Snack
- Method: No Cook
- Cuisine: American
Description
If you need a fun and festive appetizer for the holidays, this Christmas Tree Charcuterie Board is it! So cute, such a crowd-pleaser and it’s actually really easy to put together.
Ingredients
For the Christmas Tree Outline:
- candied pecans or pecan halves (for the tree trunk)
- white cheddar popcorn (for the snowy ground)
- fresh rosemary sprigs (to outline the tree shape)
For the Star Topper:
- a small round wheel of brie
- your favorite jam, preserves or jelly
- star-shaped cookie cutter (that is smaller than the brie)
Charcuterie Board Ingredients:
- a mix of your favorite charcuterie board ingredients (think festive reds, whites and greens), check the notes for exactly what I used and some fun variations
Instructions
- Grab a board: Use any large rectangular board you’ve got (a wooden serving board, a cutting board, even a sheet pan works in a pinch). I just used the biggest wood board I own (mine is about 17.5 x 14 inches). Set it in front of you vertically so you’re ready to build your tree.
- Create the trunk and snowy ground: Arrange some candied pecans or pecan halves in the shape of a little tree trunk at the bottom center of your board. Then, sprinkle some white cheddar popcorn along the bottom edge to represent a snow covered ground.
- Make the star topper: Use a sharp knife to slice off the top of a small round wheel of brie (it cuts best when it’s cold, so if it feels too soft, pop it in the freezer for a few minutes). Press a star-shaped cookie cutter into the center of the top piece and carefully lift it away to reveal the cut-out. Spread your favorite jam, preserves or jelly on the cut surface of the bottom piece of brie. Then set the top piece back on. Place your finished star at the top center of the board.
- Make the tree outline: Use fresh rosemary springs to outline a simple triangle tree shape above the trunk with the top point sitting right under your brie star. This gives that pine tree look plus a nice easy guide to build on.
- Arrange the charcuterie ingredients: Start filling in your tree with horizontal rows of charcuterie goodies inside the rosemary outline. Each row will get a bit shorter as you move up the tree so put the ingredients you want the most of toward the bottom. If you want to go a little extra, tuck a few small rosemary sprigs between the rows and sprinkle on some extra white cheddar popcorn to give it that “falling snow” look.
Notes
- Charcuterie Board Ingredients: Try to stick with a red, white and green color palette when choosing your charcuterie board ingredients for a festive look. For inspiration, here’s what I placed in each row, working from the bottom up: cubed white cheddar, sliced dry chorizo sausage, green grapes, cubed gouda, sliced dry red wine salami, Castelvetrano olives, small log herb goat cheese (sliced), raspberries and shelled pistachios.
- Have fun with it! The best thing about a charcuterie board is how customizable it is so use ingredients you love and size it up or down depending on your crowd. Use the steps and photos in the post as a guide and just play around with it (yes.. full permission to play with your food!).
- Prep Time and Yield: This varies and will depend on the size of your board and how detailed you get with arranging.
Variations and Substitutions
- For the star: I went with a brie star because I wanted another type of cheese on the board but you could also simply cut a star out of a thick slice of cheddar or even pop a cute star-shaped cookie on top
- For the trunk: If pecans aren’t your thing, anything brown works (almonds, pretzel sticks, crackers, you name it).
- Red ingredients: I used dry chorizo, salami and raspberries. Some other red options include red grapes, strawberries, cherries, grape tomatoes, dried cranberries, prosciutto and pepperoni.
- Green ingredients: My board has Castelvetrano olives, green grapes and shelled pistachios. Other green options include sliced cucumbers, celery sticks, kiwi, raw pepitas and baby dill pickles.
- White ingredients: I used sliced goat cheese and cubed white cheddar and gouda but any white colored cheese works (havarti, provolone, fontina, mozzarella pearls, etc.).