This post may contain affiliate links. See my disclosure policy.
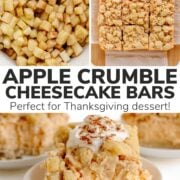
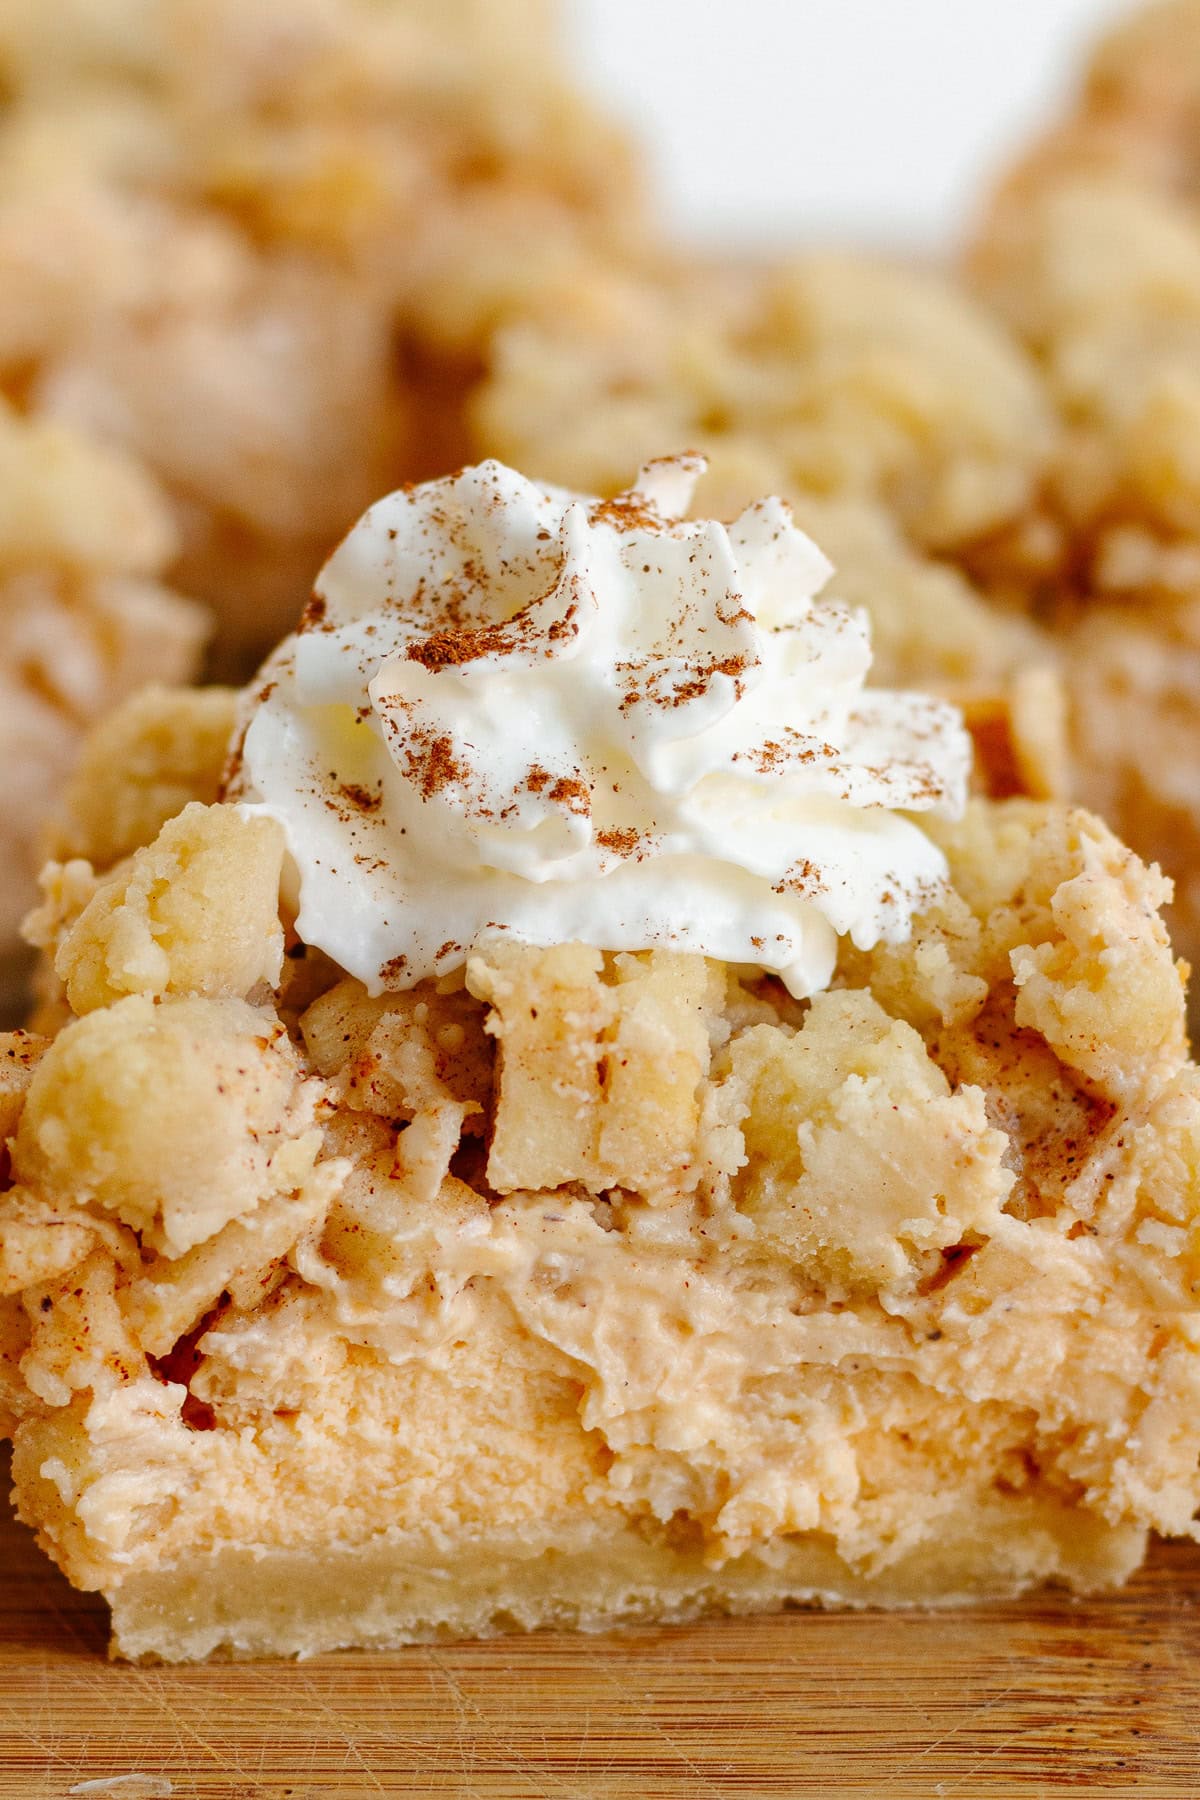
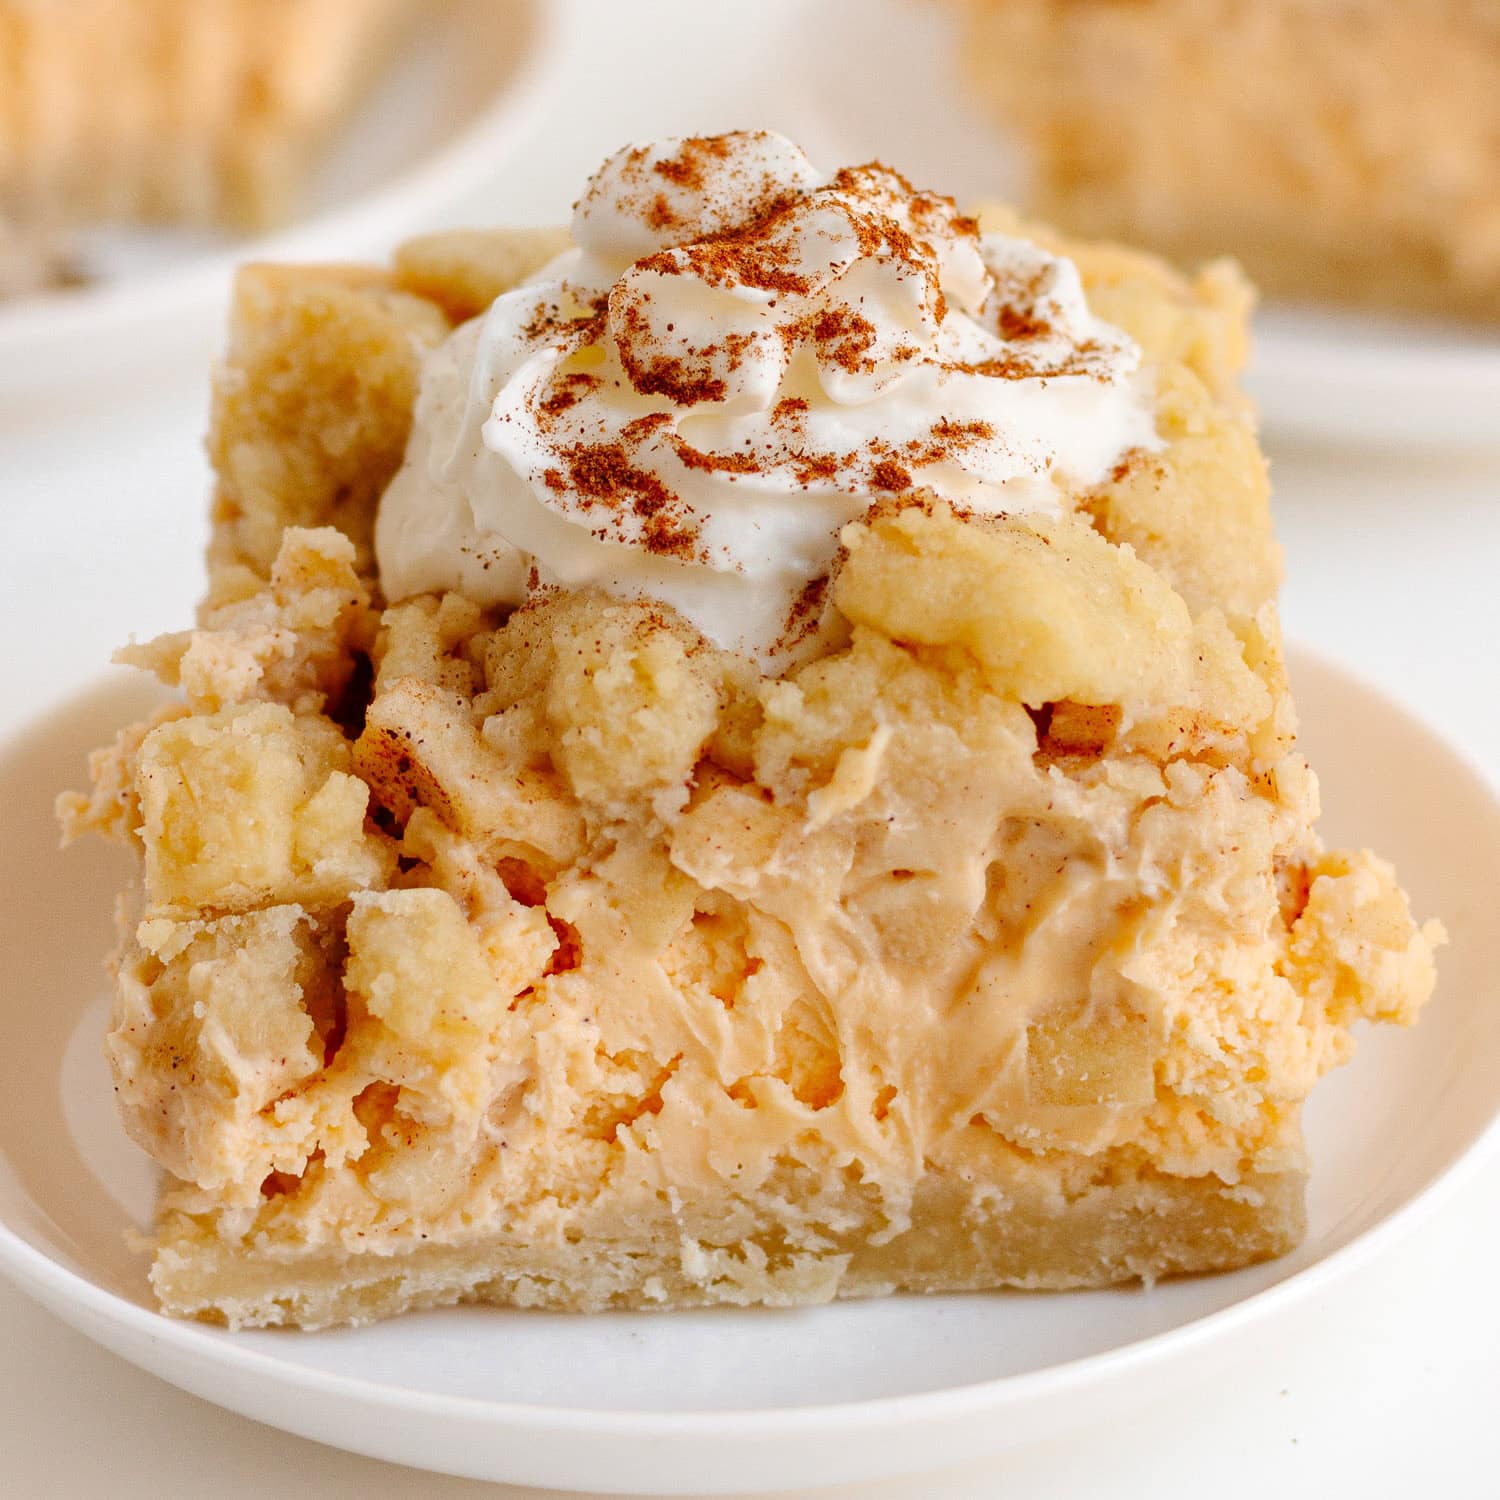
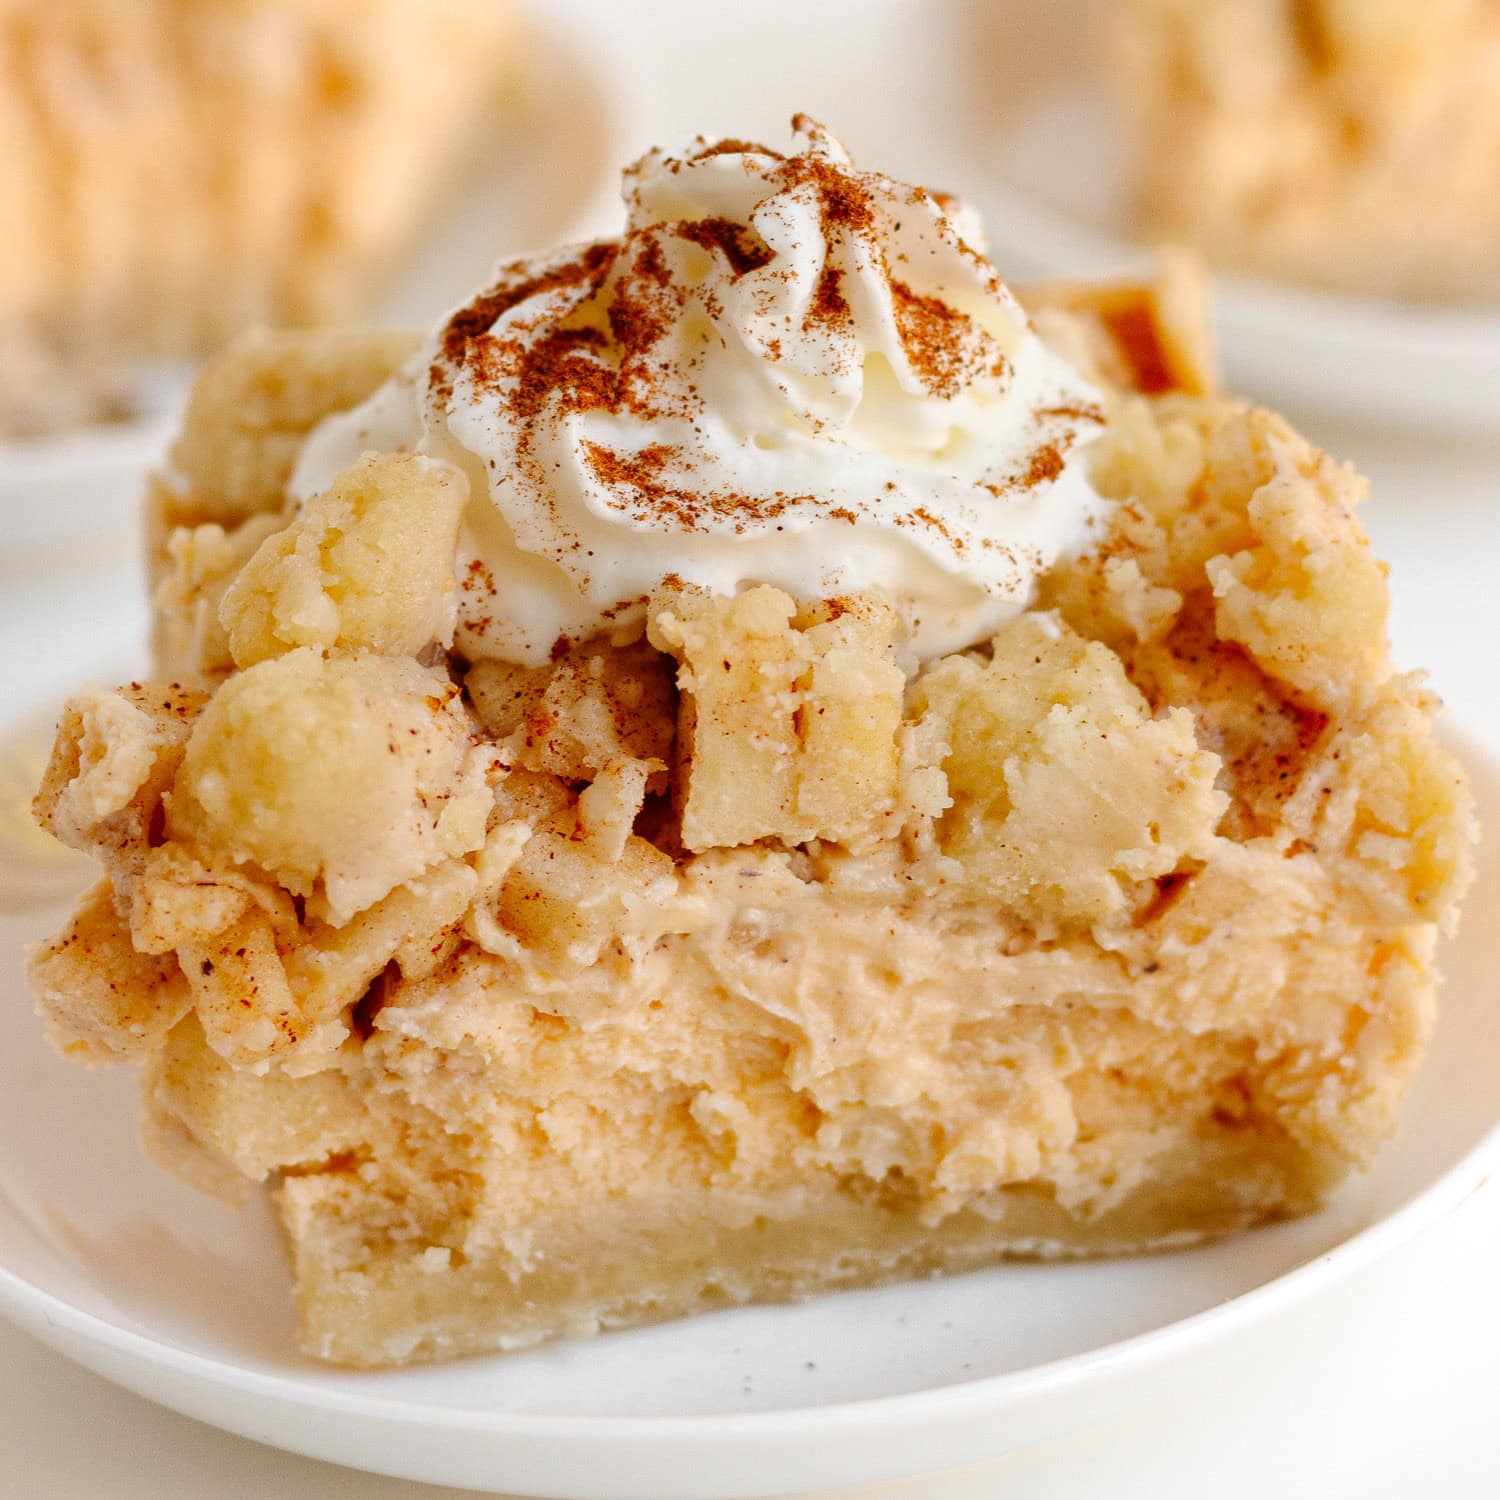
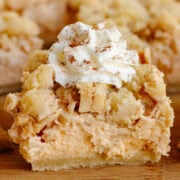
These apple crumble cheesecake bars are basically everything I want in a fall dessert! An incredible cookie-like butter streusel does double duty as the crust AND the topping with a creamy vanilla cheesecake layer and spiced apples tucked in between. It’s like your favorite apple crumble and cheesecake got together and made something really, really good!
4 Reasons I Love These Apple Crumble Cheesecake Bars
- Two desserts in one! Why choose between apple crumble and cheesecake when you can have both?! These bars really do give you the best of both worlds.
- The butter streusel does double duty! My favorite cookie-like German butter streusel recipe is used for both the crust AND the topping which gives these bars a little German dessert vibe that I absolutely love. Add creamy vanilla cheesecake and spiced apples and you’ve got one seriously delicious dessert.
- Easier than classic cheesecake! No water bath or springform pan drama here.
- It’s a great make ahead dessert! These bars need some time to chill in the fridge which means they’re perfect for entertaining. Make them ahead, tuck them in the fridge and check one more thing off your list! They’re also a great addition to a Thanksgiving dessert table.
Ingredient Notes
Here’s what you’ll need to make these apple crumble cheesecake bars:
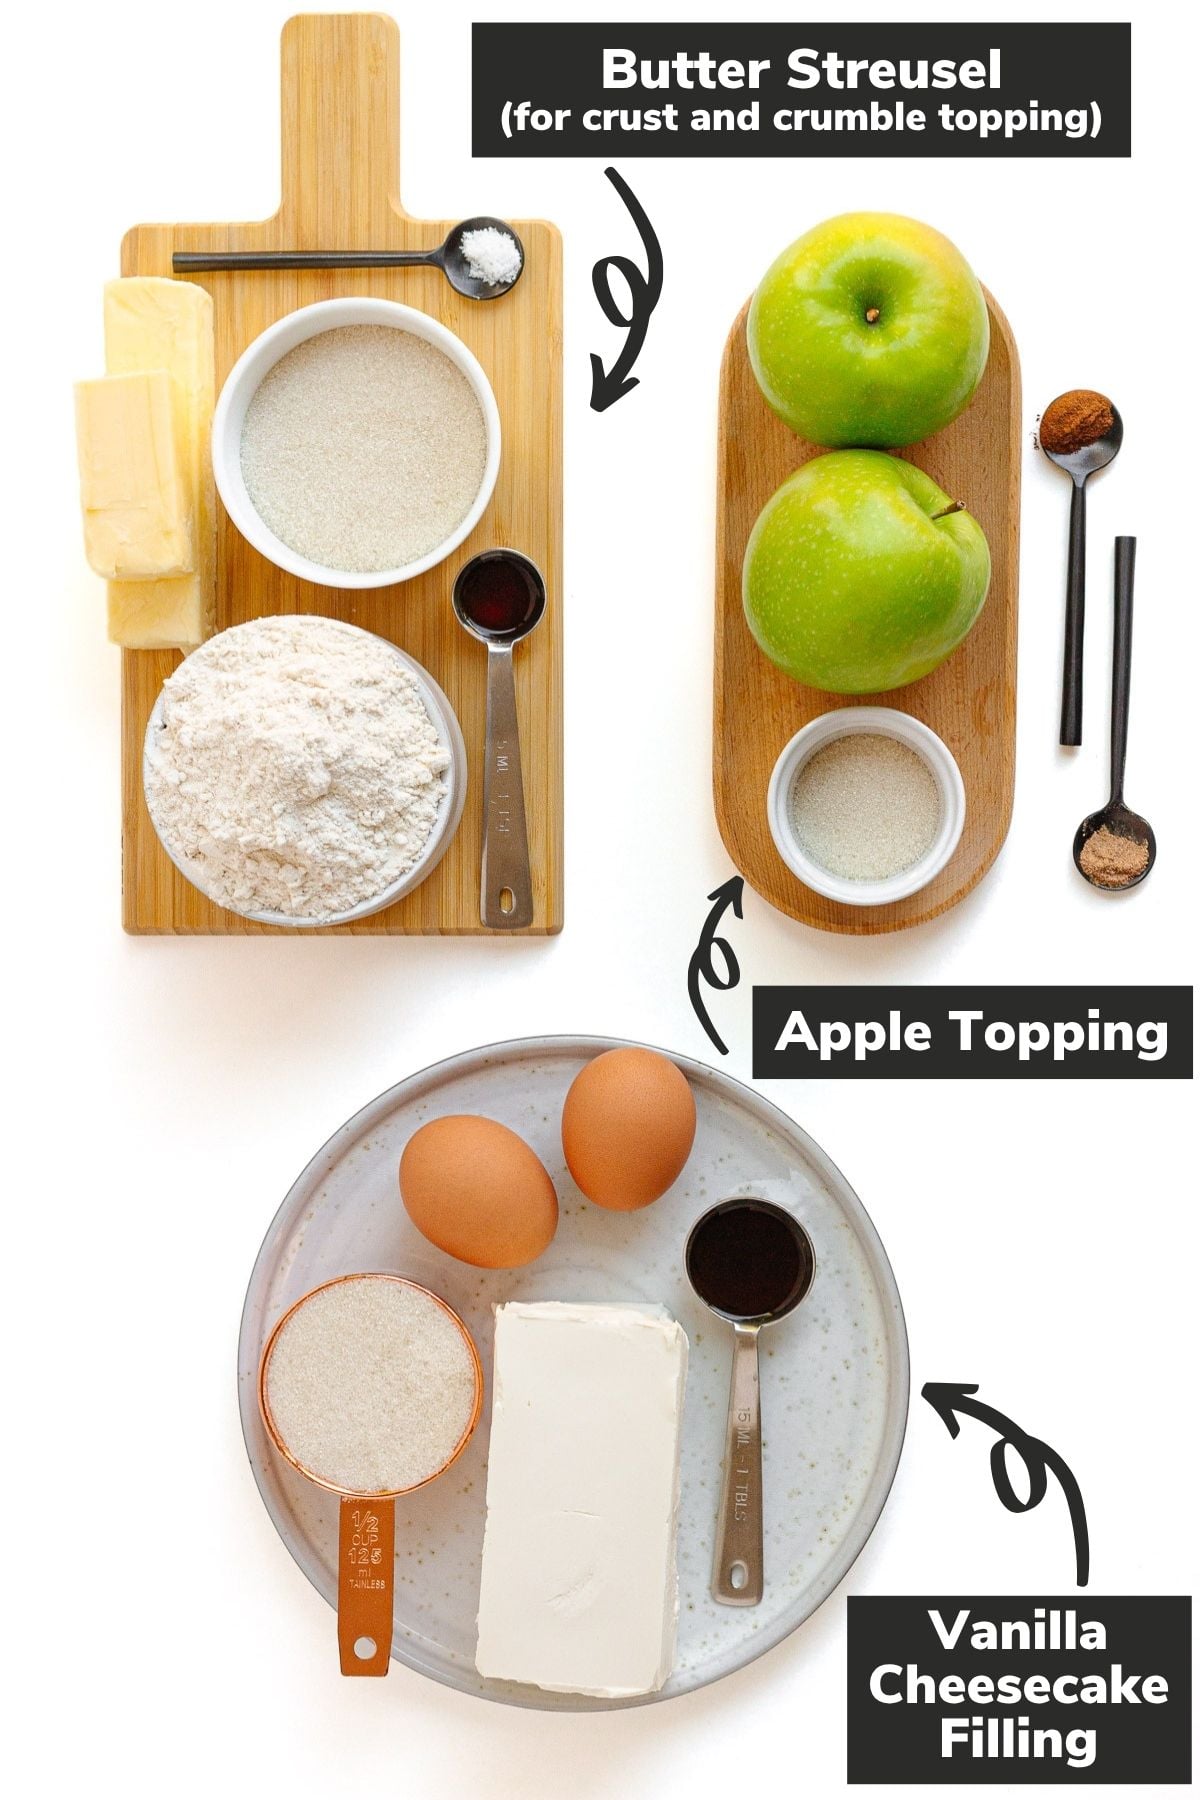
Detailed ingredient list and directions located in the recipe card below.
- Butter streusel: This German butter streusel is made up of big, buttery, cookie-like crumbles of goodness. Some gets pressed into the baking dish to make the crust, while the rest gets scattered over top for that delicious crumble topping. And it’s made with just a handful of simple ingredients: flour, butter, sugar, vanilla extract and a pinch of salt.
- Vanilla cheesecake filling: Just four simple ingredients – cream cheese, eggs, sugar and vanilla extract. For the smoothest, creamiest filling, let your cream cheese and eggs come to room temperature before mixing. Use full-fat, brick-style cream cheese (not the spreadable kind) and large eggs. For the sugar, I like to use organic cane sugar in my baking.
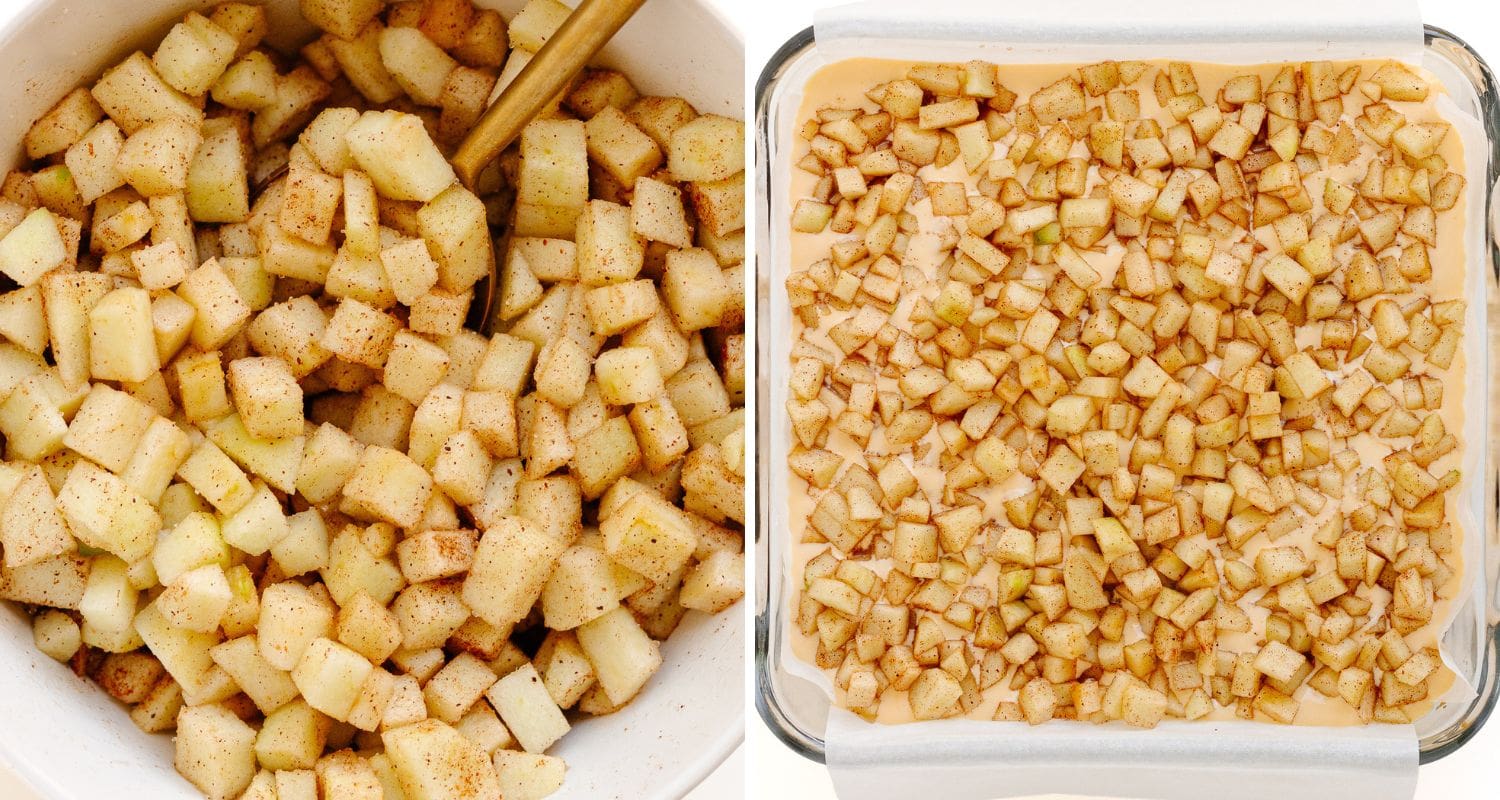
- Apple topping: The spiced apple layer is simply apples, sugar, cinnamon and nutmeg. I like Granny Smith apples here because their tartness balances out the other sweet components. Make sure to chop the apples quite small (about a ¼-inch dice).
How To Make Apple Crumble Cheesecake Bars
Let’s make these together! I’ll walk you through each step with photos so you can see exactly what you’re looking for along the way.
Step 1: Preheat the oven and prep the baking dish
Preheat your oven to 325F (165C). Line an 8×8 inch square glass baking dish with parchment paper, leaving some overhang on the sides. This makes it super easy to lift the bars out later.

Step 2: Make the crust and crumble topping
In the bowl of a stand mixer fitted with the paddle attachment, combine 250 grams (2 cups) all purpose flour, 125 grams (½ cup + 2 tablespoons) organic cane sugar and ¼ teaspoon salt. Add 170 grams (¾ cup or 1 ½ sticks) softened unsalted butter and 1 teaspoon vanilla extract. Beat until the mixture comes together into big, buttery crumbles.
You’ll use about two-thirds of this butter streusel mixture for the crust and the rest for the crumble topping.

Don’t Stop The Mixer Too Soon
Tip For Big Crumbles
Don’t stop the mixer too soon! At first, the mixture will look dry and sandy and you might wonder if something went wrong. It didn’t! Keep mixing and it will start to come together into those big beautiful crumbles. If you still have some smaller crumbs, just press them together by hand to make bigger pieces.

Step 3: Prebake the crust
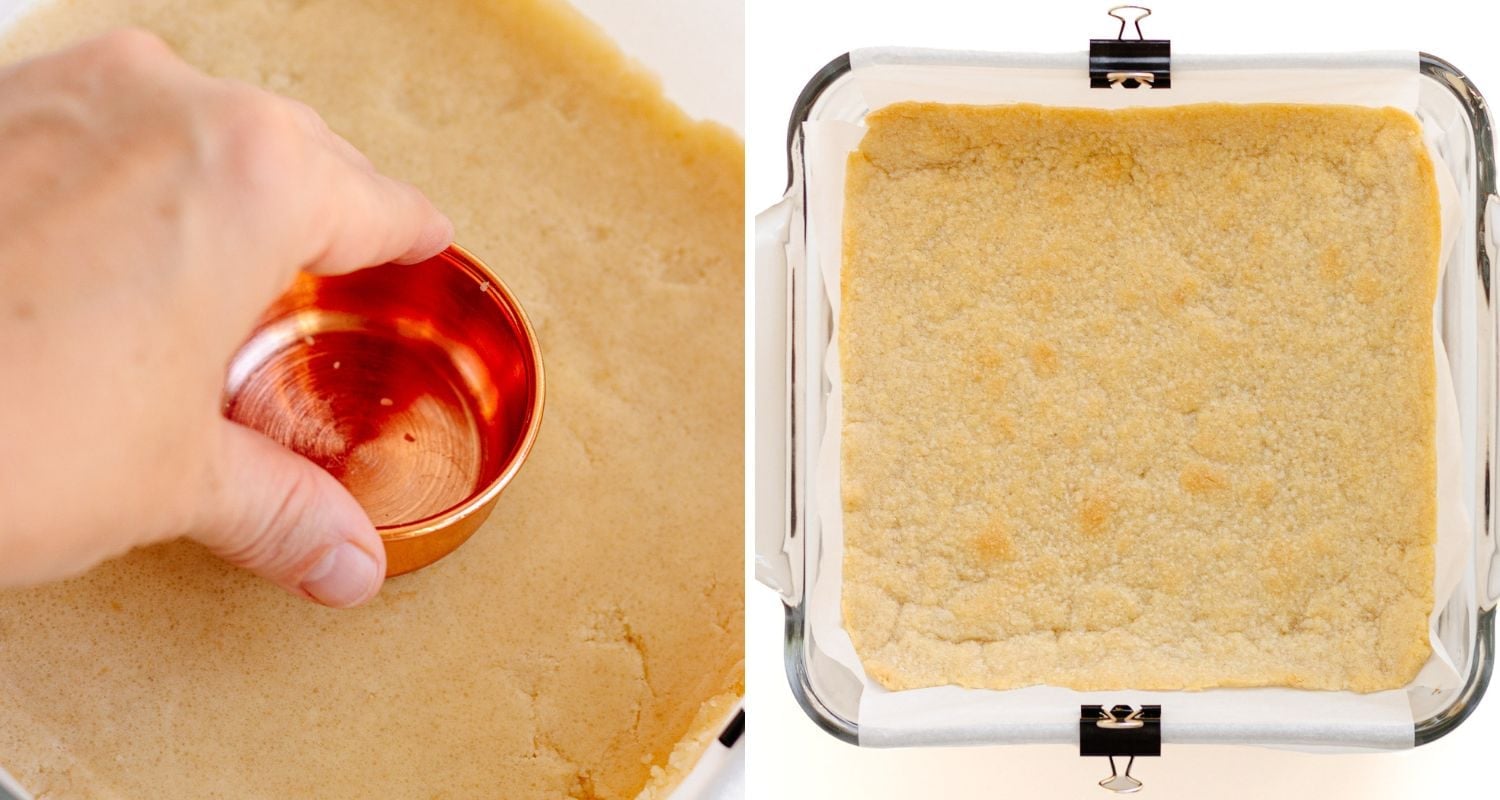
Pour 2/3 of the butter streusel mixture into the lined baking dish (set aside the rest for the topping). Spread it into an even layer, then firmly press it down using the flat bottom of a glass or measuring cup so you get a nice smooth, even layer.
Bake for 15-20 minutes until lightly golden. Set aside to cool for a few minutes while you make the cheesecake filling and apple topping.
Step 4: Make the vanilla cheesecake filling
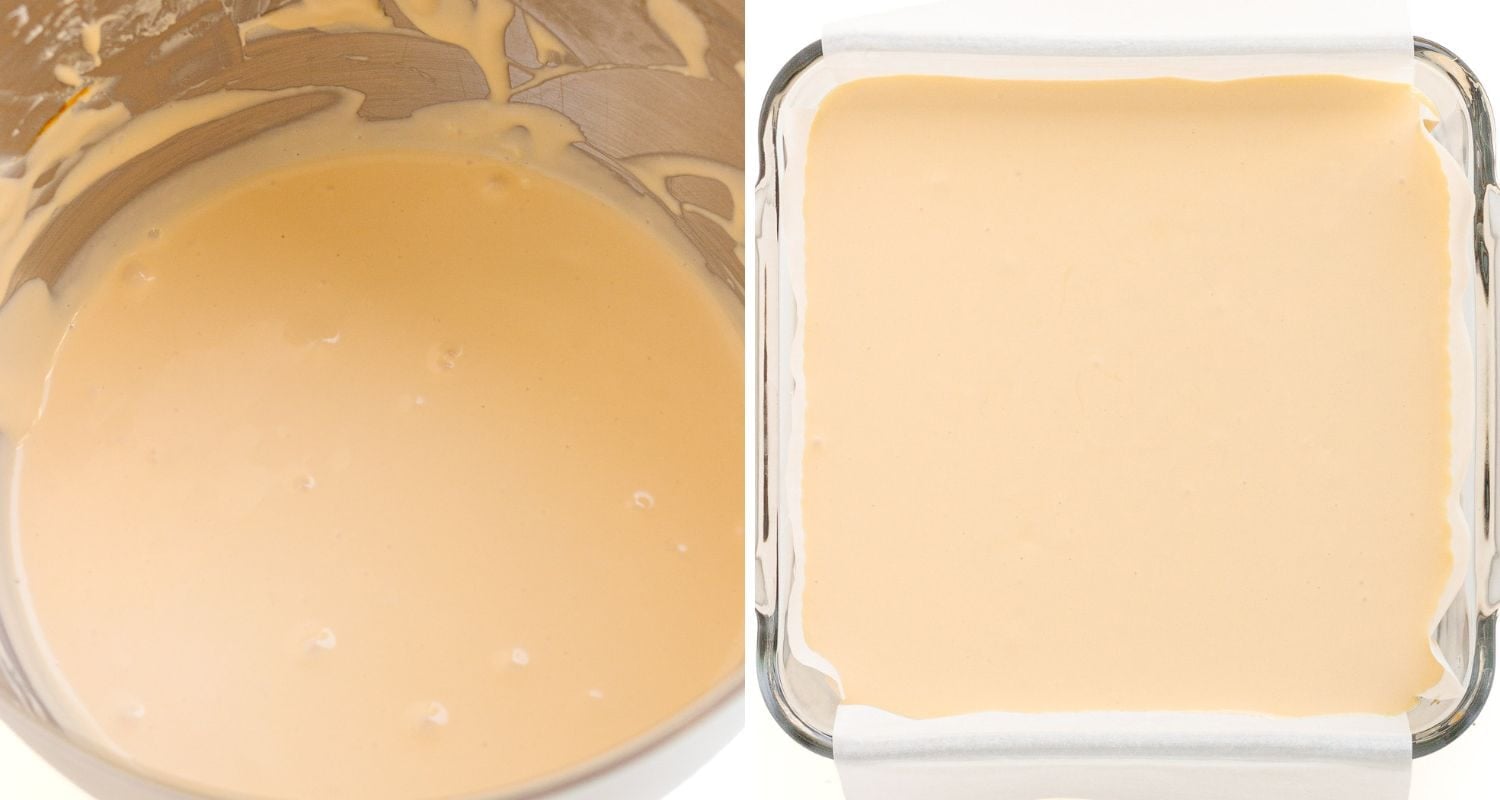
Wipe the stand mixer bowl clean. Then add 2 blocks of softened full-fat cream cheese (16oz/500g), ½ cup organic cane sugar and 1 tablespoon vanilla extract. Beat until smooth and creamy. Add 2 large room temperature eggs and mix on low until just combined. Pour the cheesecake filling over the crust and smooth it out evenly.
Step 5: Make the apple topping
Peel, core and finely chop 2 Granny Smith apples. Add them to a small bowl with 1 tablespoon organic cane sugar, ½ teaspoon cinnamon and ¼ teaspoon ground nutmeg. Stir together to coat the apples and then spoon them evenly over the cheesecake layer.
Step 6: Add the crumble topping
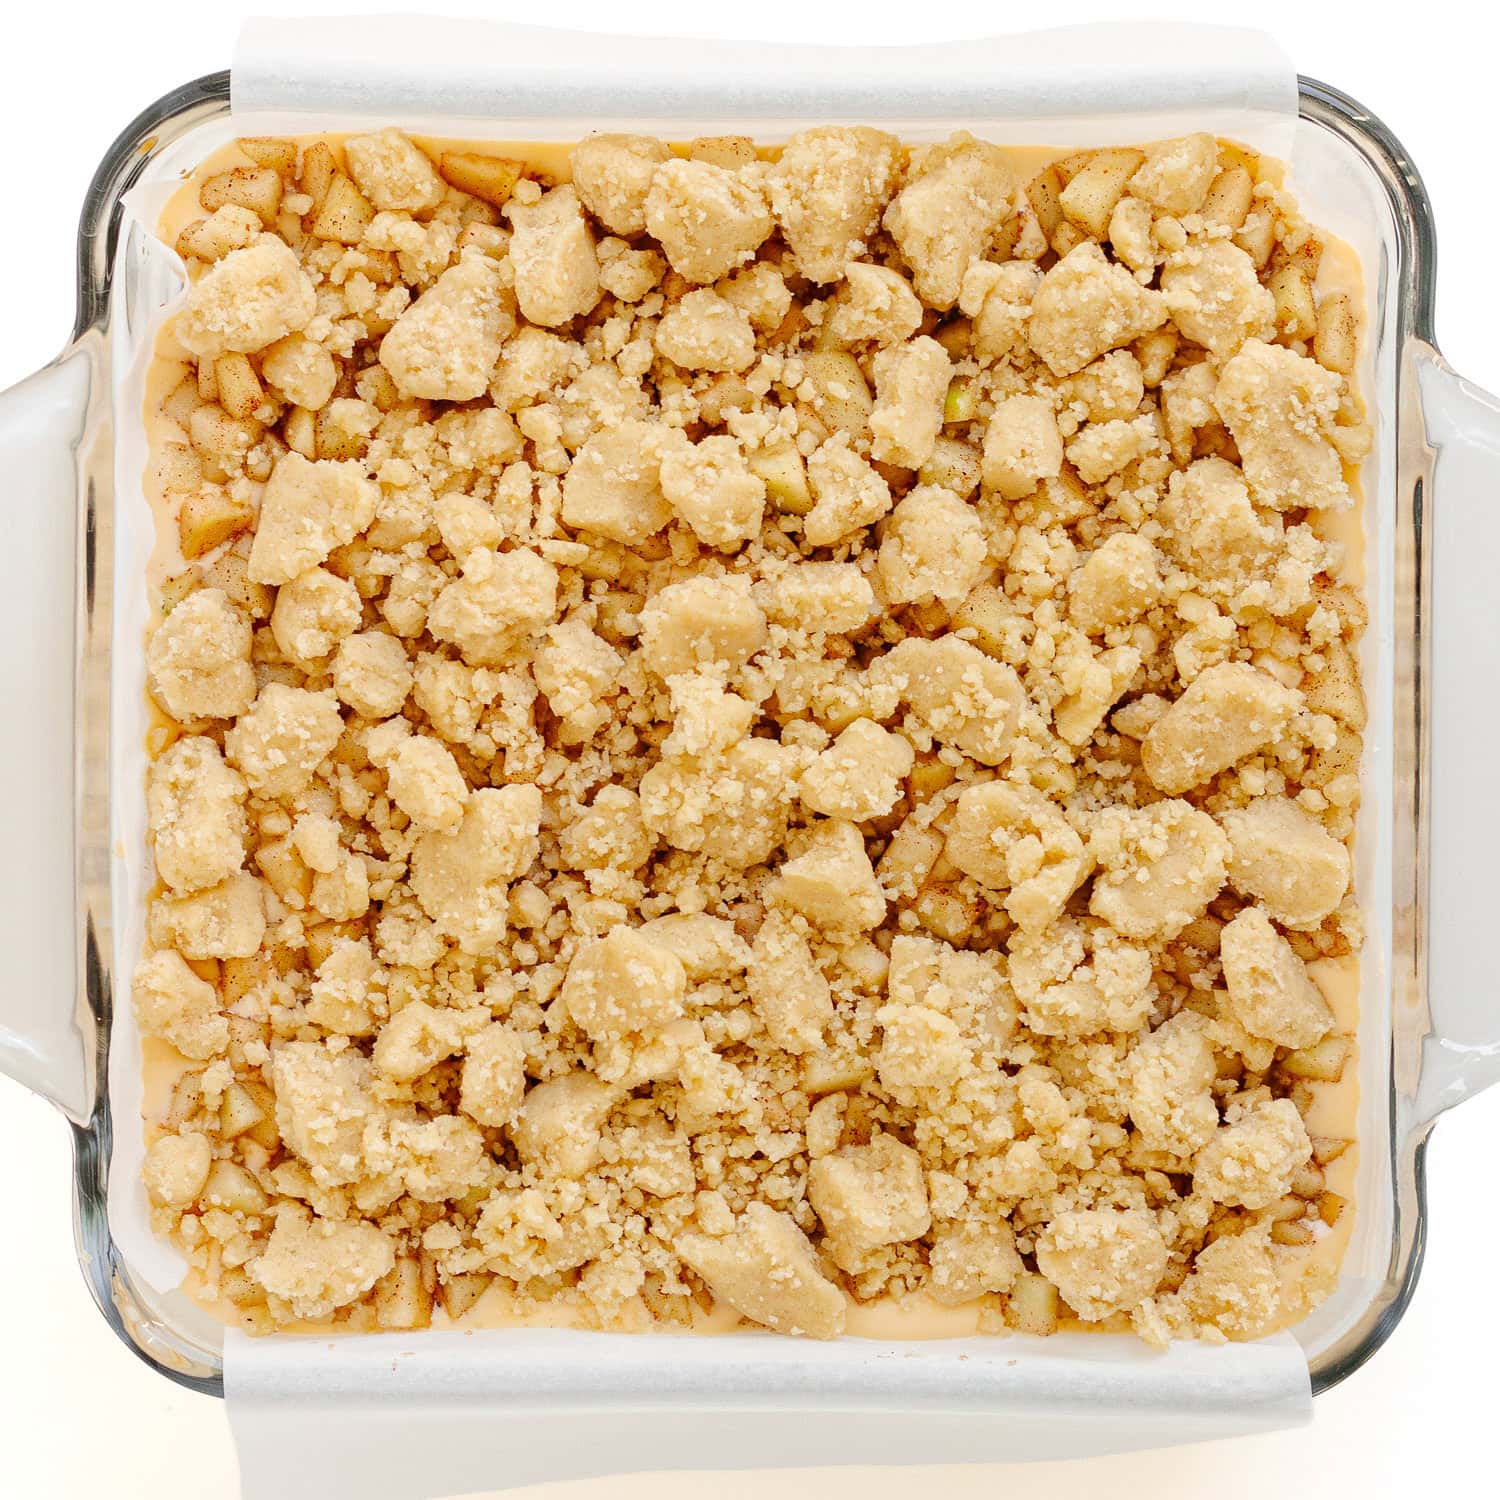
Take the remaining butter streusel crumbles that were set aside and sprinkle over top of the apples.
Step 7: Bake and chill to set
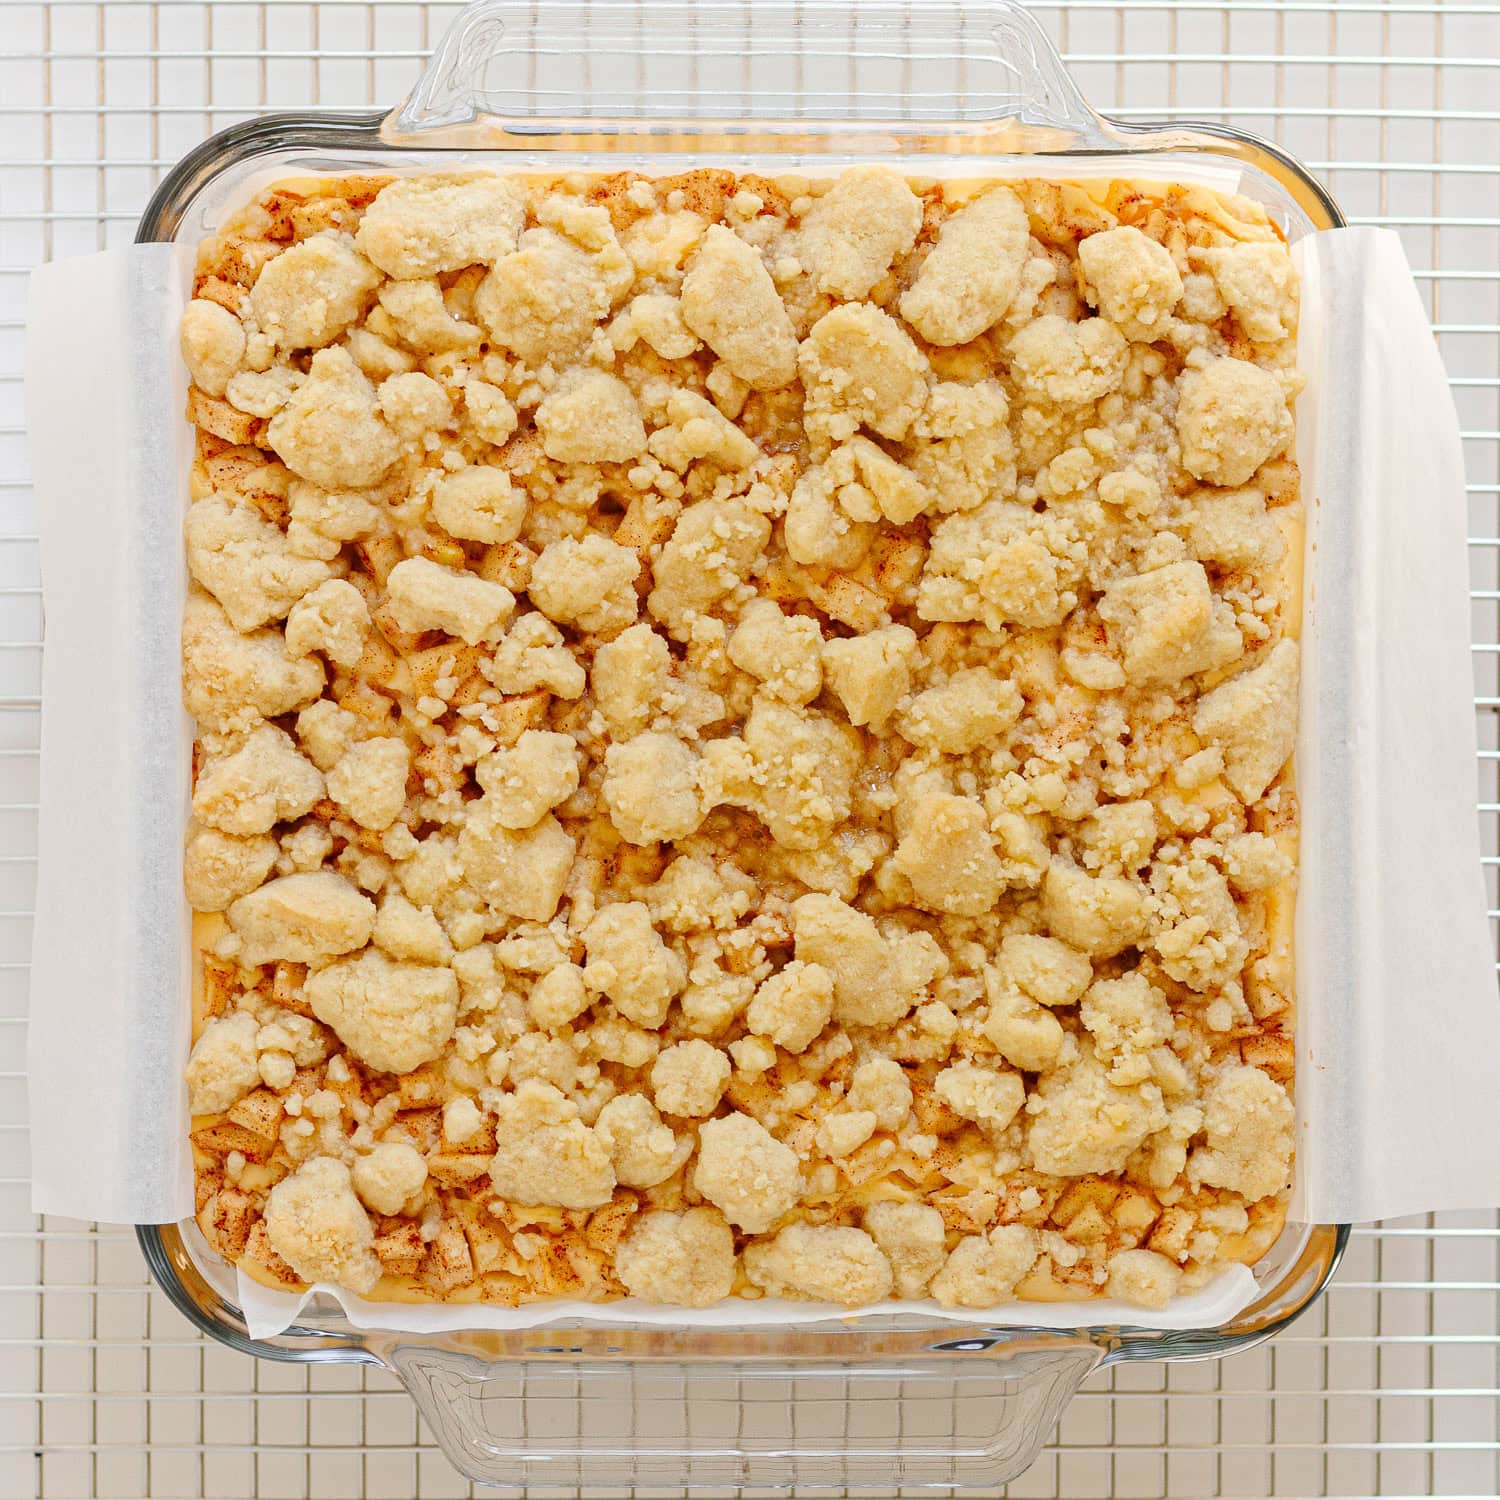
Bake for about 45 minutes or until the crumble topping is golden, the edges are set and the center still has a slight jiggle when you gently shake the dish.
Place the baking dish on a wire rack and let the bars cool to room temperature. Then cover and transfer to the fridge to chill for at least 4-5 hours to fully set. I highly recommend chilling them overnight if you can!
Step 8: Slice and serve
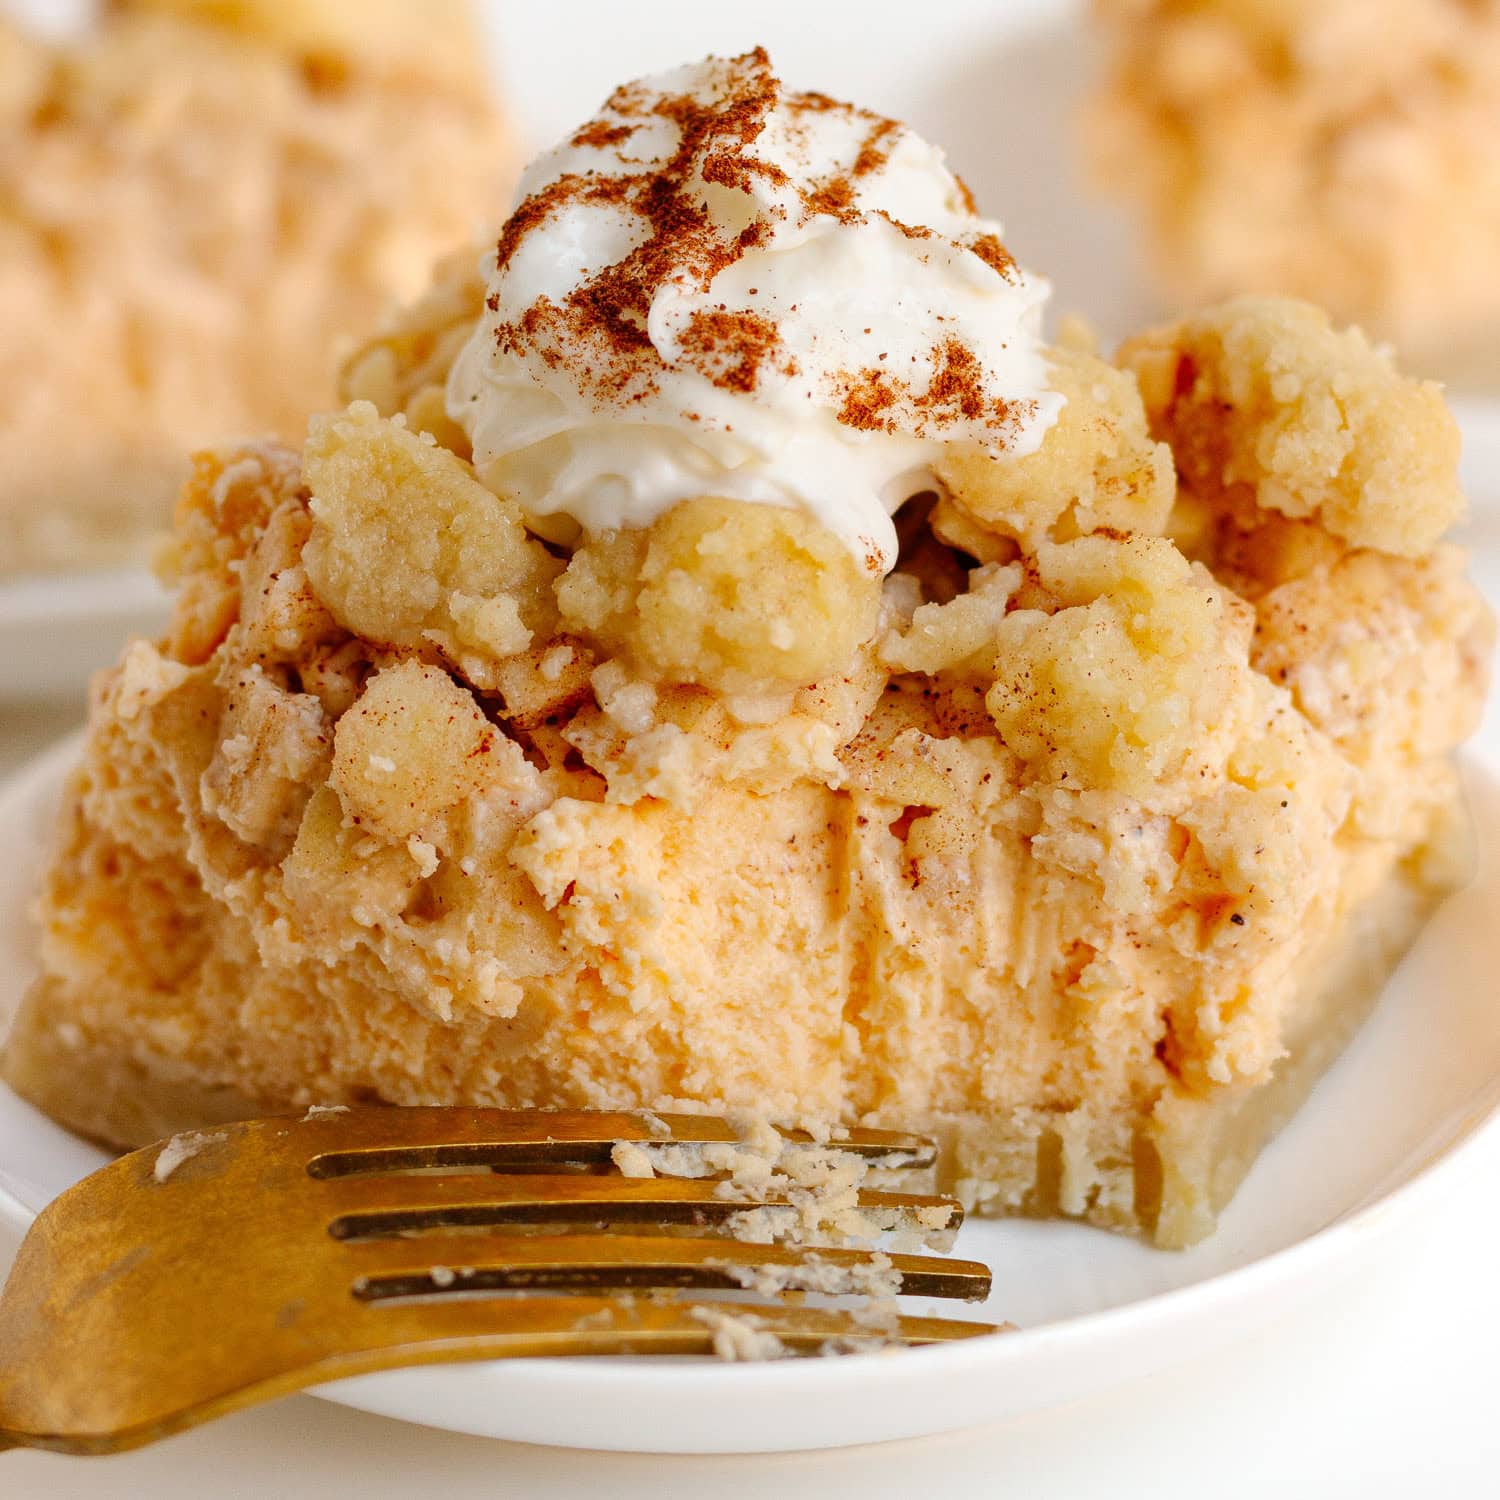
Use the parchment paper overhang to lift the cheesecake bars out of the baking dish and set it on a cutting board. Slice it into 9 to 16 squares, depending on how big you want your pieces.
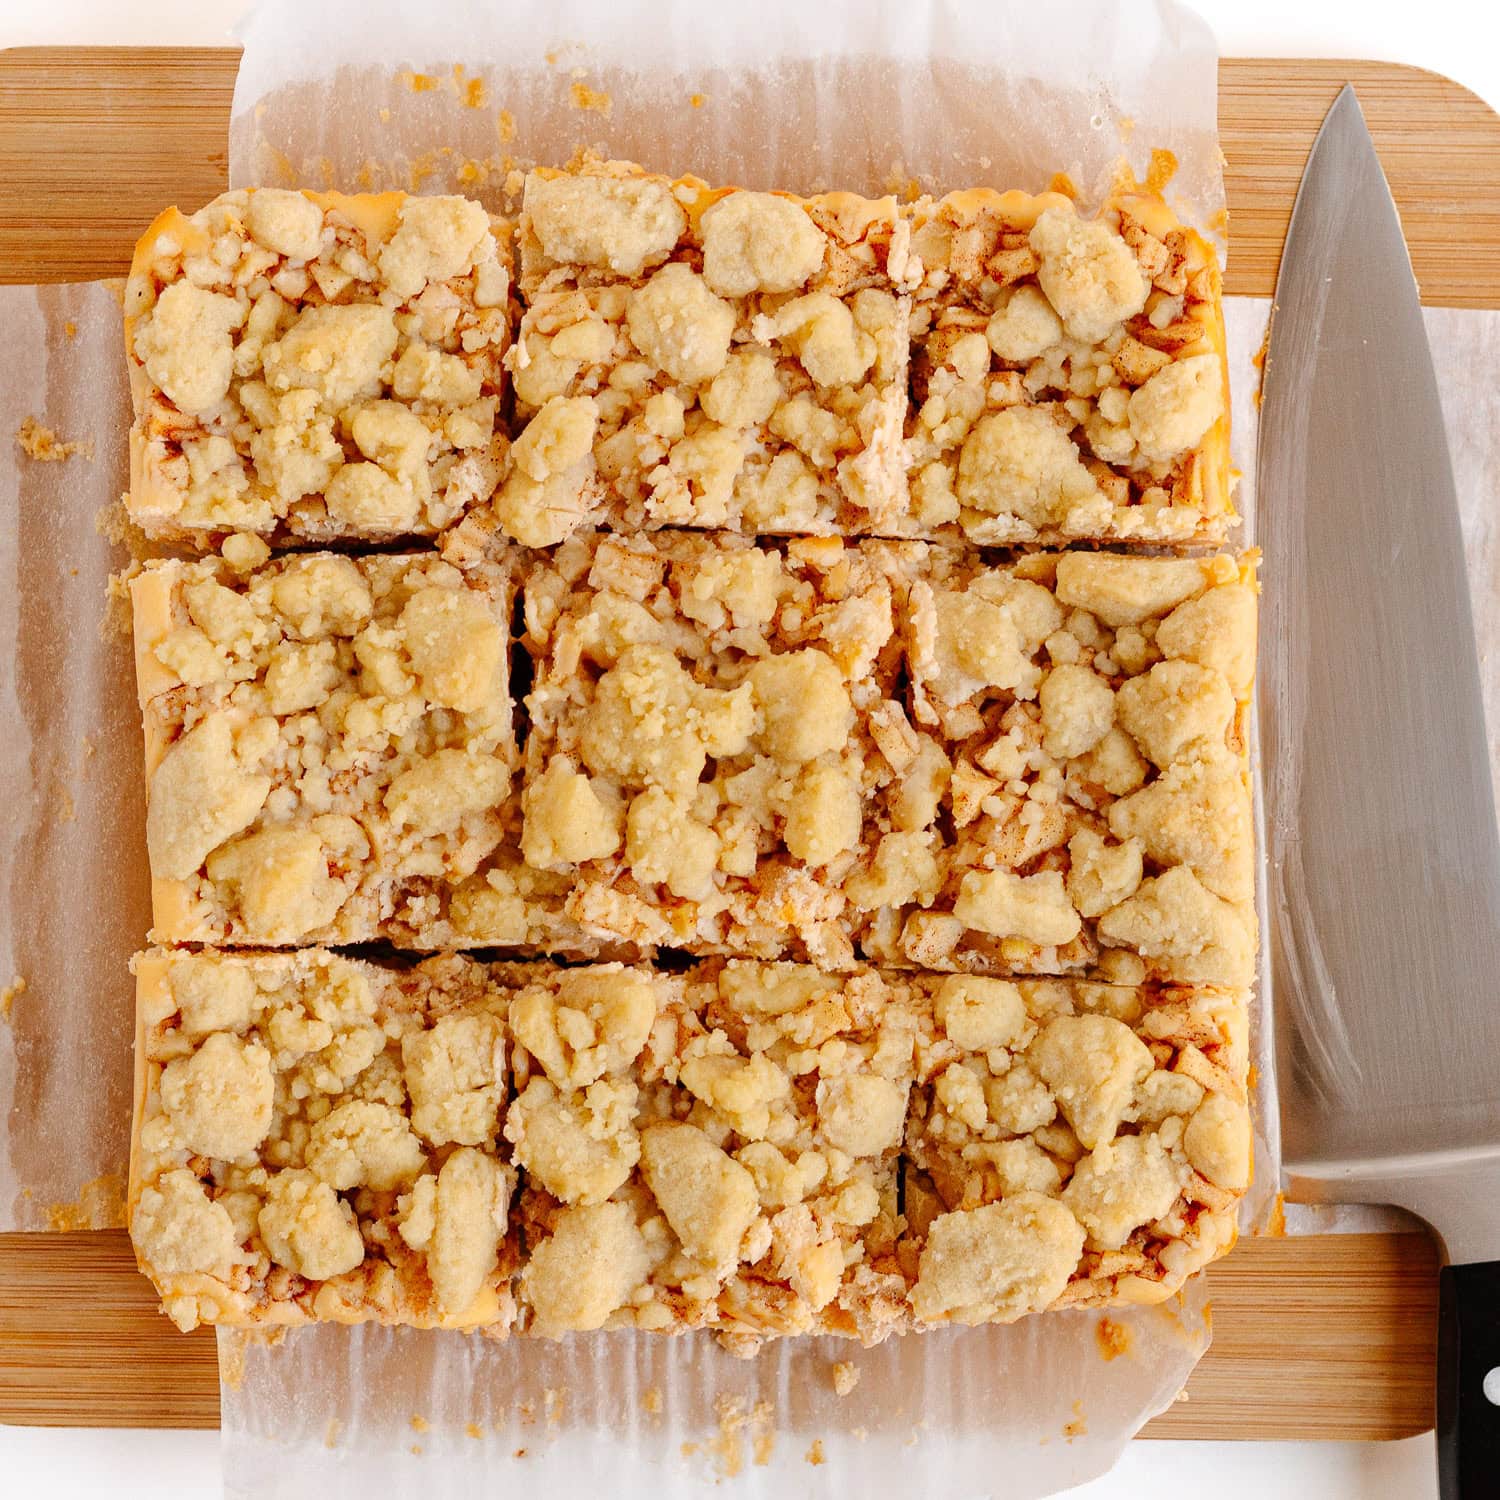
Serve immediately or store in an airtight container in the fridge for 3 to 4 days. I love to top them with a little whipped cream and sprinkle of cinnamon before serving. A drizzle of caramel or salted caramel sauce would also be delicious.
Tips For Success
Helpful Tips
- Use a kitchen scale for the butter streusel: I HIGHLY recommend using a kitchen scale to measure some of the butter streusel ingredients (especially the flour!). It gives you the right ratio every time, which means more consistent, cookie-like crumbles. It’s also easier and less messy than measuring cups. This is the kitchen scale I use.
- Chop the apples small: Finely chop the apples (about a ¼-inch dice). The small pieces cook quickly, won’t weigh down the cheesecake layer and mean you can skip pre-cooking the apples.
- Use room temperature cream cheese and eggs: This is key for getting that super smooth and creamy cheesecake filling.
- Don’t skip the chill: I know it’s hard to wait but cheesecake bars really do need time in the fridge to set properly. Trust me, they’re worth the wait!
- For clean slices: Make sure the bars are completely chilled and set before slicing. Use a large sharp knife and wipe it clean with a paper towel between each cut.
FAQ
I like to use Granny Smith apples for these cheesecake bars because they are slightly tart which balances out the other sweet components. If you prefer a sweeter apple, Honeycrisp would be my recommendation.
Store the bars in an airtight container in the fridge for 3 to 4 days. They also freeze well! Place them in a freezer-safe container and freeze for up to 2 to 3 months. Thaw overnight in the fridge or for a few hours at room temperature before serving.
Yes but the bars will be a little thinner and will likely bake a bit faster so keep an eye on them!
More Apple Desserts
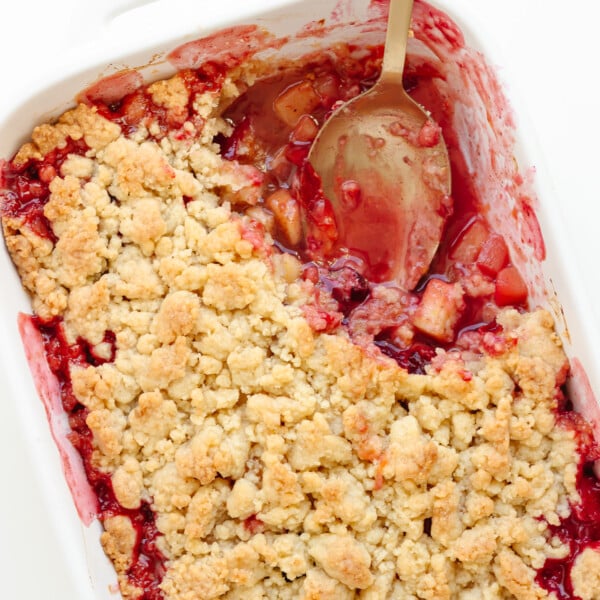
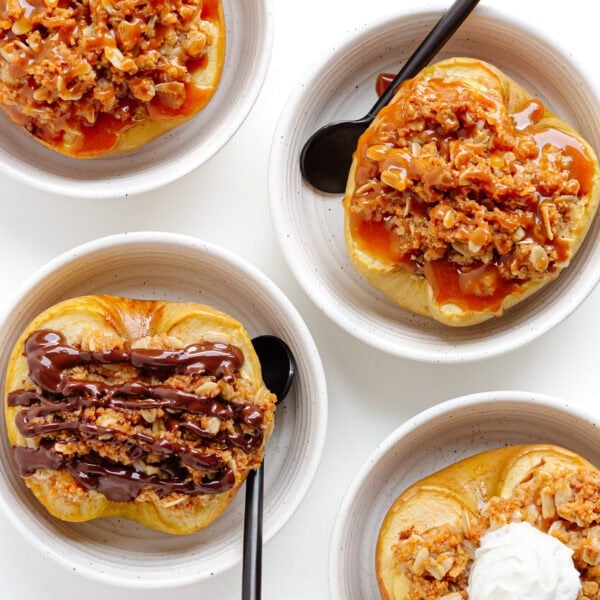
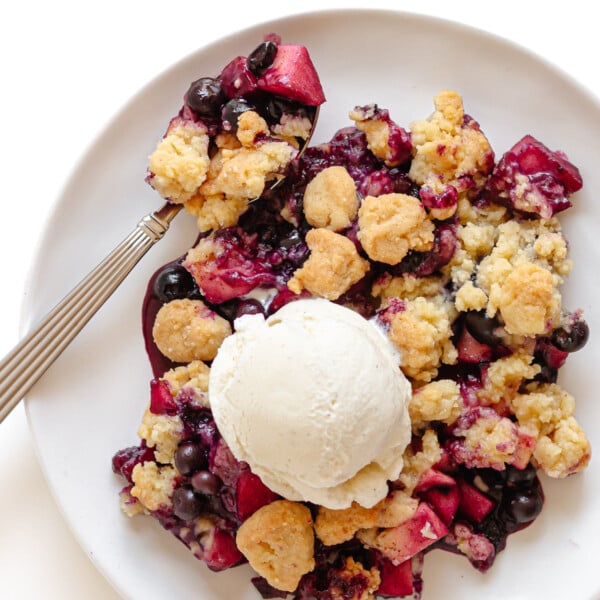
If you love all things apple, don’t stop here! Check out my roundup of delicious apple desserts. Here are a few of the recipes you’ll find inside.

Did you make these apple crumble cheesecake bars? I would love to hear from you! Please leave me a comment below.
Apple Crumble Cheesecake Bars (with Butter Streusel)
- Prep Time: 30 min
- Cook Time: 45 min
- Total Time: 1 hour 15 min (plus chill time)
- Yield: 9 to 16 squares
- Category: Dessert
- Method: Bake
- Cuisine: American, German
- Diet: Vegetarian
Description
These apple crumble cheesecake bars are basically everything I want in a fall dessert! An incredible cookie-like butter streusel does double duty as the crust AND the topping with a creamy vanilla cheesecake layer and spiced apples tucked in between. It’s like your favorite apple crumble and cheesecake got together and made something really, really good!
Ingredients
For the crust and crumble topping:
- 250 grams (2 cups) unbleached all purpose flour
- 125 grams (1/2 cup + 2 tablespoons) organic cane sugar
- 1/4 teaspoon salt
- 170 grams (3/4 cup or 1 ½ sticks) unsalted butter, at room temperature
- 1 teaspoon vanilla extract
For the vanilla cheesecake filling:
- 2 bricks/blocks full-fat cream cheese, softened to room temperature (16 oz/500g)
- ½ cup organic cane sugar
- 1 tablespoon vanilla extract
- 2 large eggs, room temperature
For the apple topping:
- 2 Granny Smith apples, peeled, cored and finely chopped (about 2 cups)
- 1 tablespoon organic cane sugar
- ½ teaspoon ground cinnamon
- ¼ teaspoon ground nutmeg
Instructions
- Preheat oven and prep baking dish: Preheat oven to 325F (165C). Line an 8×8 inch square glass baking dish with parchment paper, leaving some overhang on the sides. This makes it super easy to lift the bars out later.
- Make the crust and crumble topping: In the bowl of a stand mixer fitted with the paddle attachment, combine the flour, sugar and salt. Add the softened butter and vanilla extract. Beat until the mixture comes together into big, buttery crumbles. Pour 2/3 of the butter streusel mixture into the lined baking dish (set aside the rest for the topping). Spread it into an even layer, then firmly press it down using the flat bottom of a glass or measuring cup so you get a nice smooth, even layer.
- Prebake crust: Bake for 15-20 minutes until lightly golden. Set aside to cool for a few minutes while you make the cheesecake filling and apple topping.
- Make the cheesecake filling: Wipe the stand mixer bowl clean. Then add the cream cheese, sugar and vanilla extract and beat until smooth and creamy. Add the eggs and mix on low until just combined. Pour the cheesecake filling over the crust and smooth it out evenly.
- Make the apple topping: In a small bowl stir together the chopped apples, sugar, cinnamon and nutmeg. Spoon evenly over the cheesecake layer.
- Top with crumble: Take the remaining butter streusel crumbles that were set aside and sprinkle over top of the apples.
- Bake: Bake for about 45 minutes or until the crumble topping is golden, the edges are set and the center still has a slight jiggle when you gently shake the dish.
- Chill and set: Place the baking dish on a wire rack and let it cool to room temperature. Then cover and transfer to the fridge to chill for at least 4 to 5 hours (I recommend overnight) to fully set before slicing and serving.
- Slice and serve: Lift the whole thing out of the baking dish using the parchment paper overhang and set it on a cutting board. Slice it into 9 to 16 squares, depending on how big you want your pieces. Serve immediately or store in an airtight container in the fridge for 3 to 4 days. I love to top them with a little whipped cream and sprinkle of cinnamon before serving. A drizzle of caramel or salted caramel sauce would also be delicious.
Notes
Apples: I like to use Granny Smith apples for these cheesecake bars because the slight tartness balances out the other sweet components. If you prefer a sweeter apple, Honeycrisp would be my recommendation. Make sure to finely chop the apples (about a ¼-inch dice). The small pieces cook quickly, won’t weigh down the cheesecake layer and mean you can skip pre-cooking the apples.
Tip for big crumbles: Don’t stop the mixer too soon! At first, the mixture will look dry and sandy and you might wonder if something went wrong. It didn’t! Keep mixing and it will start to come together into those big beautiful crumbles. If you still have some smaller crumbs, just press them together by hand to make bigger pieces.
Use a kitchen scale for the butter streusel: I HIGHLY recommend using a kitchen scale to measure some of the butter streusel ingredients (especially the flour!). It gives you the right ratio every time, which means more consistent, cookie-like crumbles. This is the scale I use.
Use room temperature cream cheese and eggs: This is key for getting that super smooth and creamy cheesecake filling.
Don’t skip the chill: I know it’s hard to wait but cheesecake bars really do need time in the fridge to set properly. Trust me, they’re worth the wait!