This post may contain affiliate links. See my disclosure policy.
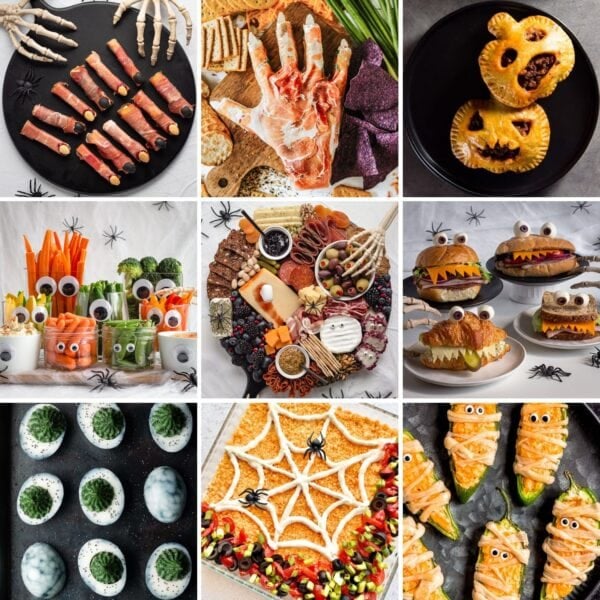
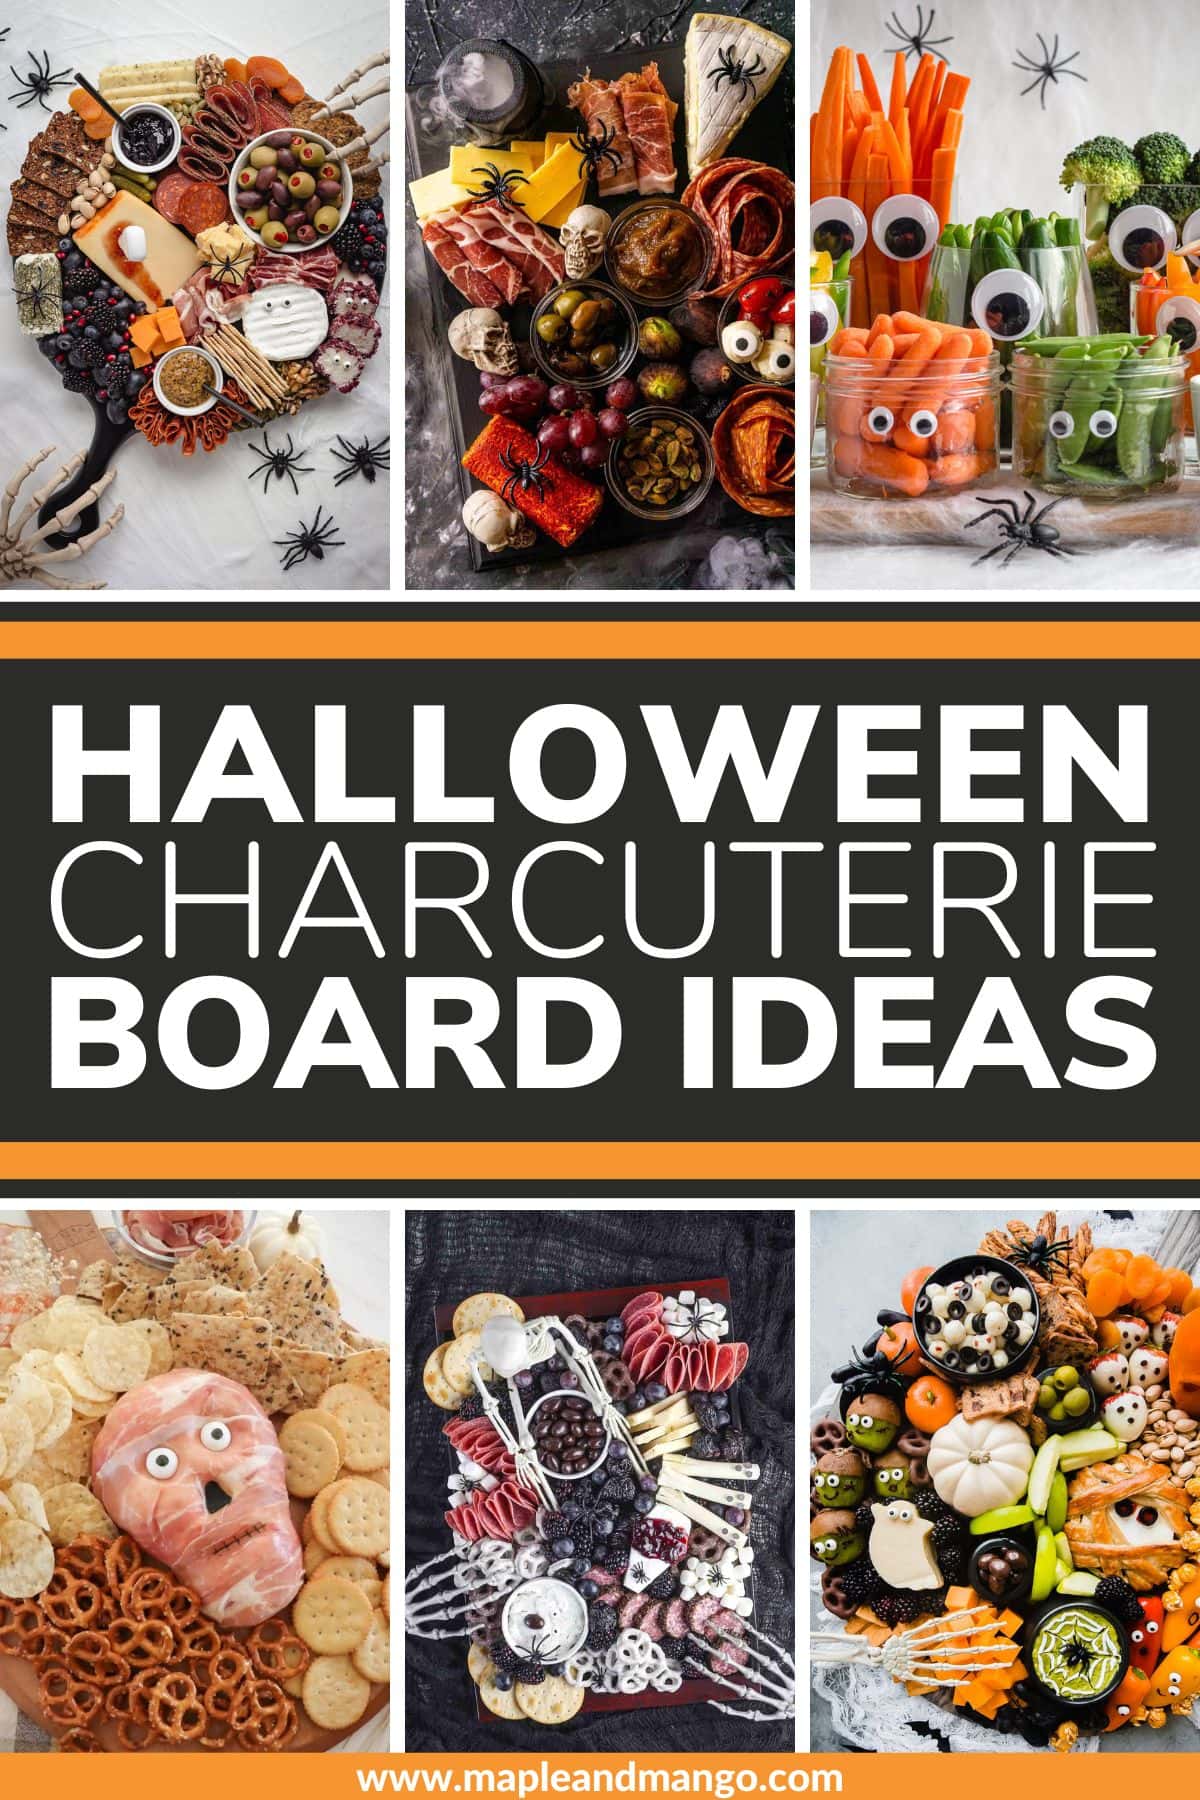
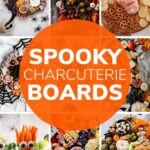
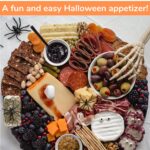
This spooky Halloween charcuterie board is the perfect choice if you are looking for a simple yet impressive Halloween appetizer or snack. It’s super easy to assemble – no cooking, just arranging! Or choose from one of the other 13 Halloween charcuterie board ideas below.
Why You Should Make A Spooky Charcuterie Board For Halloween
- Easy to make: There is no cooking, just arranging! It’s an easy Halloween appetizer that everyone will love!
- Perfect Halloween party appetizer: Your guests will love it!
- Fun Halloween snack board idea: It’s a great snack board for Halloween movie night or even a fun Halloween dinner idea!
- Easily customizable: It’s so versatile! Have fun with it! Make it as big or as small as you like with ingredients you enjoy.
How To Make An Easy Halloween Charcuterie Board
Trick or treat? Who else loves cheese and meat?! I love a good charcuterie board and this is a fun and easy way to put a spooky Halloween spin on it.
What You’ll Need
- Board, platter or other base: If you have a charcuterie or cheeseboard, then this is the perfect time to pull it out. If not, no worries! You can use a wooden cutting board, serving platter, tray, baking sheet, pizza pan or even just place some parchment paper or butcher paper down the center of your table to use as a base.
- Small dishes: Small bowls, ramekins or other small dishes are useful for holding condiments, spreads, preserves or wet ingredients like olives or pickles.
- Ingredients: Grab all your charcuterie board favorites (e.g. a variety of cheeses, cured meats, fruits, veggies, crackers, nuts/seeds) and some spooky extras like Halloween shaped treats, fake spiders, etc. Choose foods with Halloween colors (black, orange, red, purple, green, white). We’ll dive into ingredient ideas in more detail down below!
Assembling The Board
Follow these four simple steps to assemble your Halloween charcuterie board:
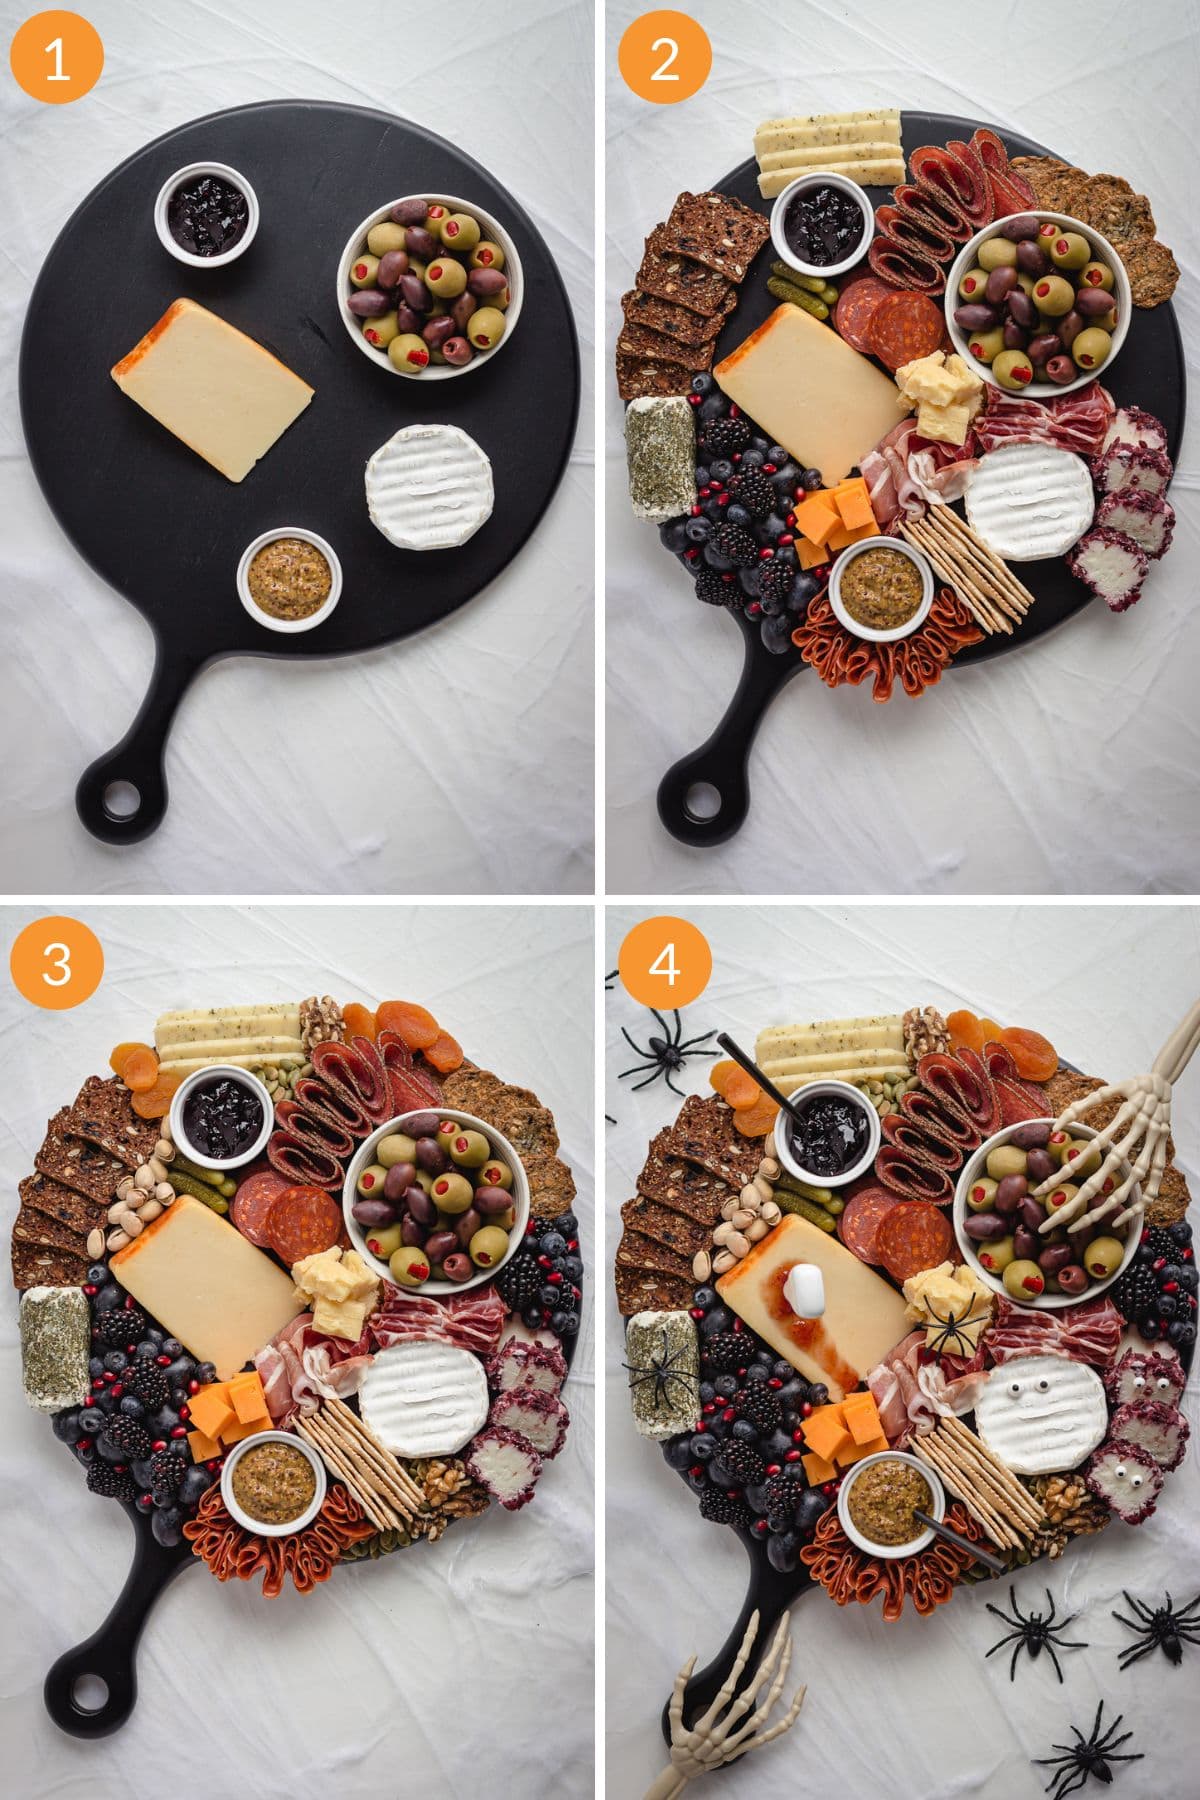
- Start off by placing the larger items on first such as any small bowls and larger wedges of cheese.
- Next, start filling in the spaces with crackers, cured meats, cut up cheeses, fruit, Halloween treats, etc.
- Fill in the remaining gaps with small items like nuts/seeds and berries.
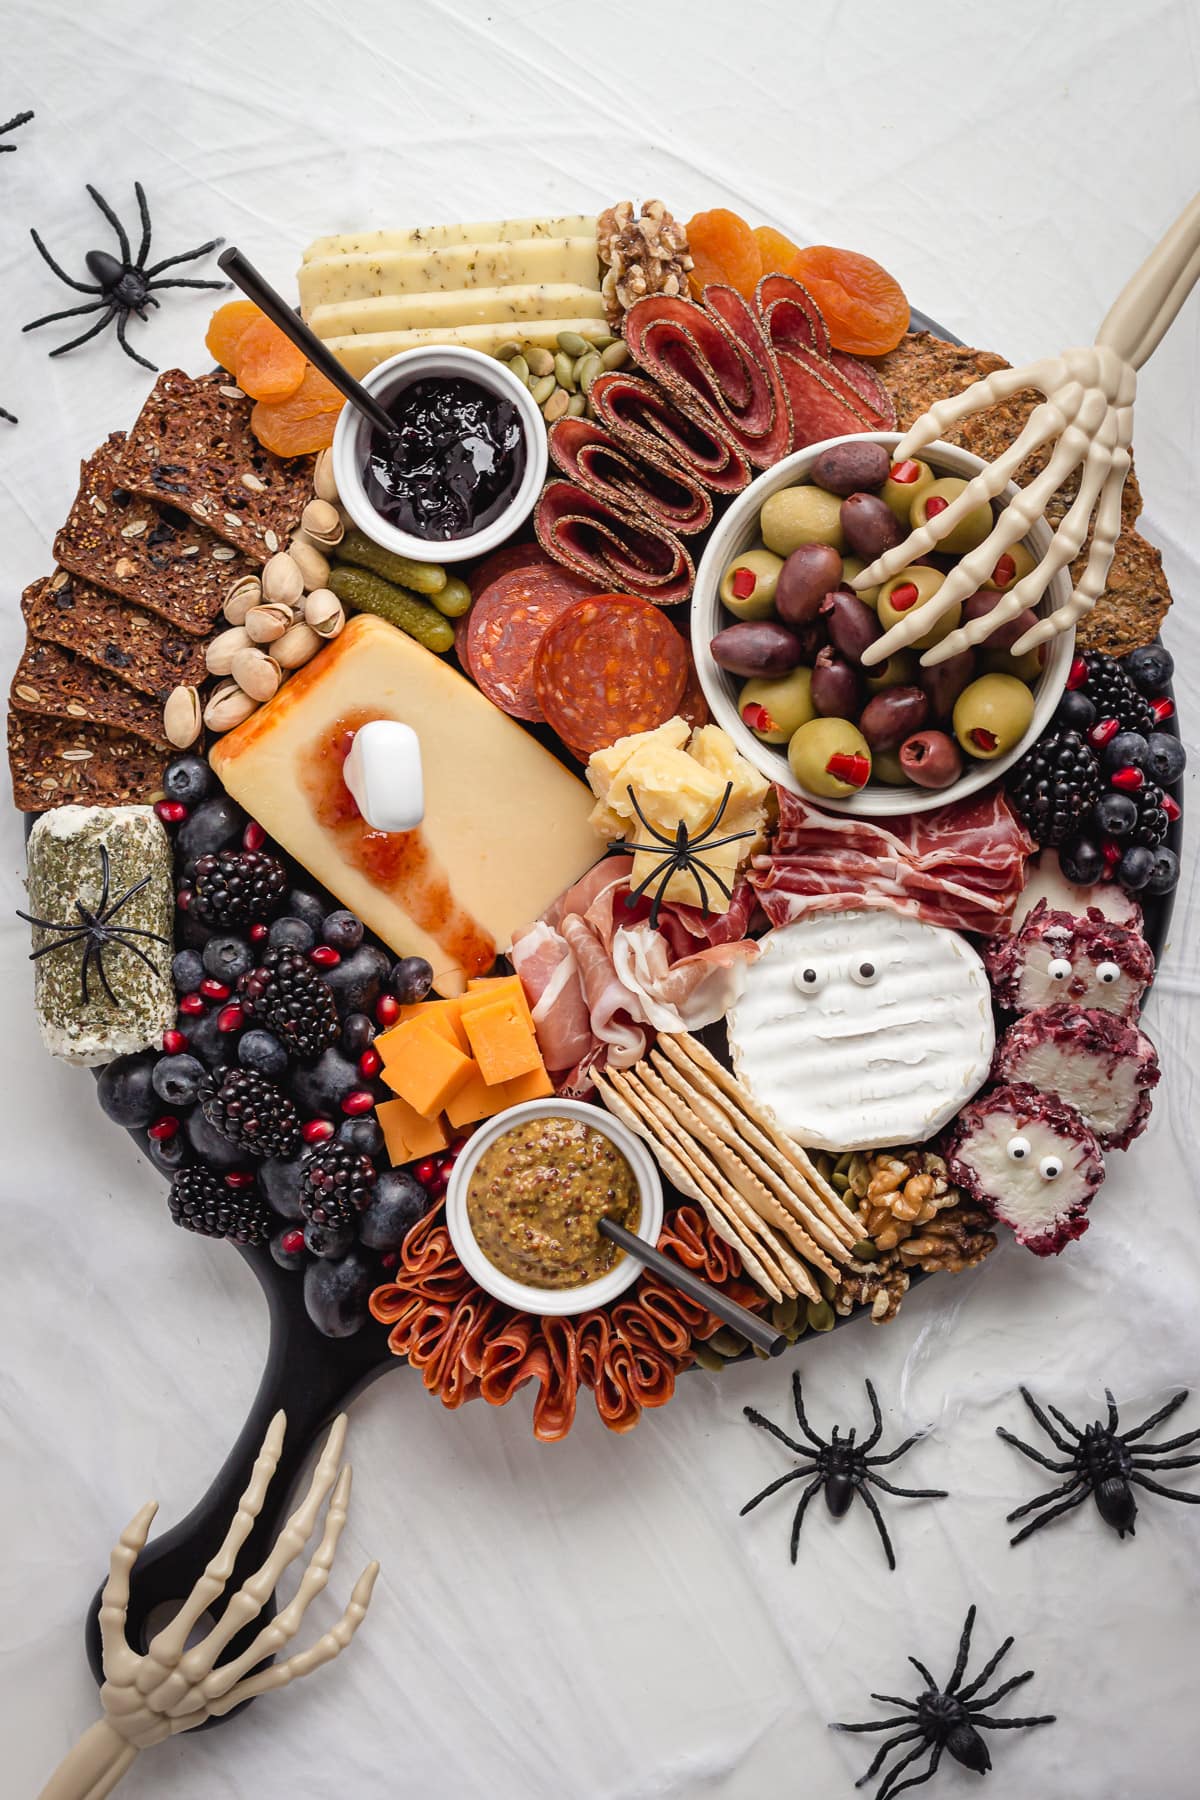
- Finally, finish by adding in some spooky Halloween touches like skeleton hands, candy eyeballs, plastic spiders, etc.
A Few Tips
- Working from large to small items, makes the board much easier to assemble since you can fill in the gaps with the small items at the end.
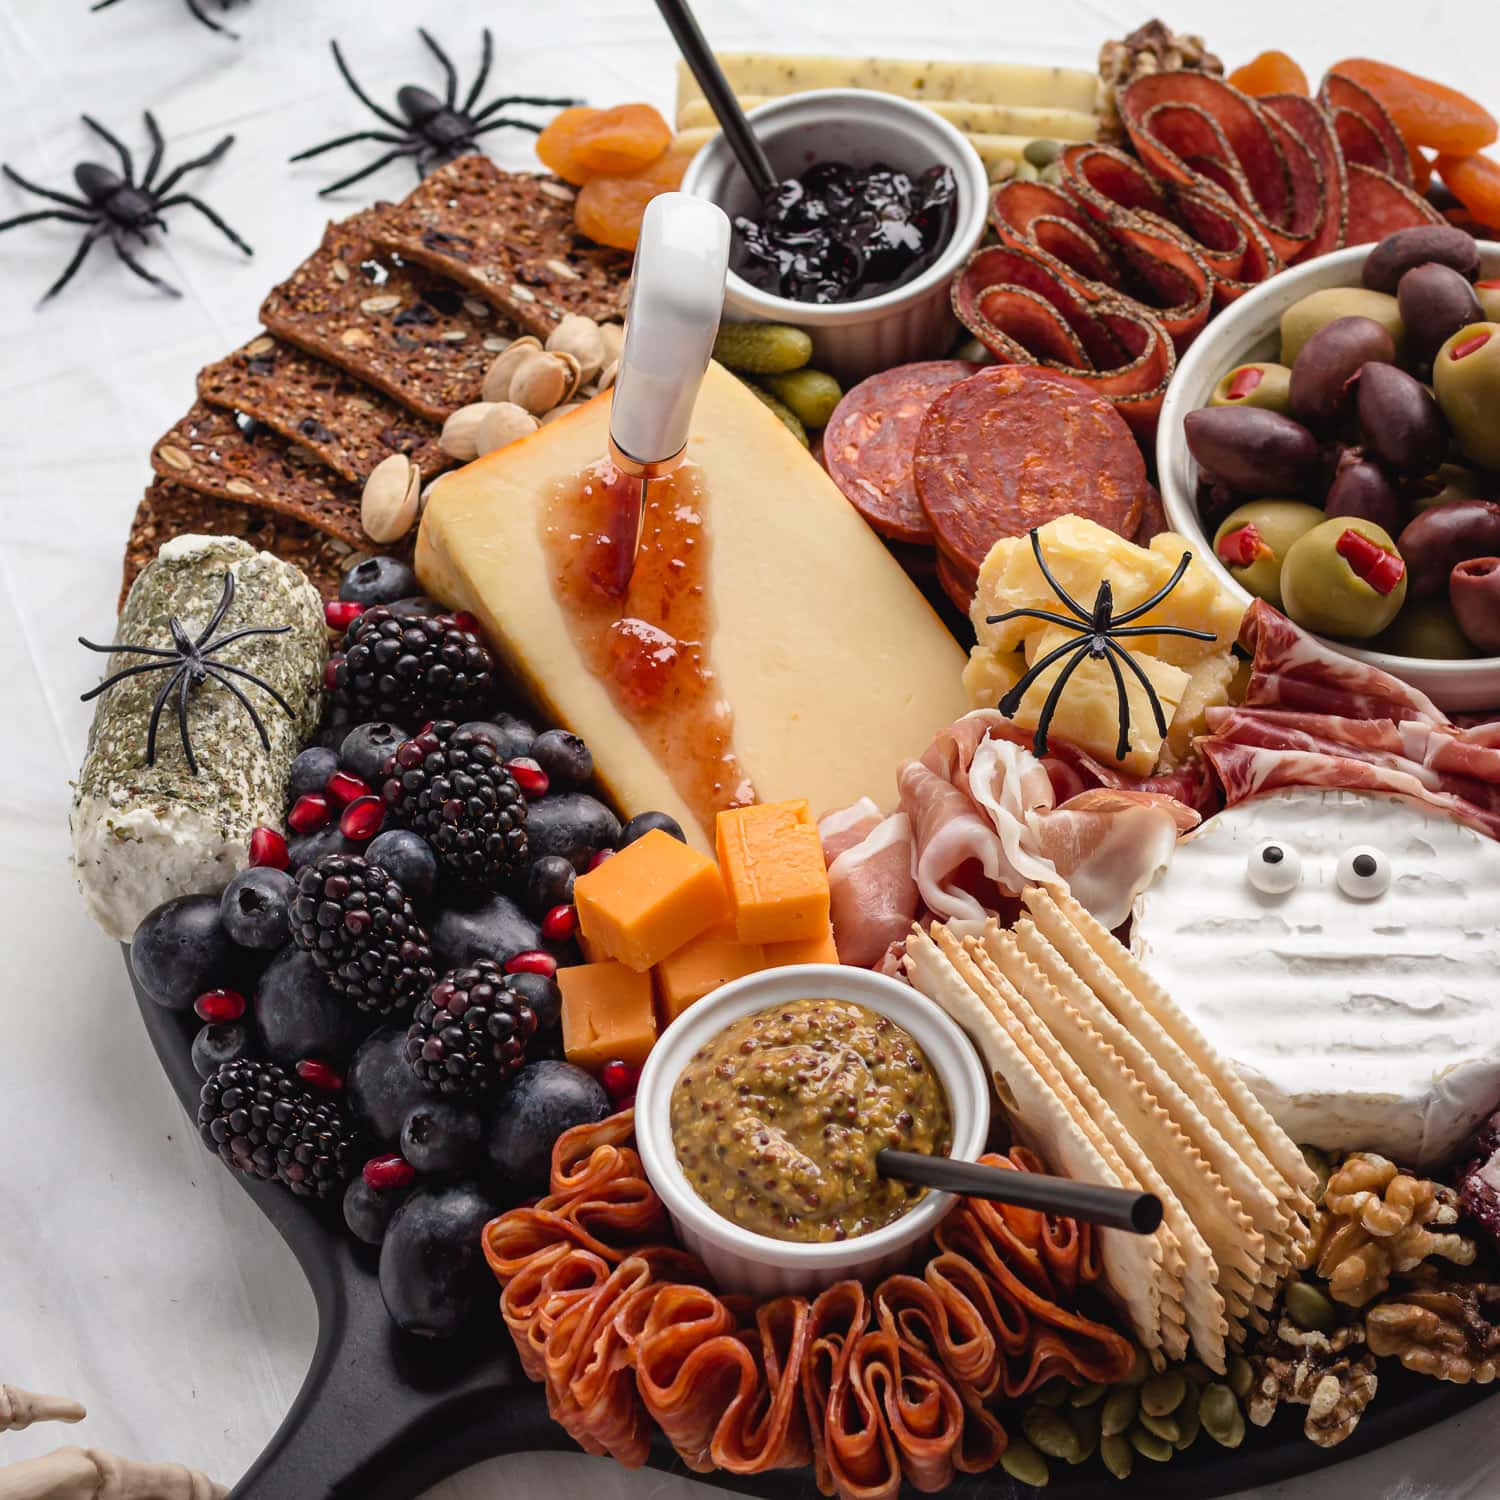
- Cutting and arranging meats and cheeses in different shapes and sizes creates a more interesting visual effect. For example, cured meats can be cut into thicker slices, cubes or thinly sliced and folded in various ways. Cheese can be left whole in a large wedge or round or it can be sliced, cut into cubes or crumbled. You can even cut some cheese into Halloween shapes with a cookie cutter.
- Don’t worry about making your charcuterie board look the exact same as these photos! Find inspiration at the store and purchase ingredients that you enjoy. Just focus on ingredients in Halloween colors and a few fun spooky touches!
What Do You Put On A Halloween Charcuterie Board
Include a variety of your favorite charcuterie board goodies: cheeses, cured meats, crackers, fruits, veggies, nuts/seeds, preserves or condiments, etc. To give it a spooky Halloween twist, choose ingredients in Halloween colors (black, orange, green, purple, red, white) and include a few fun spooky additions.
Here are some ideas:
- Cheese: Choose an assortment of your favorite cheeses including both hard, firm varieties and softer ones. Try to incorporate some different Halloween colors as well by including an orange cheese, white and perhaps even something purple or speckled (so many fun options out there!).
- Cured Meats: Prosciutto, salami, chorizo and bresaola are all great options with their deep colors.
- Crackers: Choose a variety of interesting crackers with different textures or colors. Slices of baguette are another option.
- Fruit: Grapes, blackberries, figs, dried apricots, blueberries, pomegranate, passion fruit, orange slices or segments are all great options that fit with the Halloween color scheme.
- Veggies: Olives, cornichon pickles, roasted red peppers, carrots and sliced bell peppers are all great options.
- Nuts & Seeds: Great for filling in the small gaps at the end! Walnuts, pumpkin seeds, almonds and pistachios, etc.
- Preserves, Condiments & Spreads: You can include small bowls of preserves, honey, mustard, olive tapenade or anything else that you feel will help accent the flavors of the cheeses or meats.
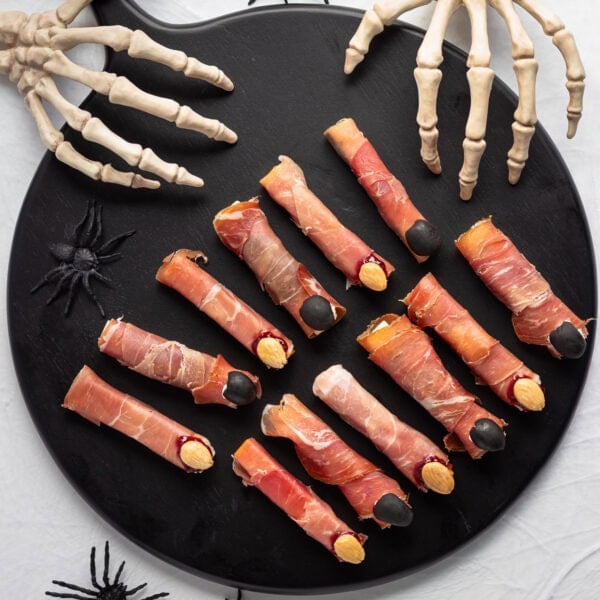
- Some spooky additions: You can also include some edible spooky touches like candy eyeballs, fruit or cheese cut into Halloween shapes with cookie cutters, Halloween shaped crackers or cookies, these savory witch fingers or Halloween candy (candy corn, mini pumpkins, gummy worms, chocolate pumpkins). You could even include some homemade Halloween treats like these Halloween Chocolate Covered Strawberries.
- Halloween decorations: The perfect finishing touch! Finish things off with some skeleton hands, plastic spiders, fake cobwebs underneath the board or any other fun Halloween decorations you find.
An example:
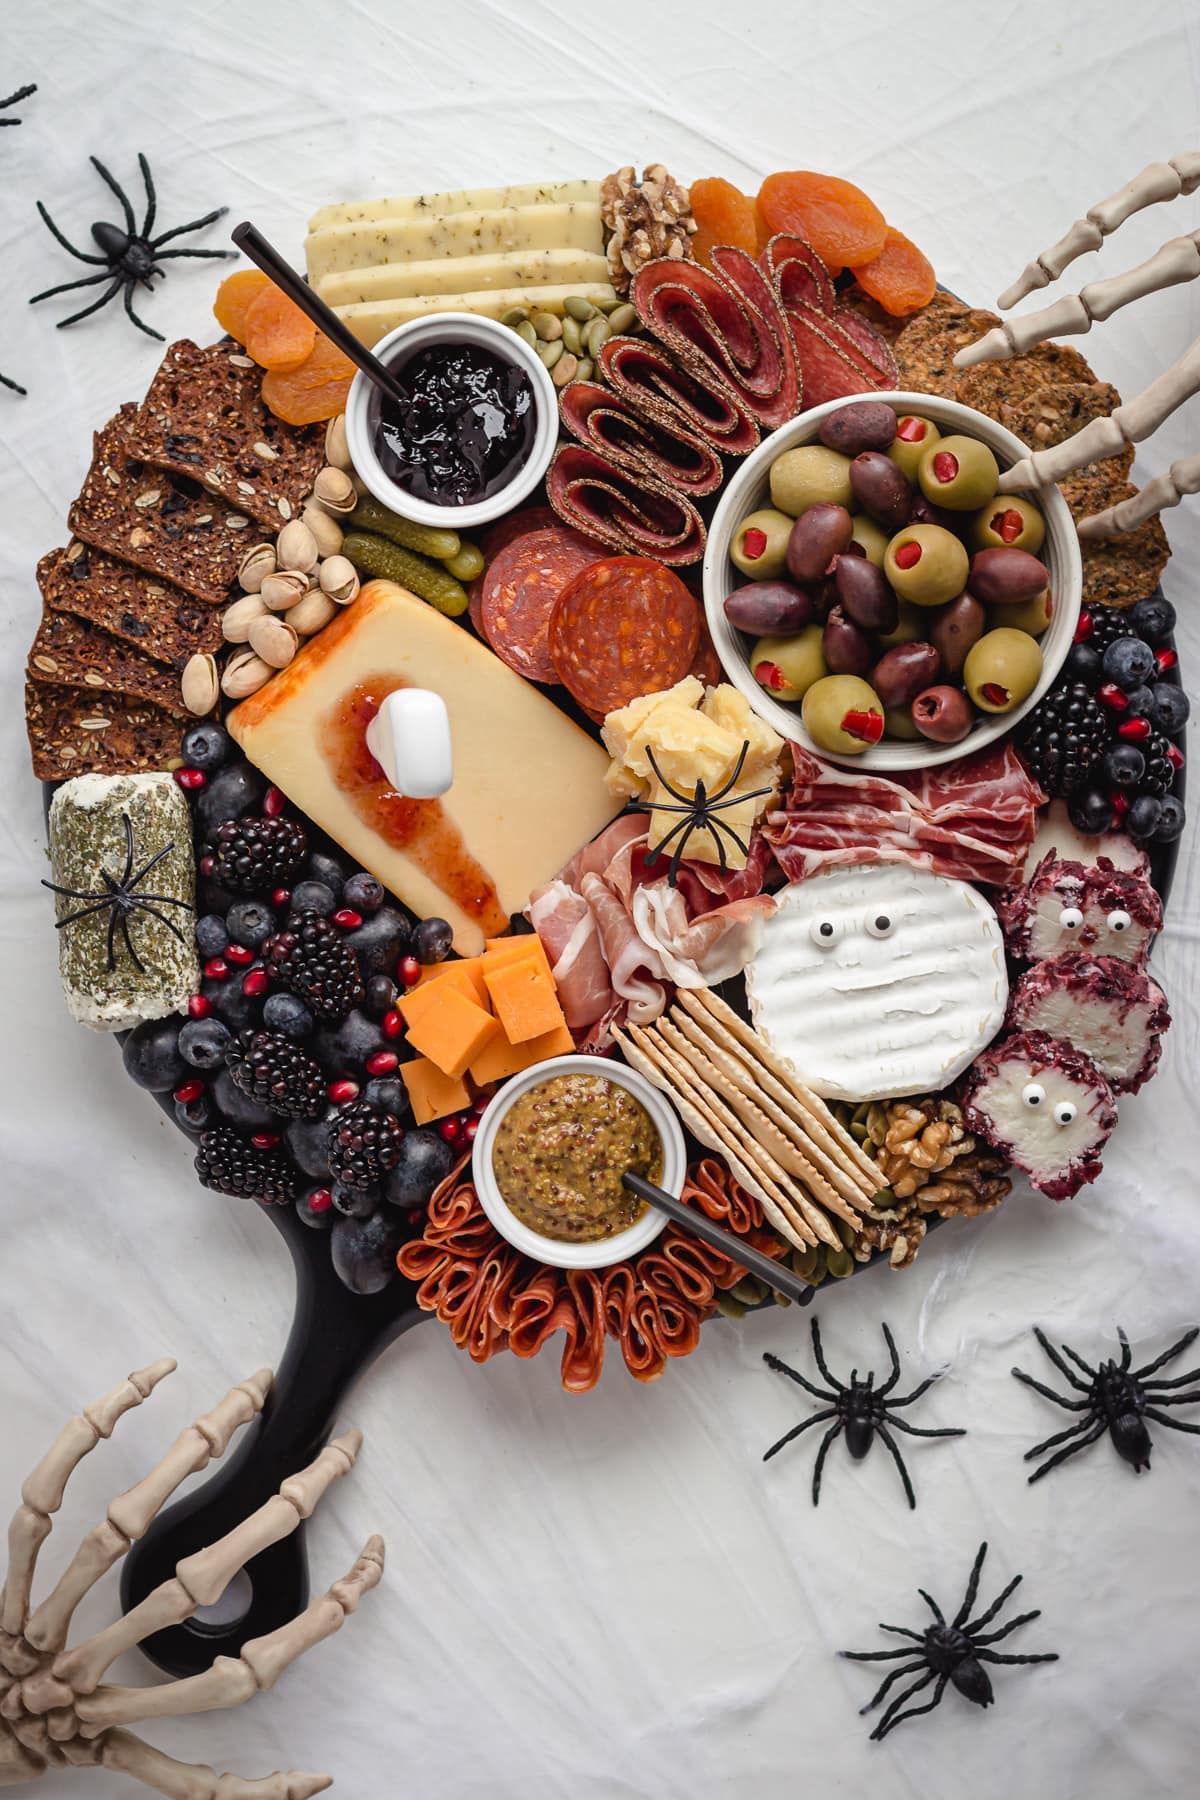
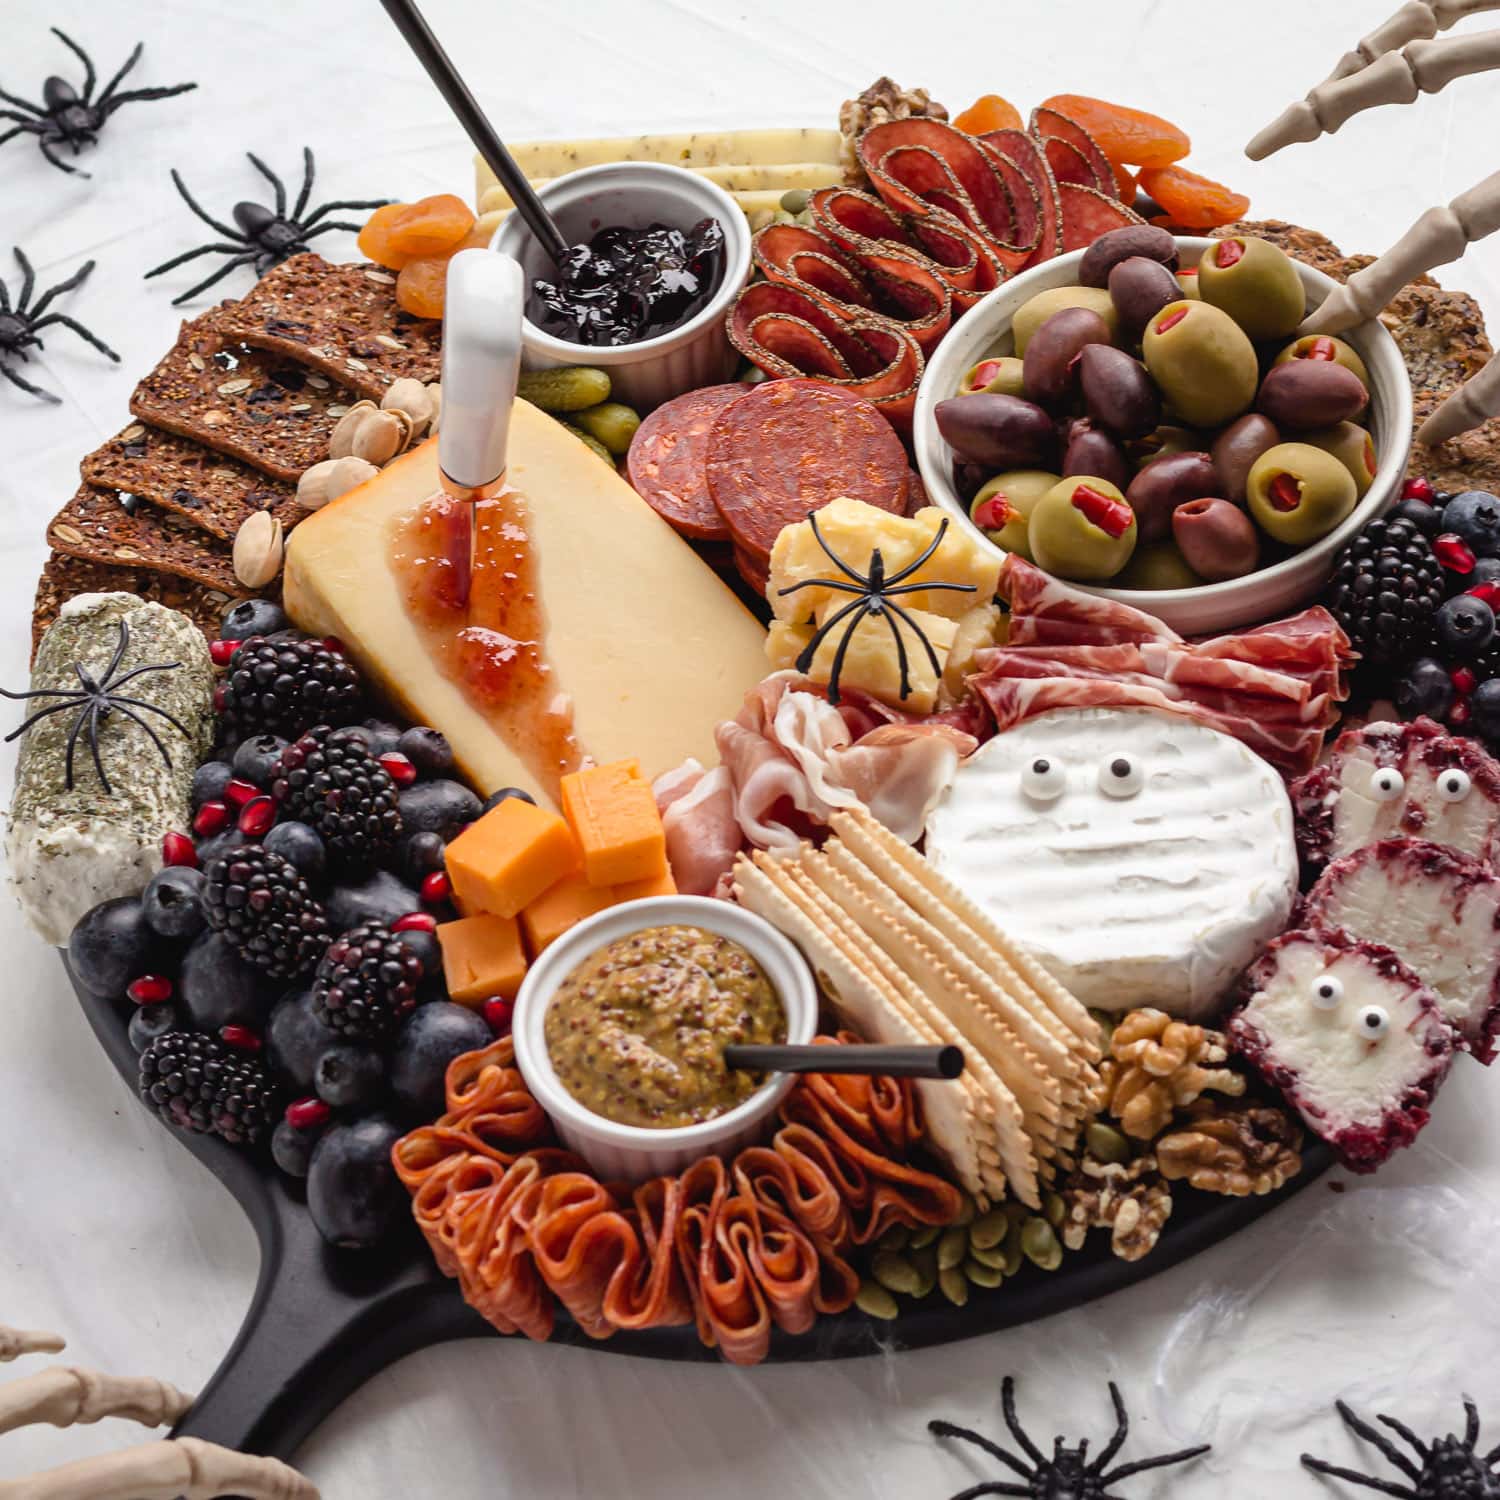
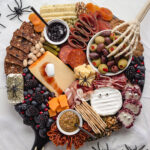
For the Halloween charcuterie board that was shown being assembled above, I used the following ingredients:
- Cheese: Applewood Smoked Cheddar, Brie, Cranberry Goats Milk Cheese, Herb and Garlic Gouda, Old Cheddar, Fine Herb Goat Cheese, Dubliner Ripened Cheese
- Cured Meats: Chorizo, Pepper Salami, Calabrese Salami, Prosciutto, Coppa Di Parma
- Crackers: La Panzanella Mini Croccantini Crackers, Raincoast Crisps Fig and Olive Crackers, Mary’s Organic Super Seed Crackers
- Fruit: black grapes, blackberries, blueberries, pomegranate arils, dried apricots
- Veggies: olives, cornichons
- Nuts & Seeds: walnuts, pumpkin seeds, pistachios
- Preserves & Condiments: stone ground mustard, wine jam
- Spooky Additions: candy eyeballs, plastic spiders, skeleton hands and a small cheese knife stabbed into the applewood smoked cheddar wedge with some wine jam dripping down to look like blood
You do not need to use these exact ingredients though. Use the list of ideas above for inspiration. The fun and versatile part of these boards is that you can use whatever ingredients you like or find. Just remember to focus on Halloween colors and a few spooky touches.
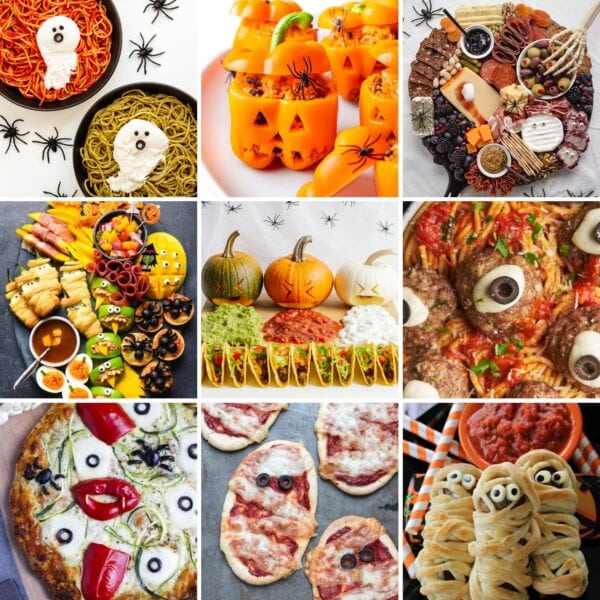
More Halloween Charcuterie Board Ideas
Looking for more inspiration? Check out these other Halloween inspired charcuterie boards! Everything from creepy and spooky to cute and whimsical ideas – ranging from more traditional charcuterie board ingredients to desserts and even a Halloween taco board that was too fun not to include!
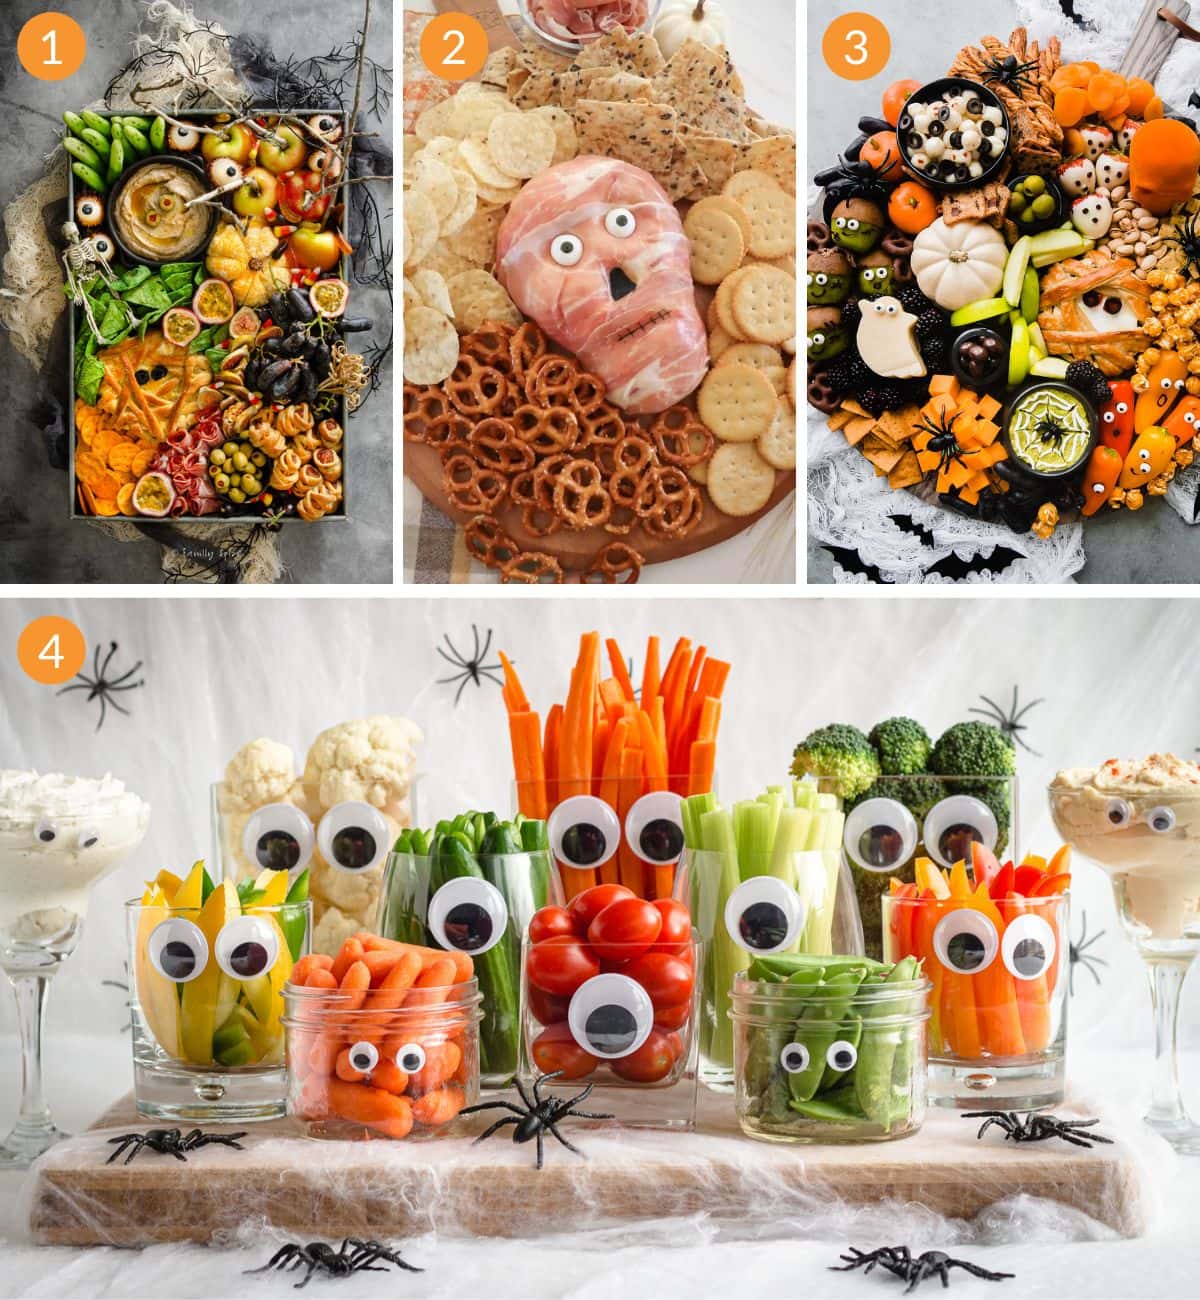
- Halloween Snack Board by Family Spice
- Creepy Halloween Cheese Ball by Homemade Heather
- Char’Boo’terie Board by Little Spice Jar
- Monster Halloween Veggie Tray by Maple + Mango
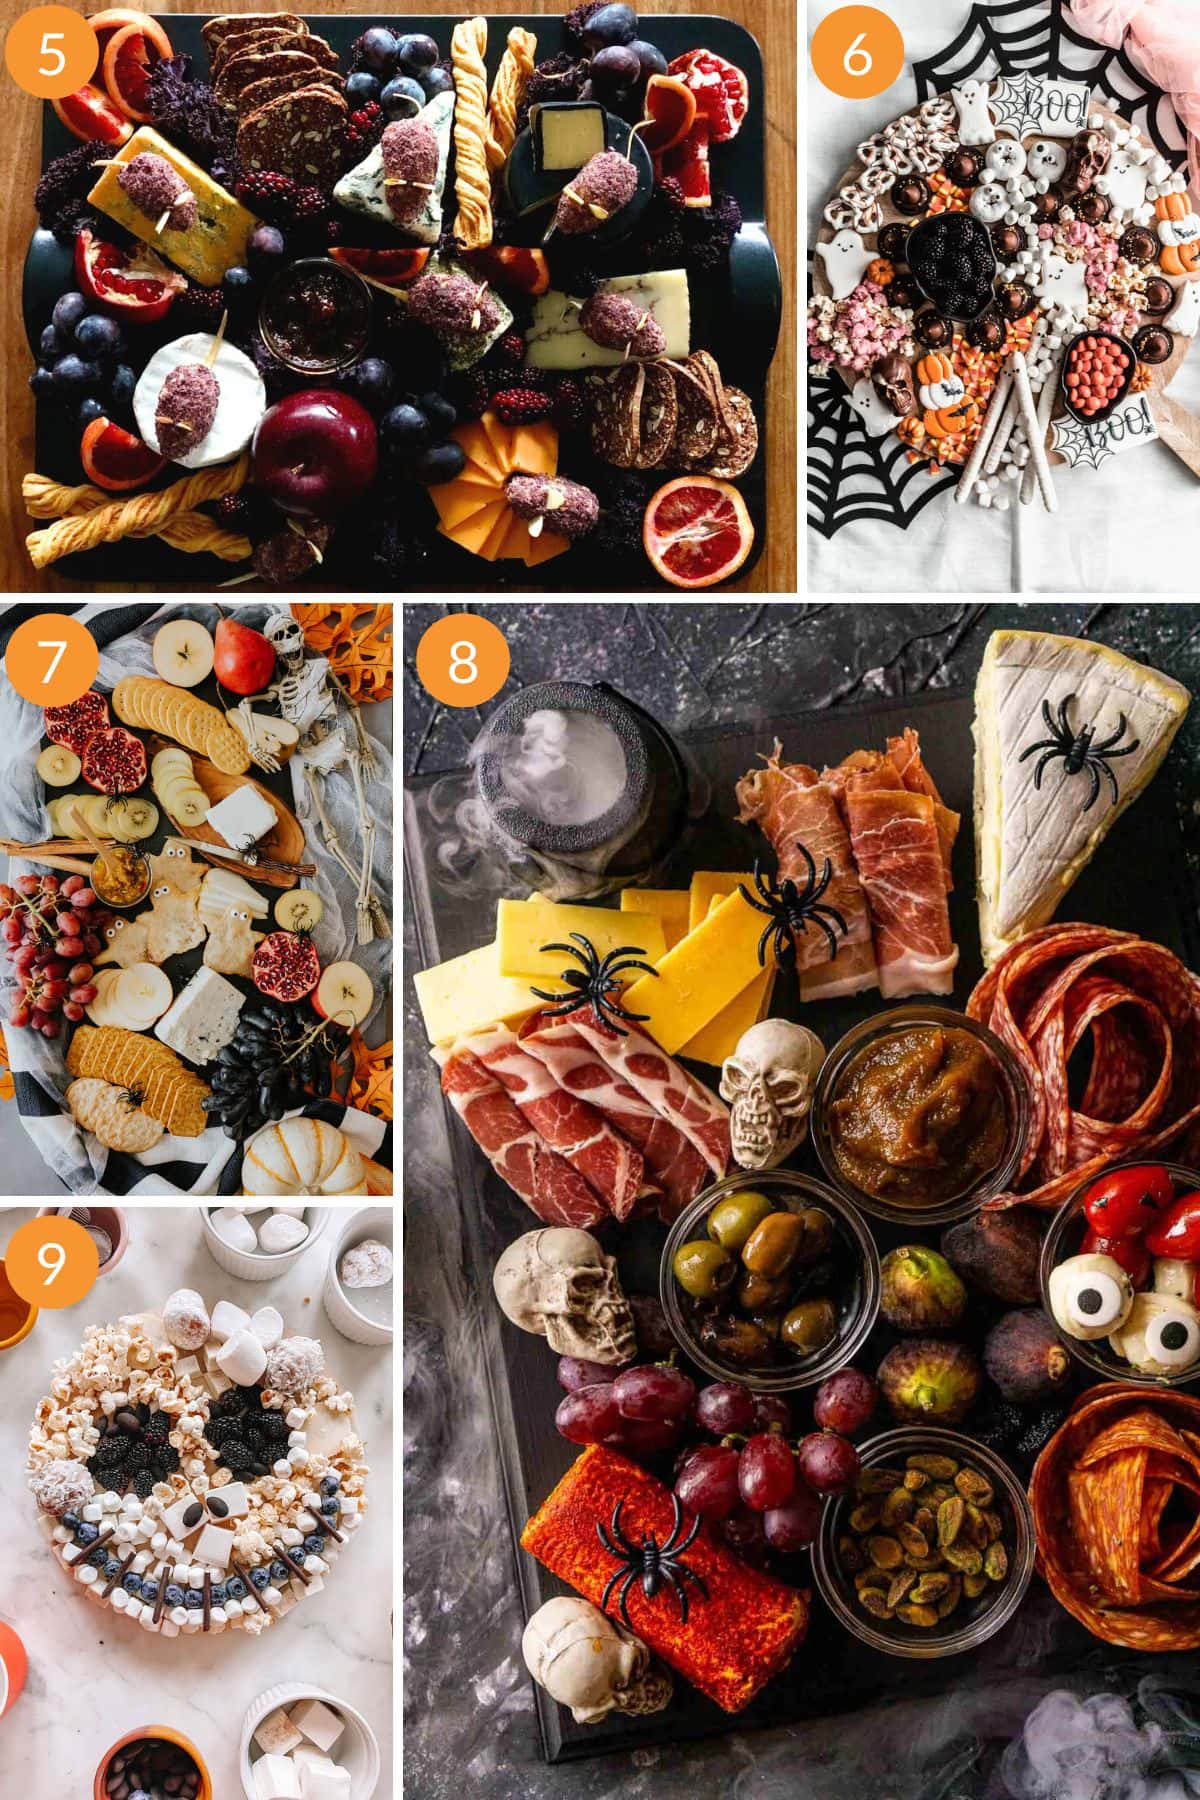
- Cheddar Cheese Mice by Style and Grace
- Halloween Treat Board by The Windy City Dinner Fairy
- Spooky Halloween Cheese Board by Muy Bueno
- Halloween Charcuterie and Cheese Board by Burrata and Bubbles
- Jack Skellington Dessert Board by Studio DIY
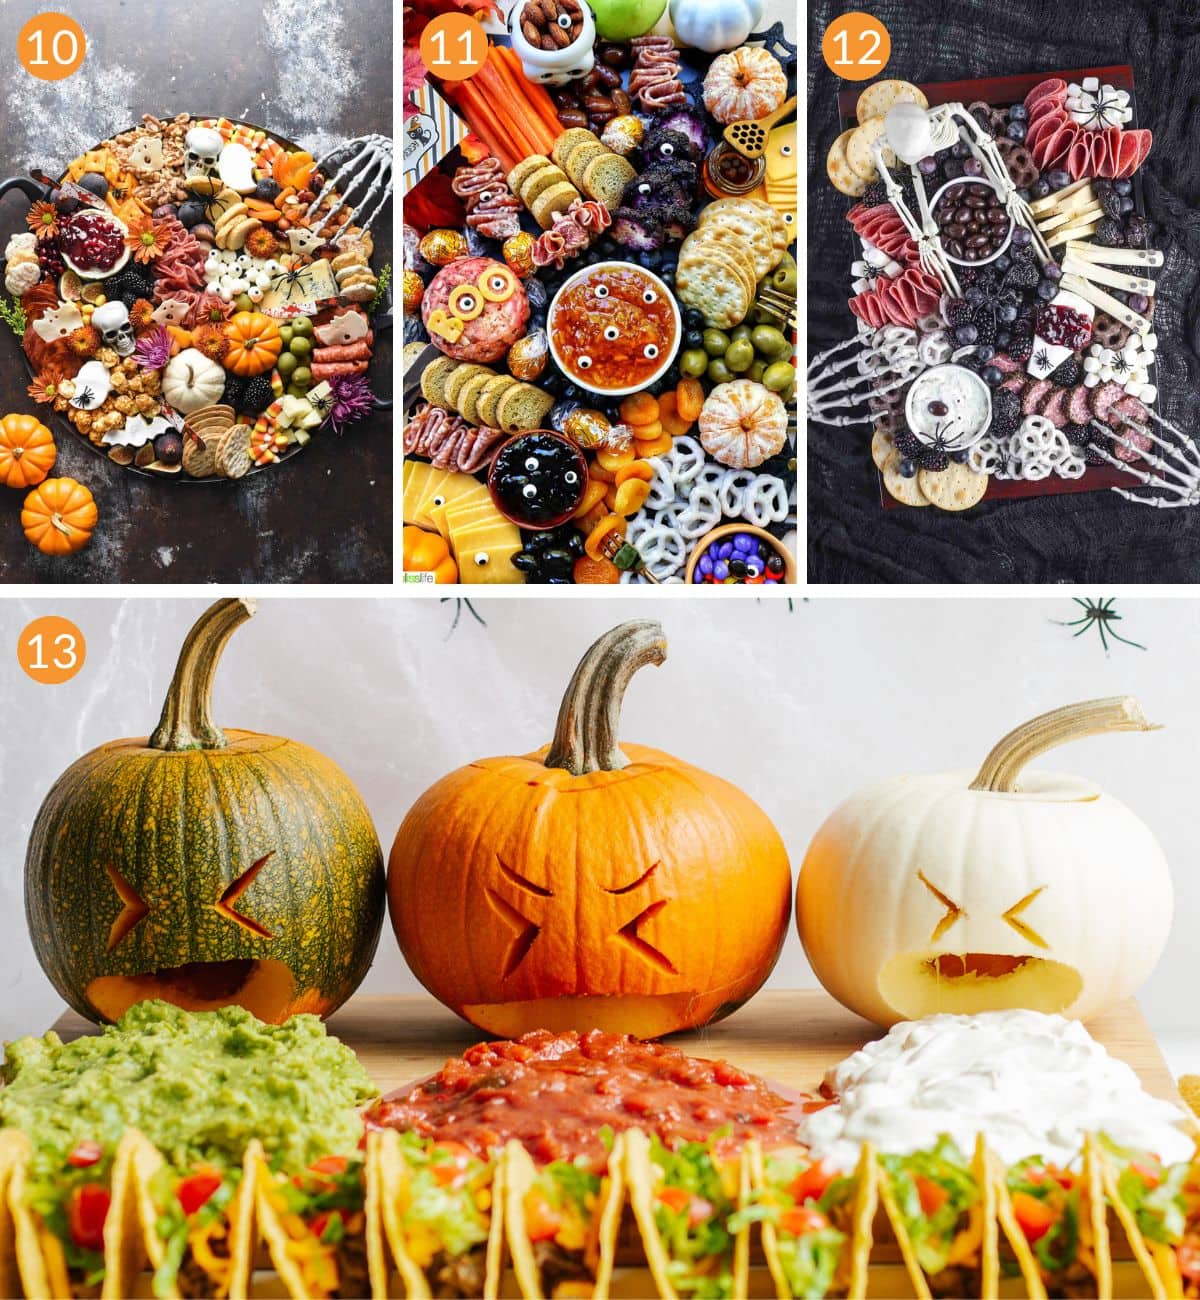
- Charcuterie Board for Halloween by Foxes Love Lemons
- Easy Halloween Themed Board by Urban Bliss Life
- Halloween Board by Aleka’s Get-Together
- Puking Pumpkin Halloween Taco Board by Maple + Mango
FAQ
Any kind you have! If you have a charcuterie or cheese board, then this is the perfect opportunity to use it but you don’t need one. You can use a wooden cutting board, serving platter, tray, baking sheet, pizza pan or even just place some parchment paper or butcher paper down the center of your table as a base. Use what you have! However, if you are looking for a board, then you might like some of these options on Amazon and Etsy.
You can assemble your board up to 8 hours ahead of time if you have the space in your fridge. Just cover it with plastic wrap and refrigerate until ready to serve. I recommend leaving off crackers until right before serving since they can get stale and soggy in the fridge. But what if you don’t have the fridge space for an assembled board? Another option is to prepare all the components ahead of time, store in separate containers in the fridge and then quickly assemble the board before your guests arrive.
There is no “right way” to do this. My preference is to work from large to small items. I start off by placing any small bowls I might be using and larger ingredients like wedges or rounds of cheese left whole. Then I start filling in the spaces with the remaining ingredients and fill any gaps at the end with small items like nuts/seeds, berries, etc.
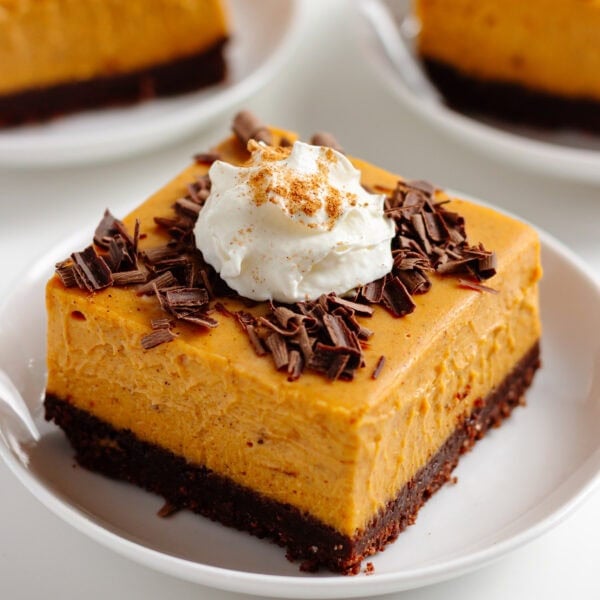
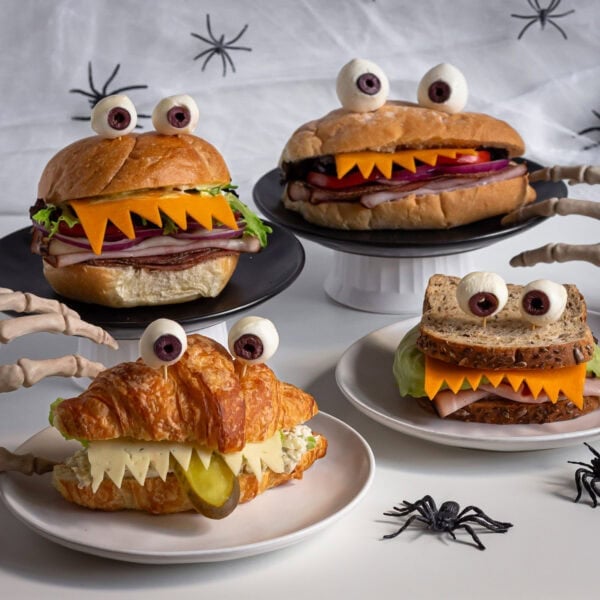
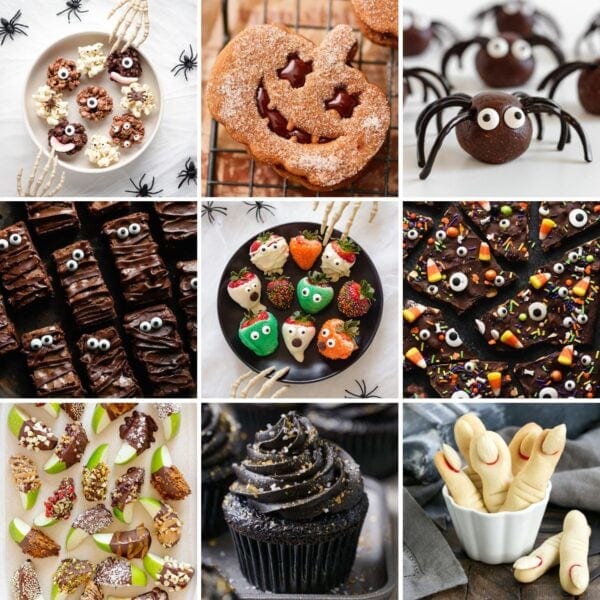
More Halloween Recipes
Here are a few more fun and spooky recipes to make this Halloween!

I hope you have fun assembling your own Halloween Charcuterie Board! Leave me a comment below if you make one or tag me on Instagram with your spooky creations!
Spooky Halloween Charcuterie Board
- Prep Time: 30 min
- Cook Time: 0 min
- Total Time: 30 min
- Yield: varies
- Category: Appetizer, Party Food, Snack
- Method: Assemble
- Cuisine: American
Description
This spooky Halloween charcuterie board is the perfect choice if you are looking for a simple yet impressive Halloween appetizer or snack. It’s super easy to assemble – no cooking, just arranging! Use this simply as a guideline and have fun with it. For more inspiration, take a look at all the Halloween charcuterie board ideas in the post.
Ingredients
Choose a variety of your favorite charcuterie board ingredients and a few spooky additions. Choose foods with Halloween colors (orange, black, red, purple, green, white). Here are some ideas:
- Cheese: Choose an assortment of your favorite cheeses including both hard, firm varieties and softer ones. Try to incorporate some different Halloween colors as well by including an orange cheese, white and perhaps even something purple or speckled (so many fun options out there!).
- Cured Meats: Prosciutto, salami, chorizo and bresaola are all great options with their deep colors.
- Crackers: Choose a variety of interesting crackers with different textures or colors. Slices of baguette are another option.
- Fruit: Grapes, blackberries, figs, dried apricots, blueberries, pomegranate, passion fruit, orange slices or segments are all great options that fit with the Halloween color scheme.
- Veggies: Olives, cornichon pickles, roasted red peppers, carrots and sliced bell peppers, etc.
- Nuts & Seeds: Walnuts, pumpkin seeds, almonds, pistachios, etc.
- Preserves, Condiments & Spreads: You can include small bowls of preserves, honey, mustard, olive tapenade or anything else that you feel will help accent the flavors of the cheeses or meats.
- Some Spooky Additions: Edible spooky touches like candy eyeballs, fruit or cheese cut into Halloween shapes with cookie cutters, Halloween shaped crackers or cookies, prosciutto cheese witch fingers or Halloween candy (candy corn, mini pumpkins, gummy worms, chocolate pumpkins). You could even include some homemade Halloween treats like these Halloween Chocolate Covered Strawberries.
- Halloween Decorations: The perfect finishing touch! Finish things off with some skeleton hands, plastic spiders, fake cobwebs underneath the board or any other fun Halloween decorations you find.
Instructions
- Place large items first: Start off by placing the larger items on first such as any small bowls of ingredients like olives and larger wedges of cheese. Working from large to small items, makes the board much easier to assemble since you can fill in the gaps with the small items at the end.
- Fill in spaces: Next, start filling in the spaces with crackers, cured meats, cut up cheeses, fruit, Halloween treats, etc.
- Fill in remaining small gaps: Fill in the remaining gaps with small items such as nuts/seeds and berries.
- Add spooky touches: Finally, finish by adding in some spooky Halloween touches like skeleton hands, candy eyeballs, plastic spiders, etc.
Notes
- There are no rules! Don’t worry about making your charcuterie board look the exact same as the photos! Use them for inspiration, purchase foods that you enjoy and have fun with it! Just focus on ingredients in Halloween colors and a few fun spooky touches!
- What kind of board do I need? If you have a charcuterie or cheeseboard, then this is the perfect time to pull it out. If not, no worries! You can use a wooden cutting board, serving platter, tray, baking sheet, pizza pan or even just place some parchment paper or butcher paper down the center of your table to use as a base. Use what you have!
- Tip: Cutting and arranging meats and cheeses in different shapes and sizes creates a more interesting visual effect. For example, cured meats can be cut into thicker slices, cubes or thinly sliced and folded in various ways. Cheese can be left whole in a large wedge or round or it can be sliced, cut into cubes or crumbled. You can even cut some cheese into Halloween shapes with a cookie cutter.
- Prep time and yield will vary depending on the types of foods you are including and the size of board you are assembling. It can be simple or elaborate, small or large. So versatile and customizable!
⬇ PIN it for later! ⬇


I needed an epic party idea and this is it! Everyone loved it.
Yay! I’m so happy it was a hit!
Love Charcuterie anytime of year.
Same here!
We really like this recipe. Never knew it was this easy to make.
This is such a fun way to feed guests for halloween. I can’t wait to do it on Halloween night.
This looks like such fun to make and eat. I love the fruit combination of the red and black, so I’ll be making this on Halloween.
Creative and Impressive. Thank you for all the tips and tricks to curate a wonderful Halloween special charcuterie boards…
What a fun and festive spread for Halloween! Looking forward to serving this for our annual Halloween party this year; looks too good to pass up, indeed!