This post may contain affiliate links. See my disclosure policy.
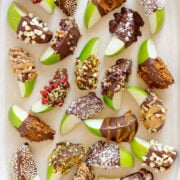
Take your snack game up a notch with these delicious chocolate dipped apple slices. Easy to make and totally customizable with all your favorite toppings!
4 Reasons To Love These Chocolate Apple Slices
- Easy to make (and eat): These are so quick and easy to make with a few simple ingredients. You could also completely cover them in chocolate or insert sticks but I’m keeping this super simple with a quick dip in chocolate and toppings while holding onto the end of the apple slice. This also makes them easier to eat later without getting chocolate all over your fingers.
- Yummy snack or treat: Apples dipped in chocolate…need I say more?! They would also be great as a healthier Halloween snack idea or Valentine’s Day treat.
- Customizable: Customize with your favorite toppings. The options are endless. Check out the Topping Ideas section below for some inspiration.
- Kid friendly: These would be a fun after school snack or weekend activity to do with the kids. Set up various toppings in bowls so that they can customize their own apple slices.
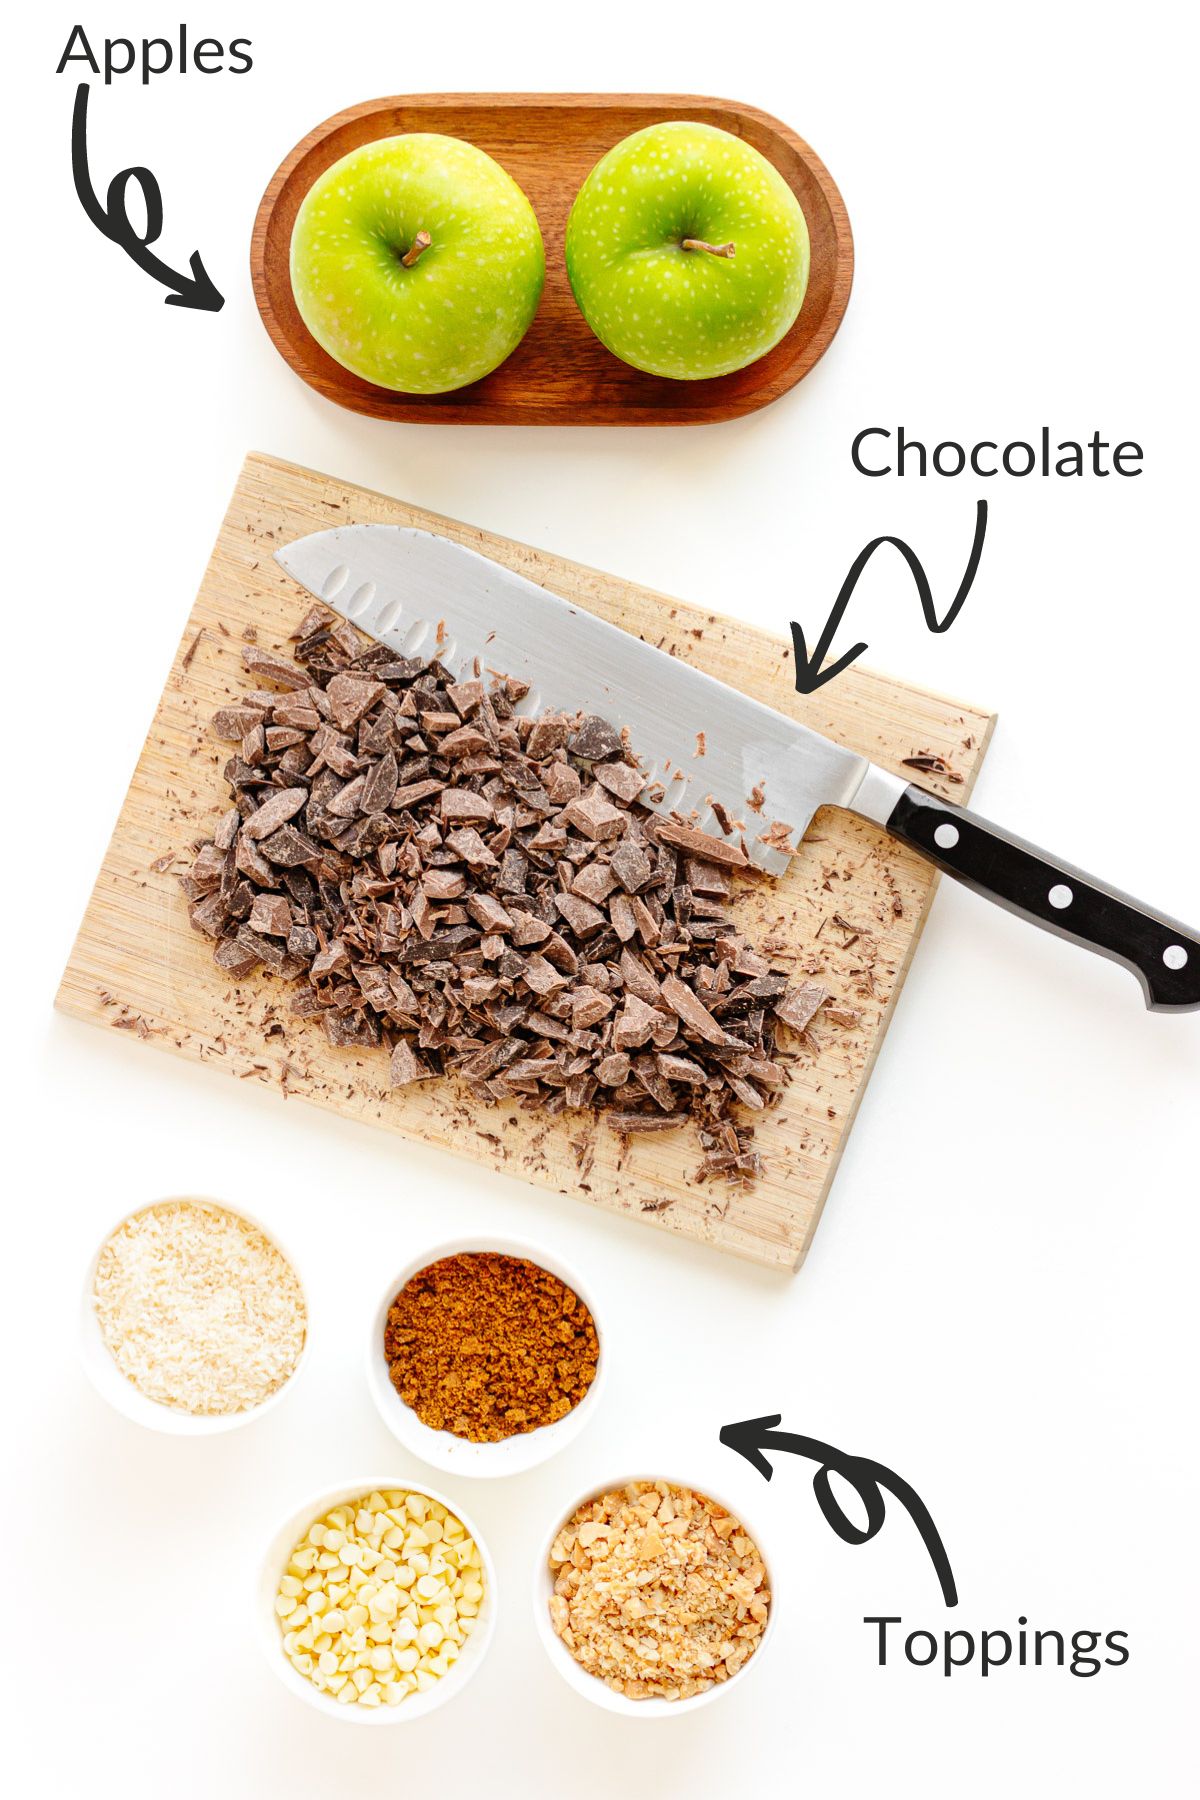
Ingredient Notes
All you need is apples, chocolate and toppings!
Detailed ingredient list and directions located in the recipe card below.
- Apples: You want to choose a firm apple. I like to use Granny Smith, Honeycrisp or Fuji apples.
- Chocolate: Use a good quality chocolate or baking chocolate. It melts easily and tastes delicious. Make sure it has cocoa butter in the ingredients. You can use semi-sweet, dark or milk chocolate. I do not recommend melting chocolate chips for dipping since they don’t tend to melt as nicely. They contain stabilizers to help them keep their shape and when they are melted they have a somewhat cloudy, thicker texture vs the smooth texture you get when melting baking chocolate.
- Toppings: Get creative – there are so many options! Check out the Topping Ideas section.
Some recommended chocolate brands: These all work well for melting and dipping fruit. If it’s in a bar shape, chop it up first into small pieces before melting.
How To Make Chocolate Dipped Apple Slices
These chocolate apple slices are so easy to make! Let’s walk through it step by step.
Step 1: Slice apples
Slice two apples into 8 wedges each, removing the core and seeds. Dry off really well with paper towel.

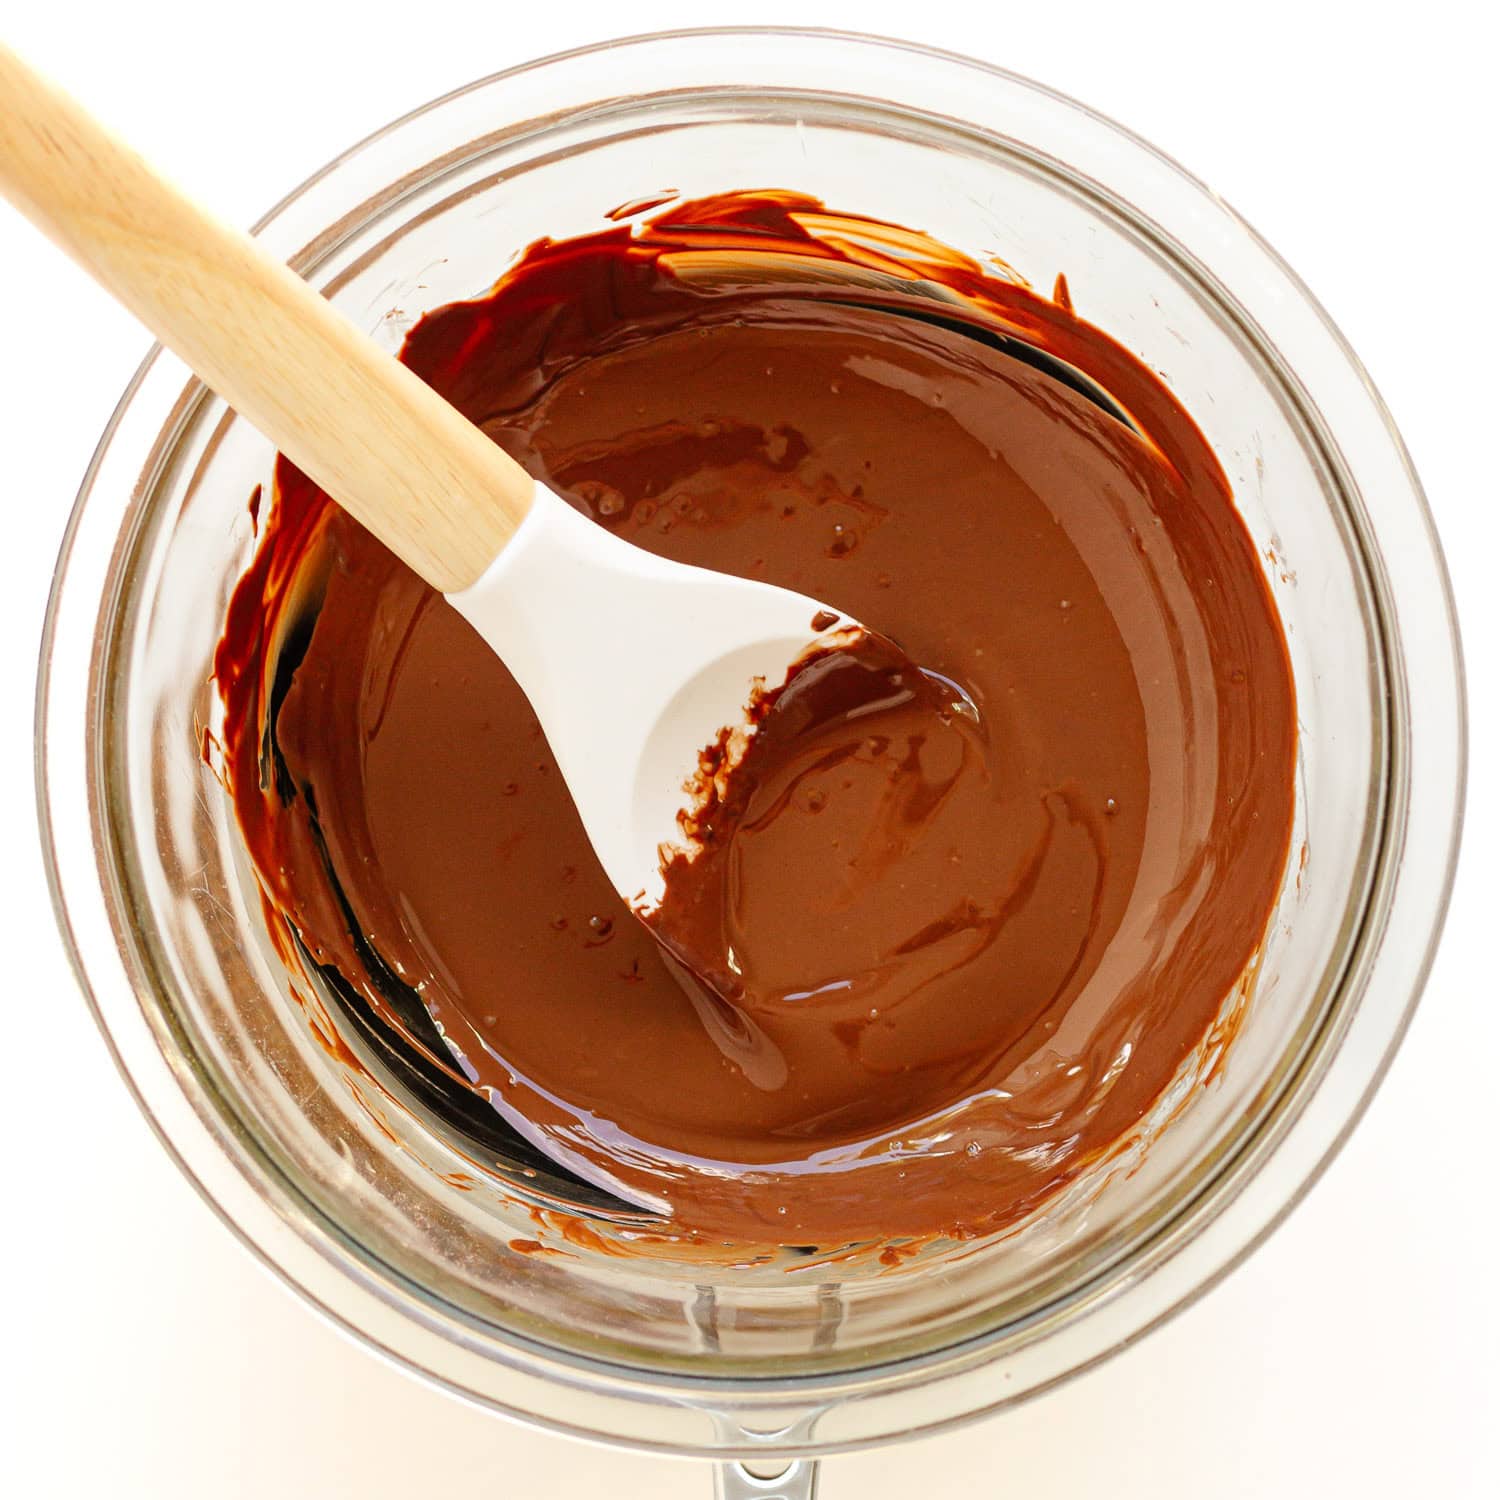
Step 2: Melt chocolate
My favorite method for melting chocolate is to use a homemade double boiler (heat-safe glass bowl and saucepan). If you happen to have a real double boiler, use that!
Grab 6 ounces (170 grams) of chocolate (semi-sweet, milk or dark) and chop it up first into small pieces if in bar form. Set aside a small handful of the chocolate. Place the remaining chocolate in a heat-proof bowl set over a saucepan filled with 1-inch of barely simmering water (making sure the water does not touch the bottom of the bowl).
Stir constantly until the chocolate is melted. Remove from the heat and stir in the reserved chocolate until melted and the mixture is smooth.
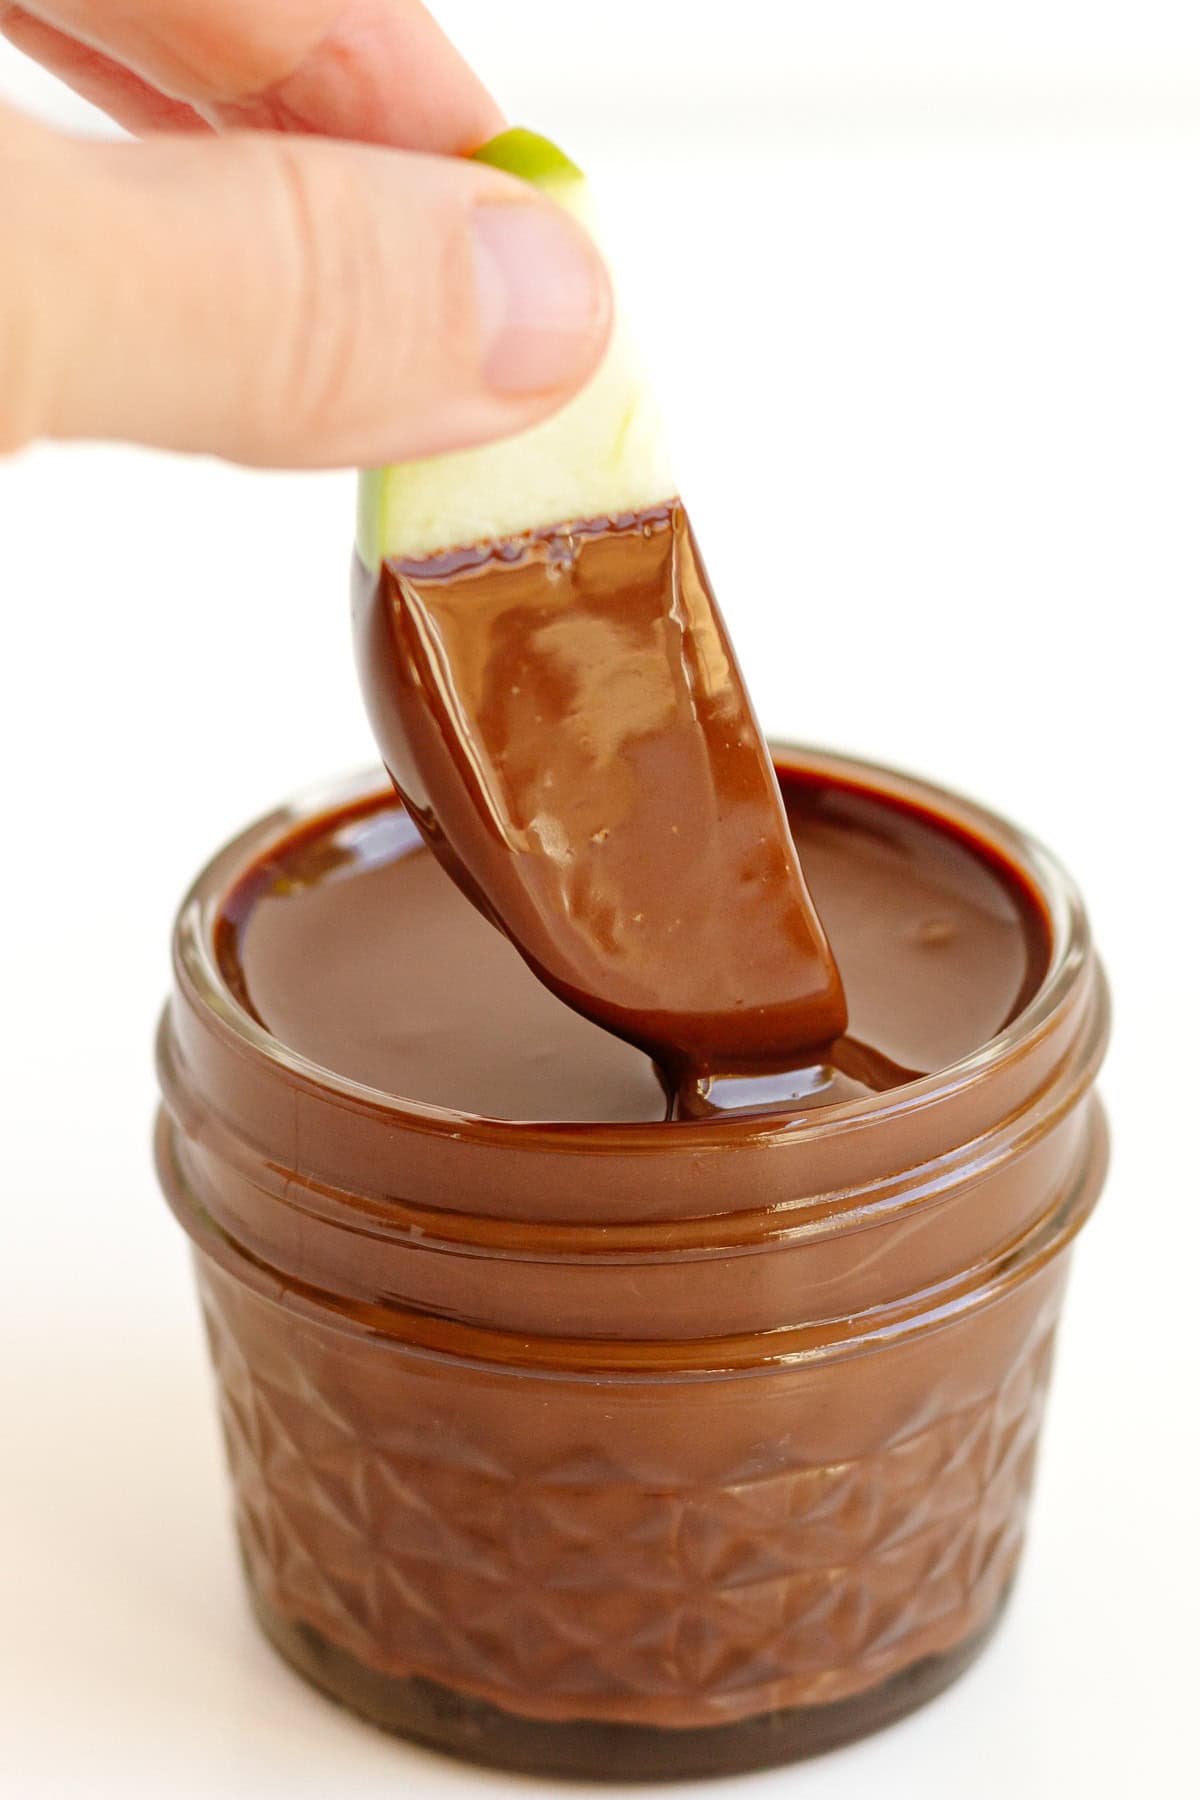
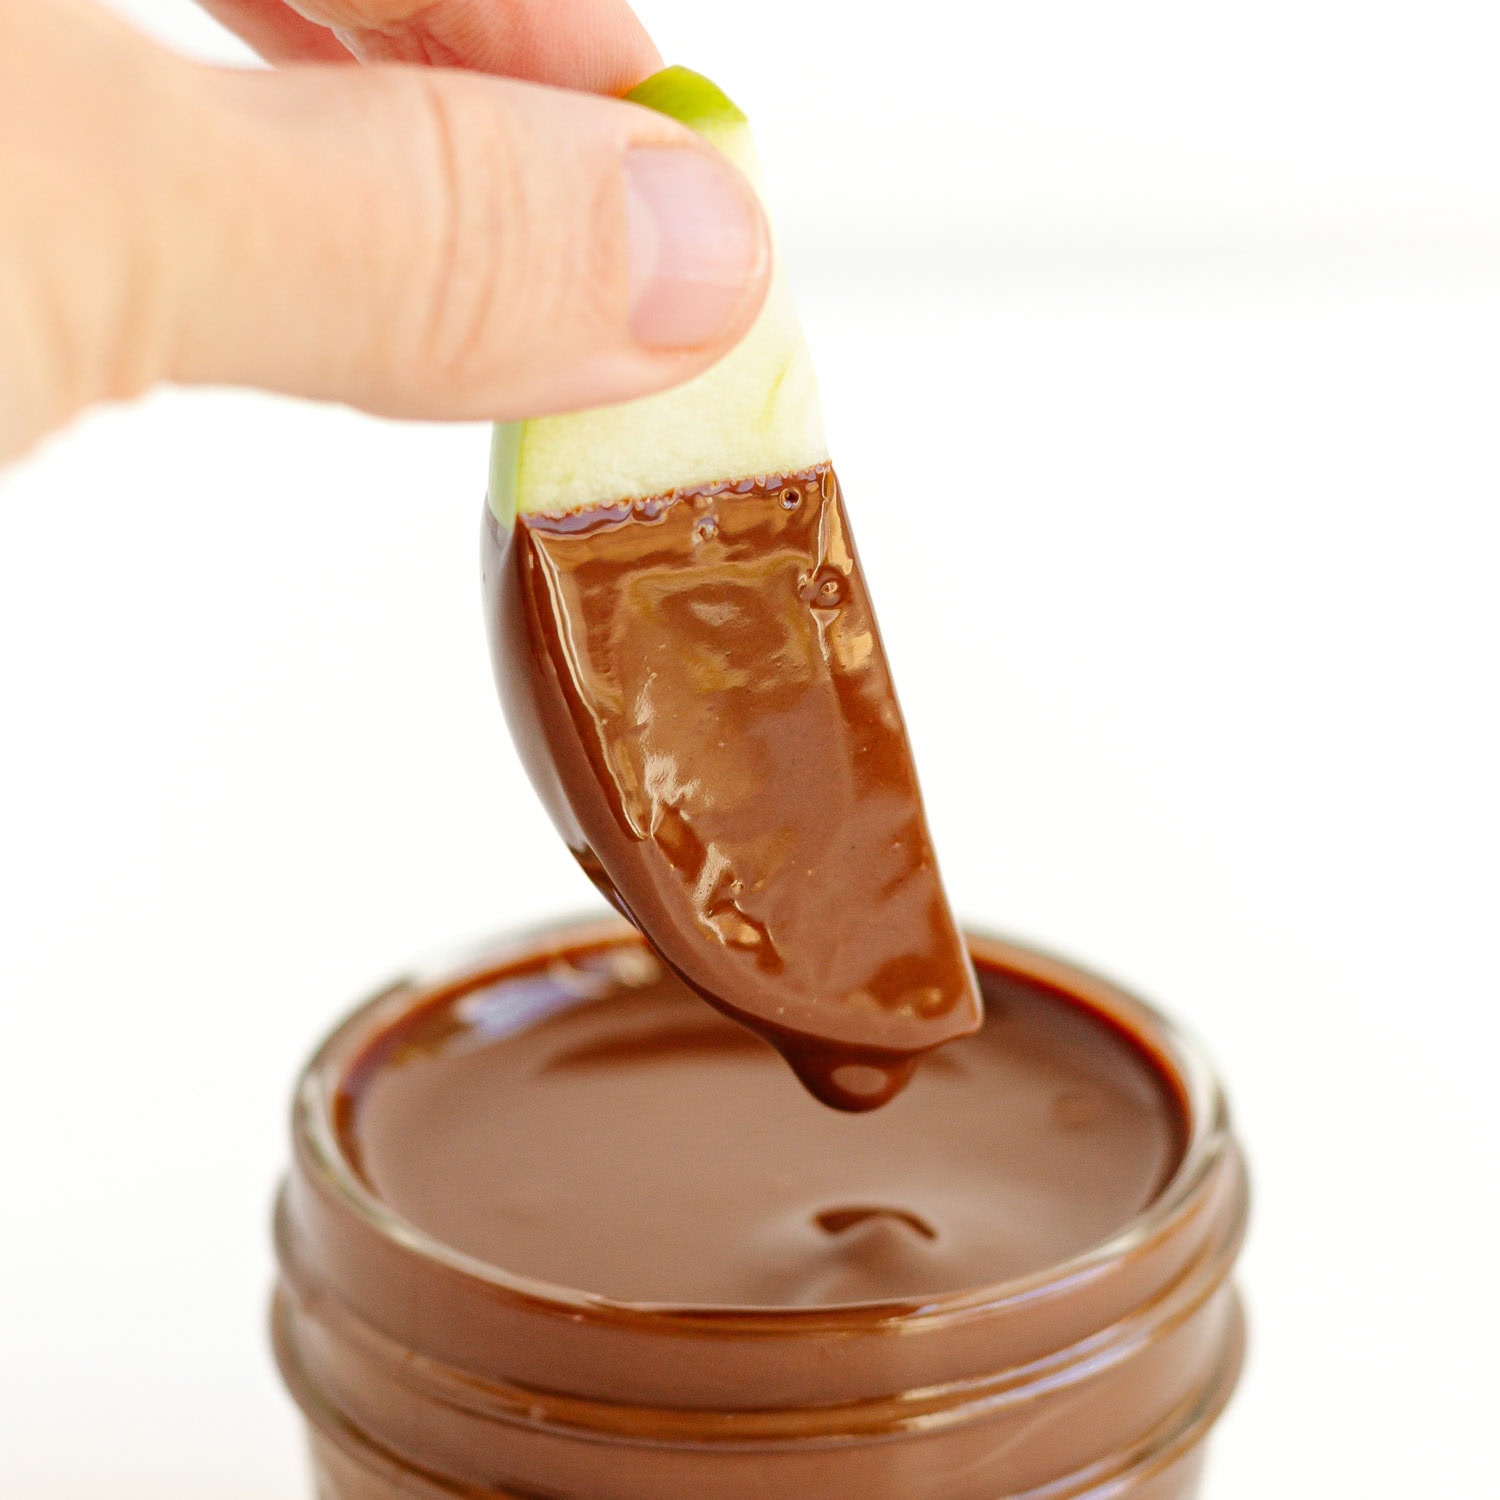
Step 3: Dip apple slices
Hold an apple slice on one end and dip into the melted chocolate so that about ¾ of the slice is covered in chocolate. This is the quick and easy way to dip the apple slices and also leaves a nice chocolate-free spot to grab later when eating. Sure, you could also cover them completely in chocolate or insert sticks but I’m keeping this simple.
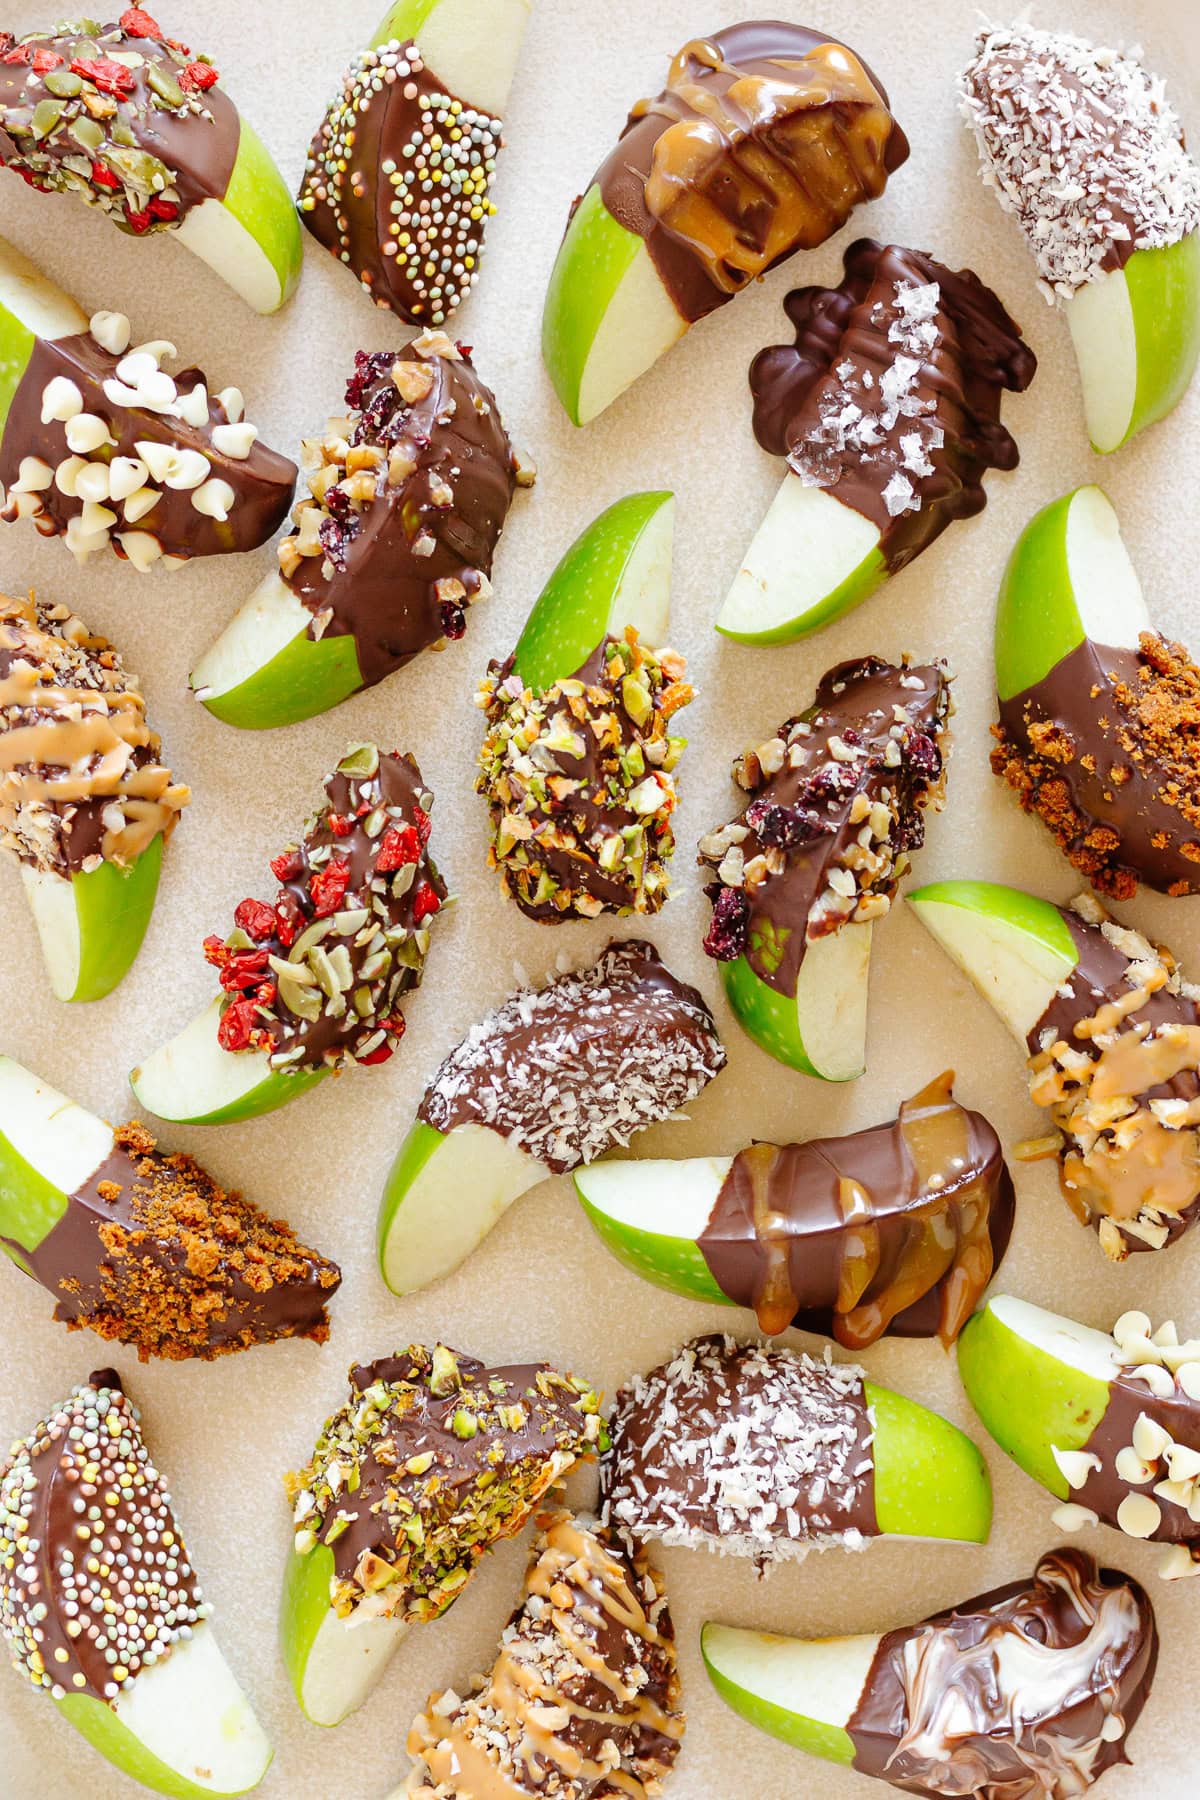
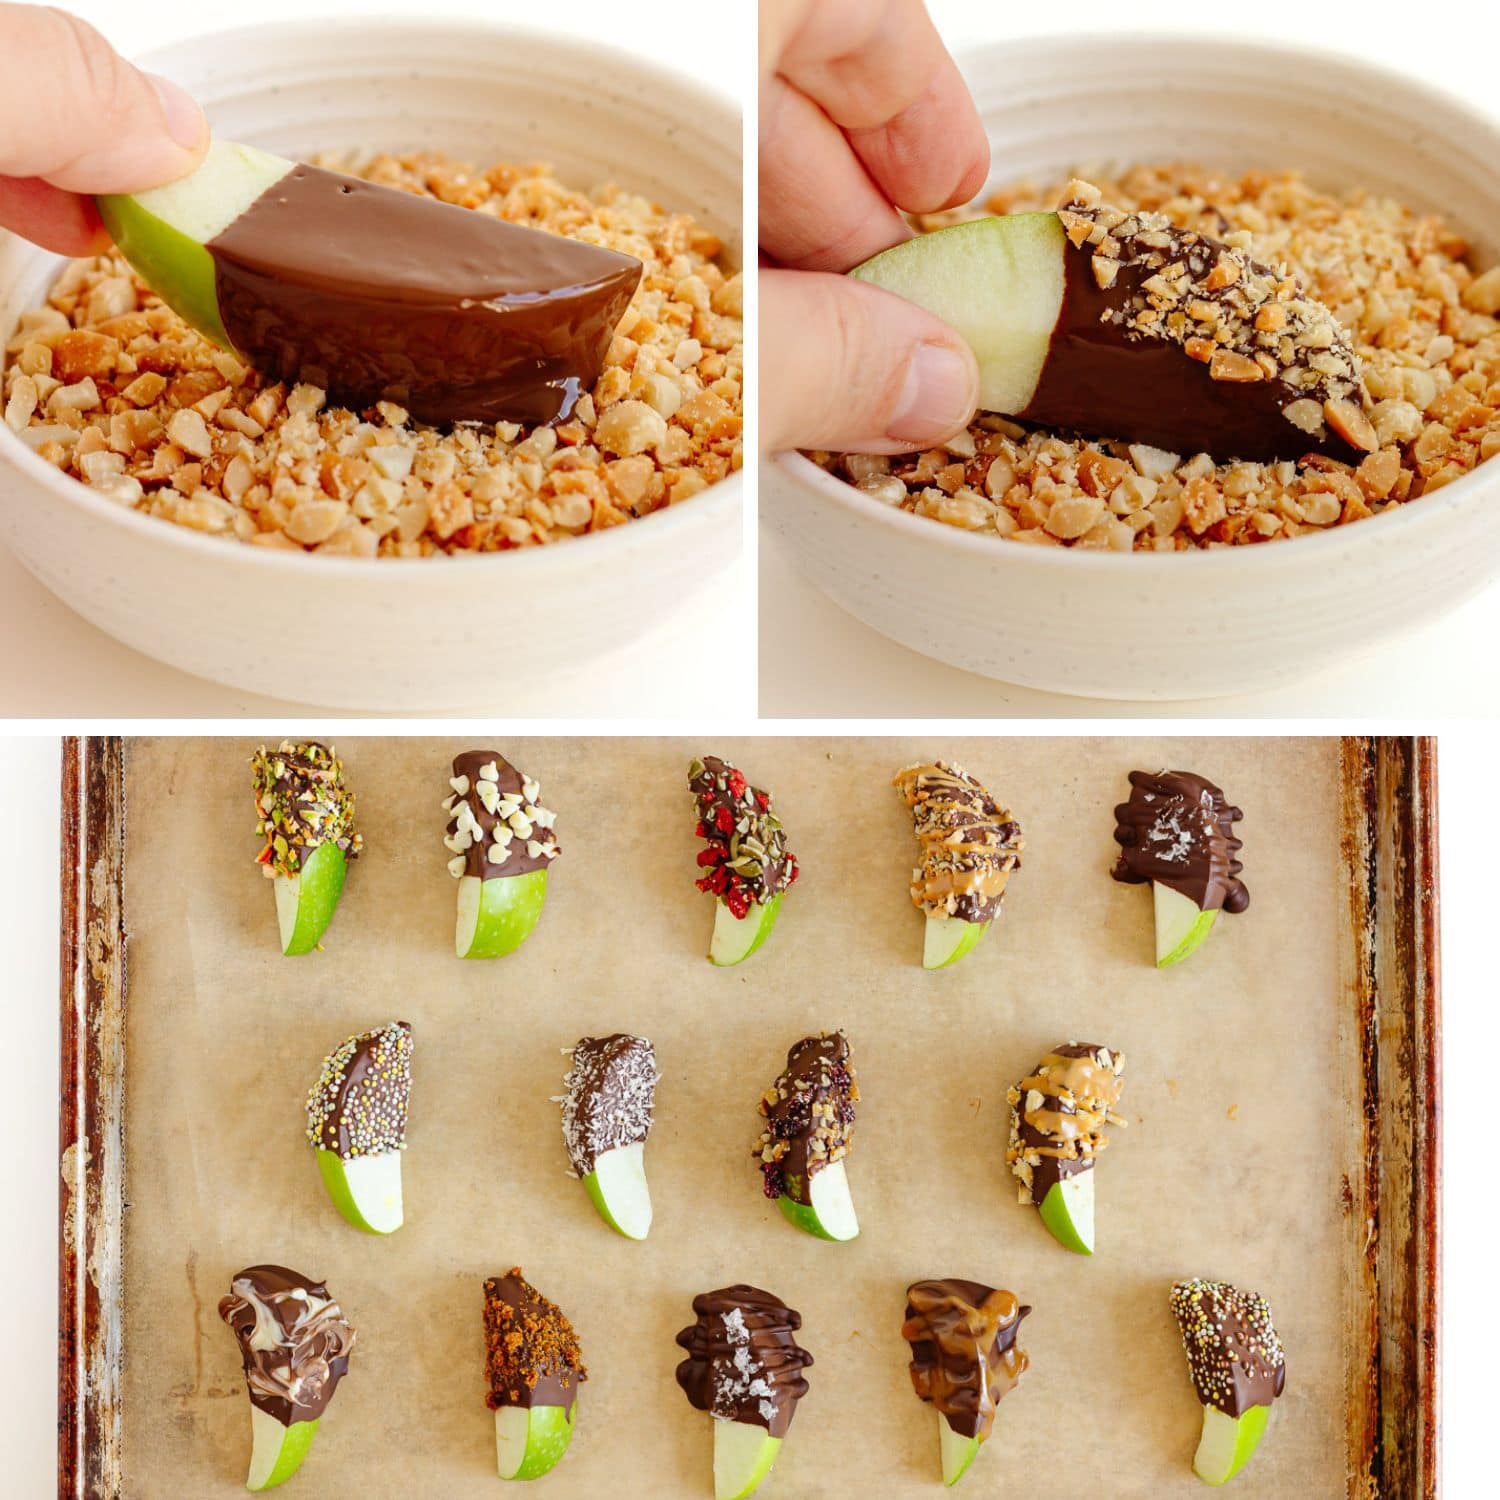
Step 4: Add toppings
Lift the apple slice, letting the excess chocolate drip off and immediately press into or sprinkle over the toppings of your choice so they stick. Place on a parchment lined baking sheet and repeat with remaining apple slices. For wet toppings like peanut butter or caramel, let the chocolate harden first before drizzling over.
Step 5: Set and enjoy
Let the chocolate set completely before serving by placing in the fridge for 5 to 10 minutes. Dig in and enjoy!
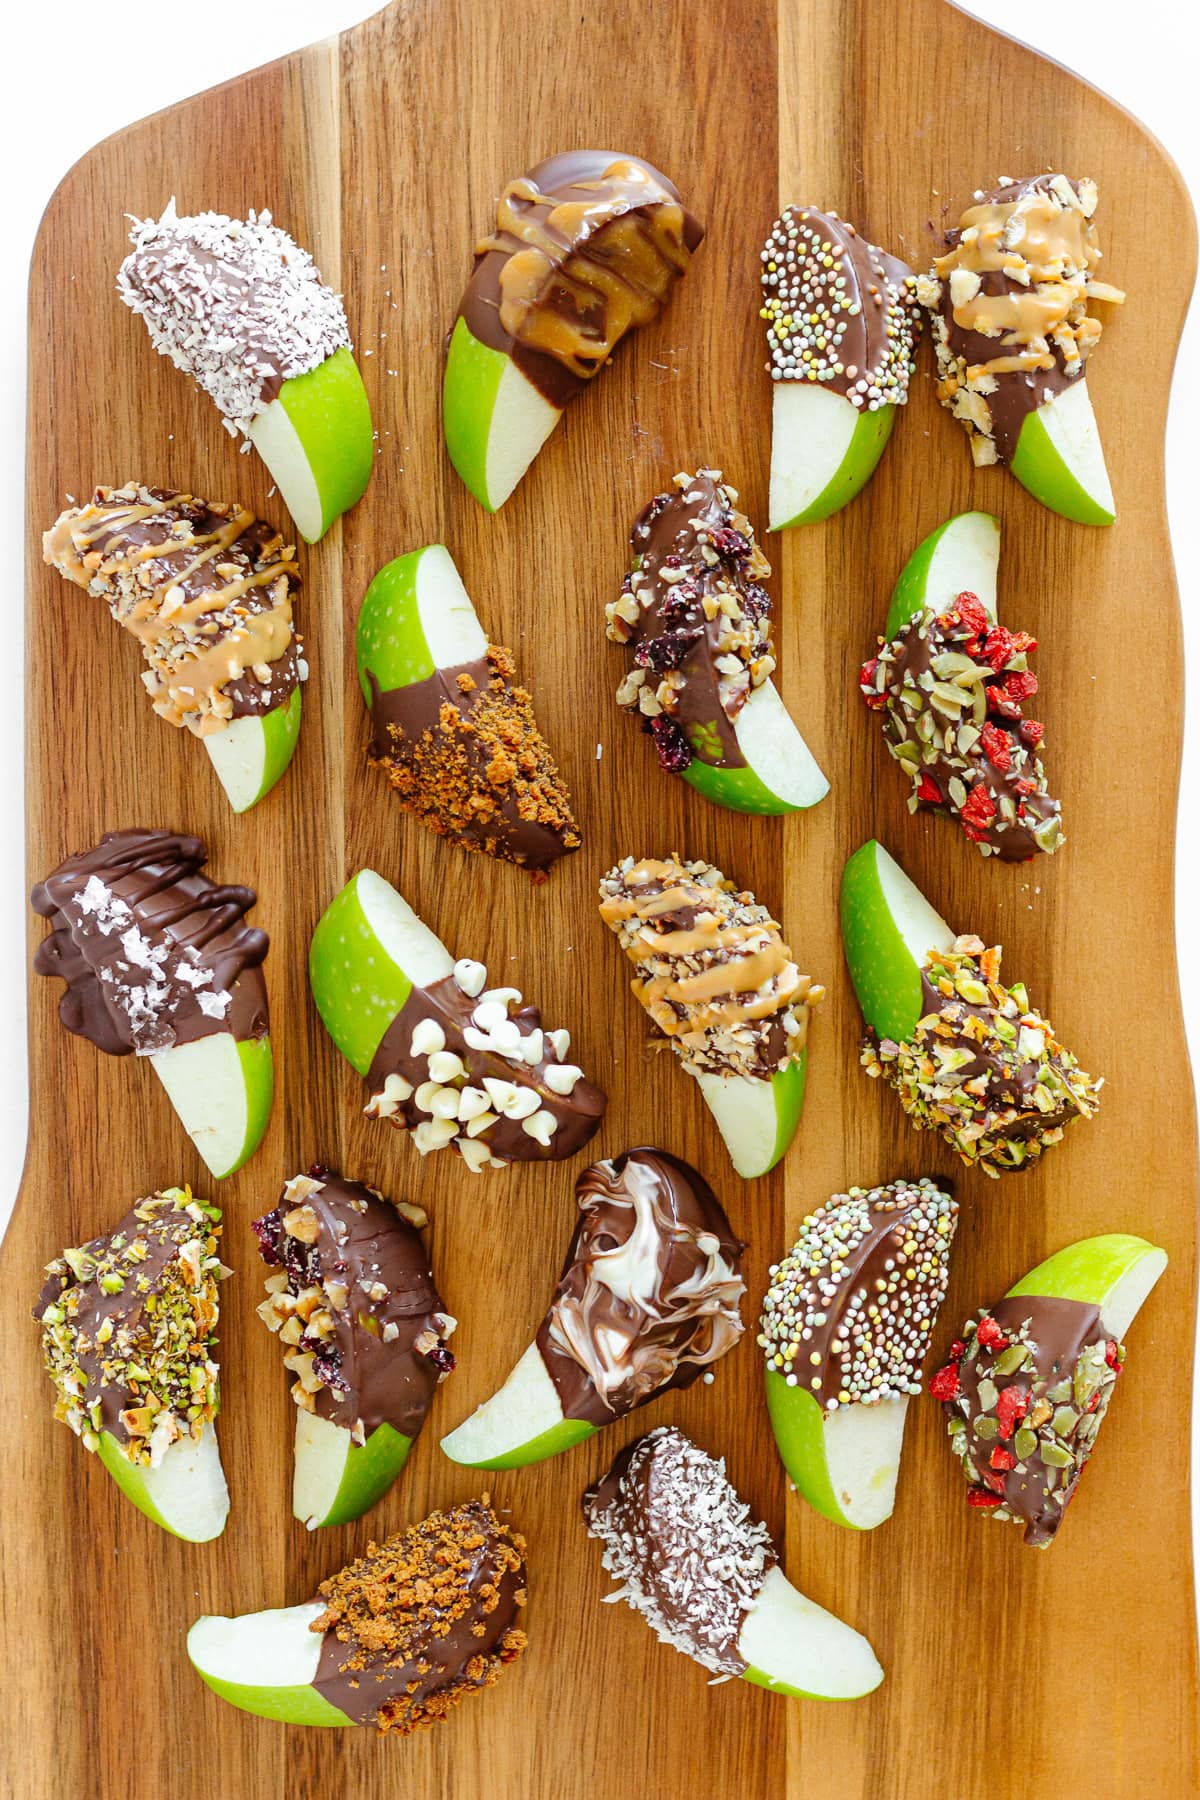
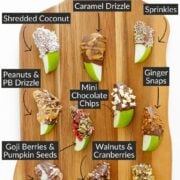
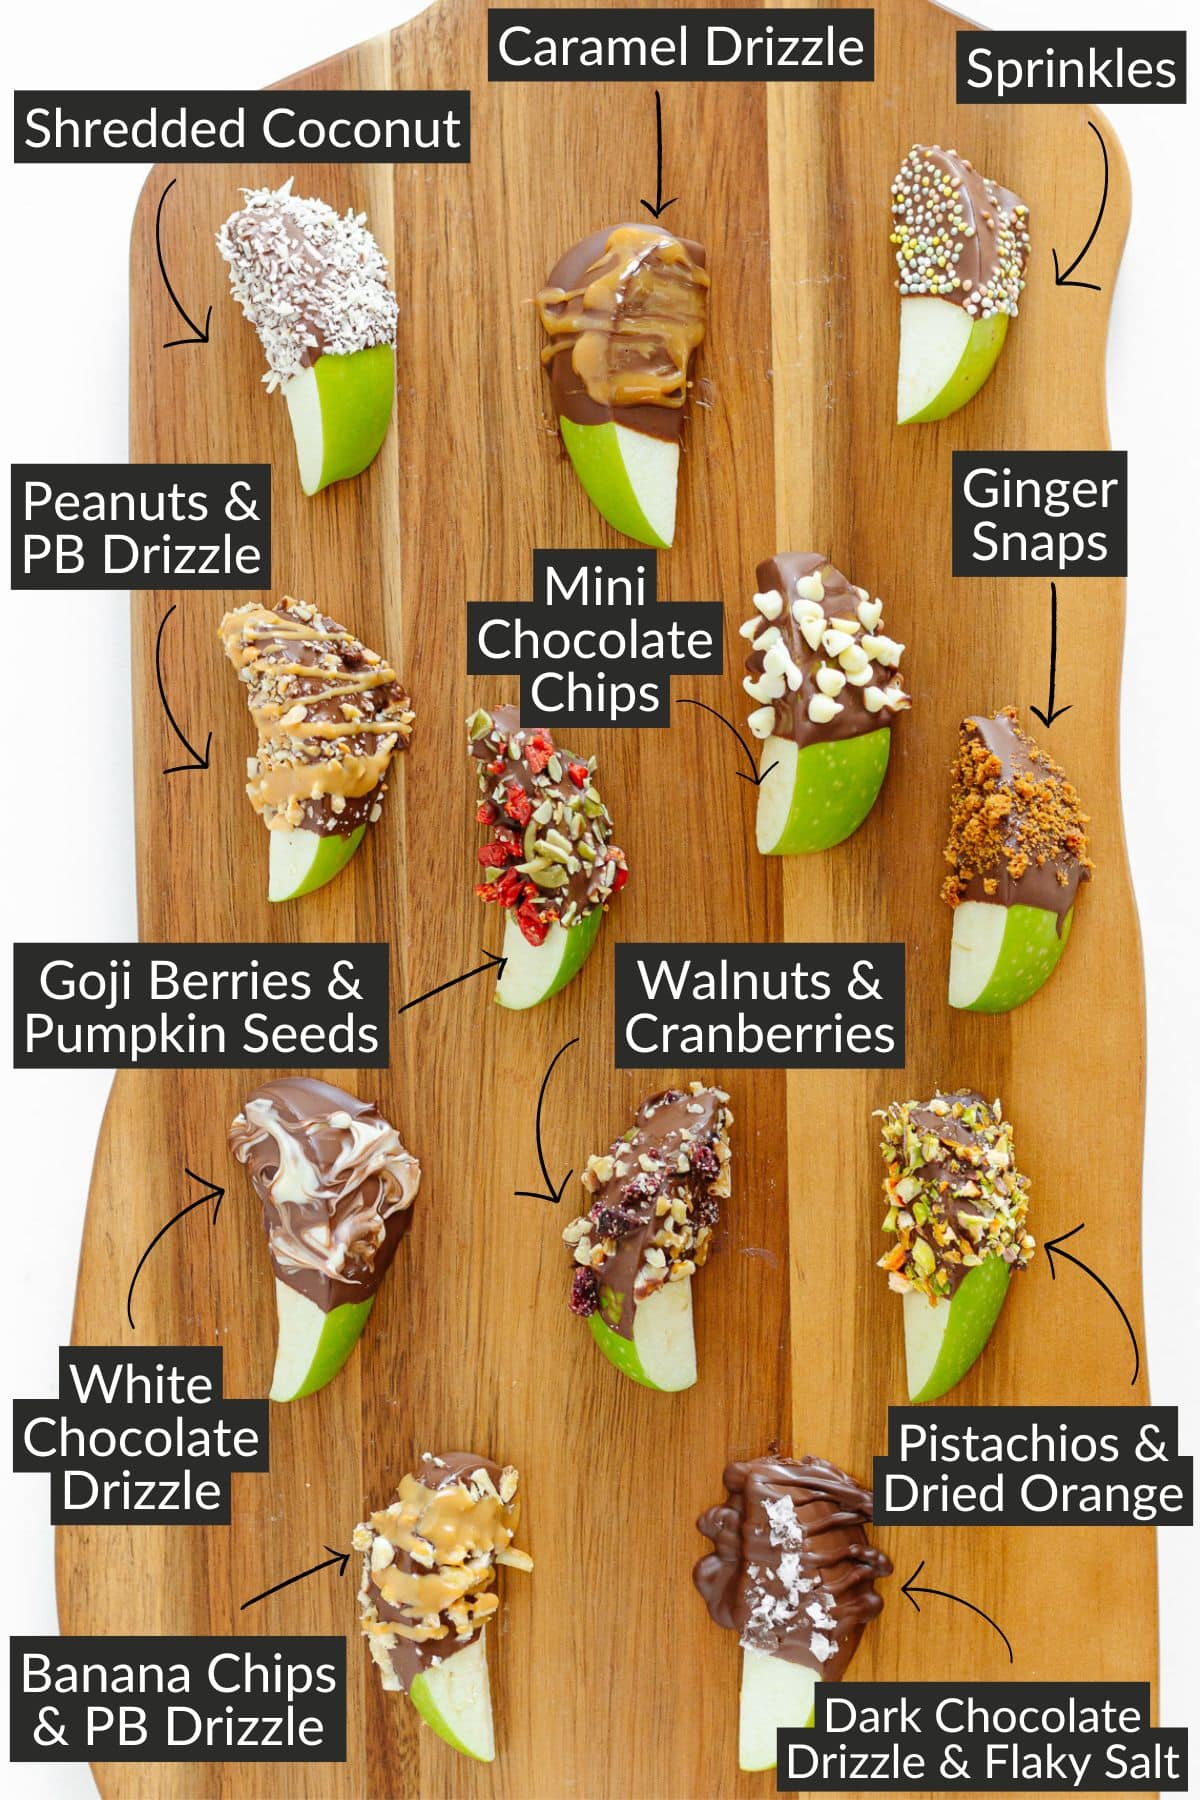
Topping Ideas
Customize your chocolate dipped apple slices with your favorite toppings. The options are endless but here are some topping ideas for inspiration. Add a single topping or a combination. Have fun with it!
- Shredded coconut
- Chopped nuts (peanuts, walnuts, almonds, pistachios, pecans, etc.)
- Mini chocolate chips
- Sprinkles
- Dried or freeze dried fruit
- Seeds (chia seeds, sunflower seeds, pumpkin seeds, etc.)
- Crushed cookies
- Flaky salt
Here are a few wet toppings that can be drizzled over after the chocolate is set.
- Creamy peanut butter (warm slightly first to make it easier to drizzle on)
- Caramel
- More melted chocolate (perhaps a different type of chocolate than dipped in)
Helpful Tips
Tips For Perfect Chocolate Apple Slices
- Make sure the apple slices are super dry! Pat them dry with paper towel before dipping in chocolate so the chocolate sticks to the apple.
- Avoid getting any water in the chocolate! Or it will seize up or separate. I already mentioned to make sure the apple slices are dry but also make sure that the equipment you are using to melt the chocolate is also dry (e.g. bowl and rubber spatula or mixing spoon). Using a rimmed bowl can also be helpful to keep steam out.
- Temper the chocolate! Tempering is a method of heating and cooling chocolate to stabilize it so that once the melted chocolate sets it has a smooth and glossy finish and isn’t sticky to the touch. We do this the easy way here by simply reserving a bit of the chocolate and stirring it in at the end after most of the chocolate has already been melted and removed from the heat.
- For easier dipping, pour the melted chocolate into a small glass, jar or ramekin since the chocolate will have more depth in the smaller container. Remember to first dry off the condensation from the bottom of the melting bowl before pouring to avoid any water dripping in your chocolate!
- Press into the toppings (or sprinkle on) immediately after dipping in chocolate so that they stick to the chocolate before it dries. The toppings should also be small or chopped up into small pieces so that they easily stick. The only exception is toppings that will be drizzled on afterwards like peanut butter or caramel.

FAQ
These are best eaten fresh but can be stored in the fridge for 1-2 days.
Submerge the sliced apples in a bowl of salted water. Use a ratio of ½ teaspoon of kosher salt for every cup of room temperature water. Soak for 5 minutes and then rinse the apple slices in a strainer under running water. Dry them off really well with paper towel! The salt removes the enzymes from the surface of the cut apple that causes them to brown. I know what you’re wondering and the answer is no, your apple slices will not taste salty!
Excess moisture will cause the chocolate to slide off. Make sure the apple slices are very dry before dipping them. Pat each one individually with paper towel.
Yes, but there is a higher risk of overheating it so be careful. If using the microwave, melt the chocolate in 20-second increments, stirring between each one.
You can but nothing beats the taste of real chocolate in my opinion which is why I prefer to use it. Candy melts are made from vegetable oils and flavorings and designed to easily melt. If you choose to use them, just follow the directions on the package to melt.

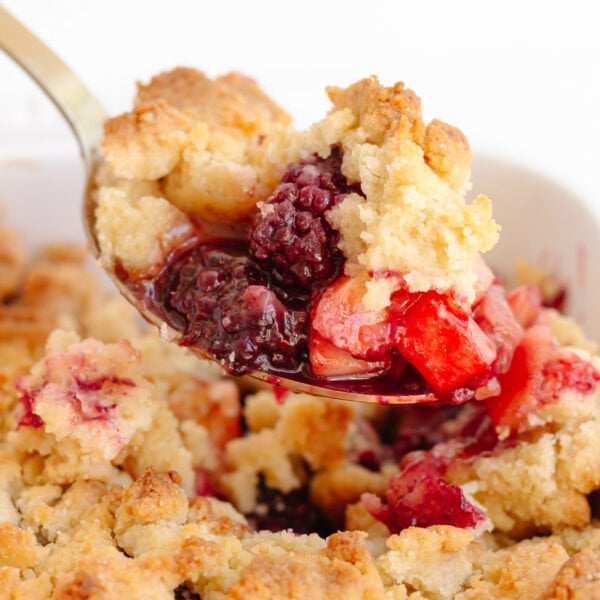
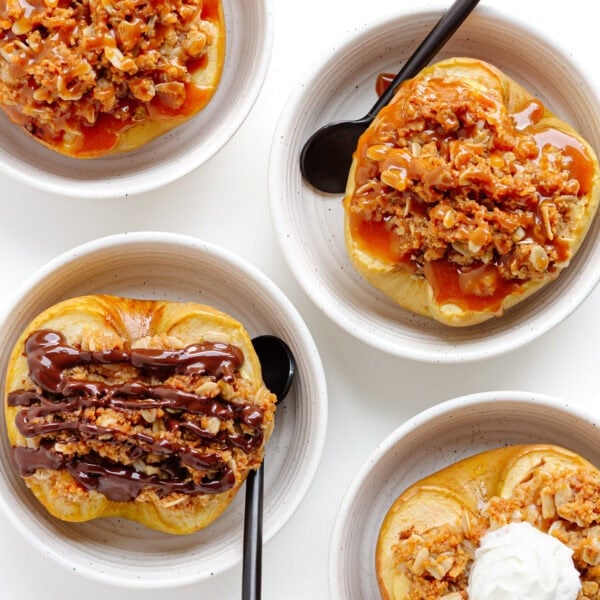
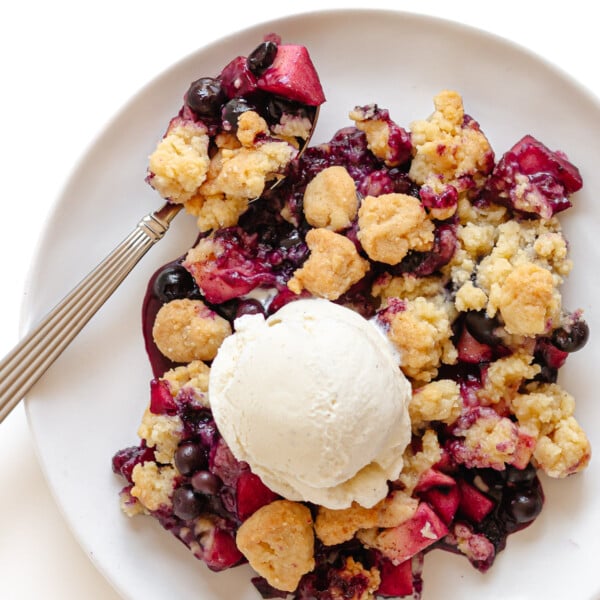
More Delicious Apple Desserts
Did you make these chocolate dipped apple slices? What toppings did you use? I would love to hear about it! Please leave me a comment below.
Chocolate Dipped Apple Slices
- Prep Time: 15 min
- Total Time: 15 min (plus set time)
- Yield: 16 apple slices 1x
- Category: Dessert, Snack
- Method: No Bake
- Cuisine: American
- Diet: Vegetarian
Description
Take your snack game up a notch with these delicious chocolate dipped apple slices. Easy to make and totally customizable with all your favorite toppings!
Ingredients
- 2 firm apples (e.g. Granny Smith, Honeycrisp, Fuji)
- 6 ounces (170 g) chocolate (semi-sweet, milk or dark)
- toppings of choice (see notes for some ideas)
Instructions
- Slice apples: Cut apples into 8 wedges each, removing the core and seeds. Dry off the apple slices really well with paper towel.
- Melt chocolate: Chop the chocolate first into small pieces (if in bar form). Set aside a small handful of the chocolate. Place the remaining chocolate in a heat-proof bowl set over a saucepan filled with 1-inch of barely simmering water (making sure the water does not touch the bottom of the bowl). Or use a real double boiler if you have one. Stir constantly until the chocolate is melted. Remove from heat and stir in the reserved chocolate until melted and the mixture is smooth.
- Dip apple slices and add toppings: Hold an apple slice on one end and dip into the melted chocolate so that about ¾ of the slice is covered in chocolate. Lift the apple slice, letting the excess chocolate drip off and immediately press into or sprinkle on the toppings of your choice so they stick. Place on a parchment lined baking sheet and repeat with remaining apple slices. For wet toppings like peanut butter or caramel, let the chocolate harden first before drizzling over.
- Set and enjoy: Place in the fridge for 5-10 minutes to let the chocolate set completely before serving.
Notes
- Recommended chocolate: Good quality chocolate or baking chocolate works best since it melts easily and tastes delicious. Make sure your chocolate has cocoa butter in the ingredients. Here are a few brands that work well: Callebaut chocolate callets, Ghirardelli baking chips, Lindt chocolate bars, Baker’s baking chocolate and Guittard baking chocolate.
- Topping Ideas: Customize your chocolate dipped apple slices with your favorite toppings. The options are endless – add a single topping or a combination. Some ideas include: shredded coconut, chopped nuts or seeds, mini chocolate chips, sprinkles, dried or freeze dried fruit, crushed cookies. Some toppings that can be drizzled over once set include warmed up peanut butter, caramel or a different type of melted chocolate. See the Topping Ideas section in the post for more inspiration.
- Can I use the microwave to melt the chocolate? Yes, but there is a higher risk of scorching it so I prefer the stovetop method. If using the microwave, melt the chocolate in 20-second increments, stirring between each one. Be careful not to overheat or burn the chocolate.
- Storage: These are best eaten fresh but can be stored in the fridge for 1 to 2 days.
- Make sure to read through the Tips for Perfect Chocolate Apple Slices!