This post may contain affiliate links. See my disclosure policy.
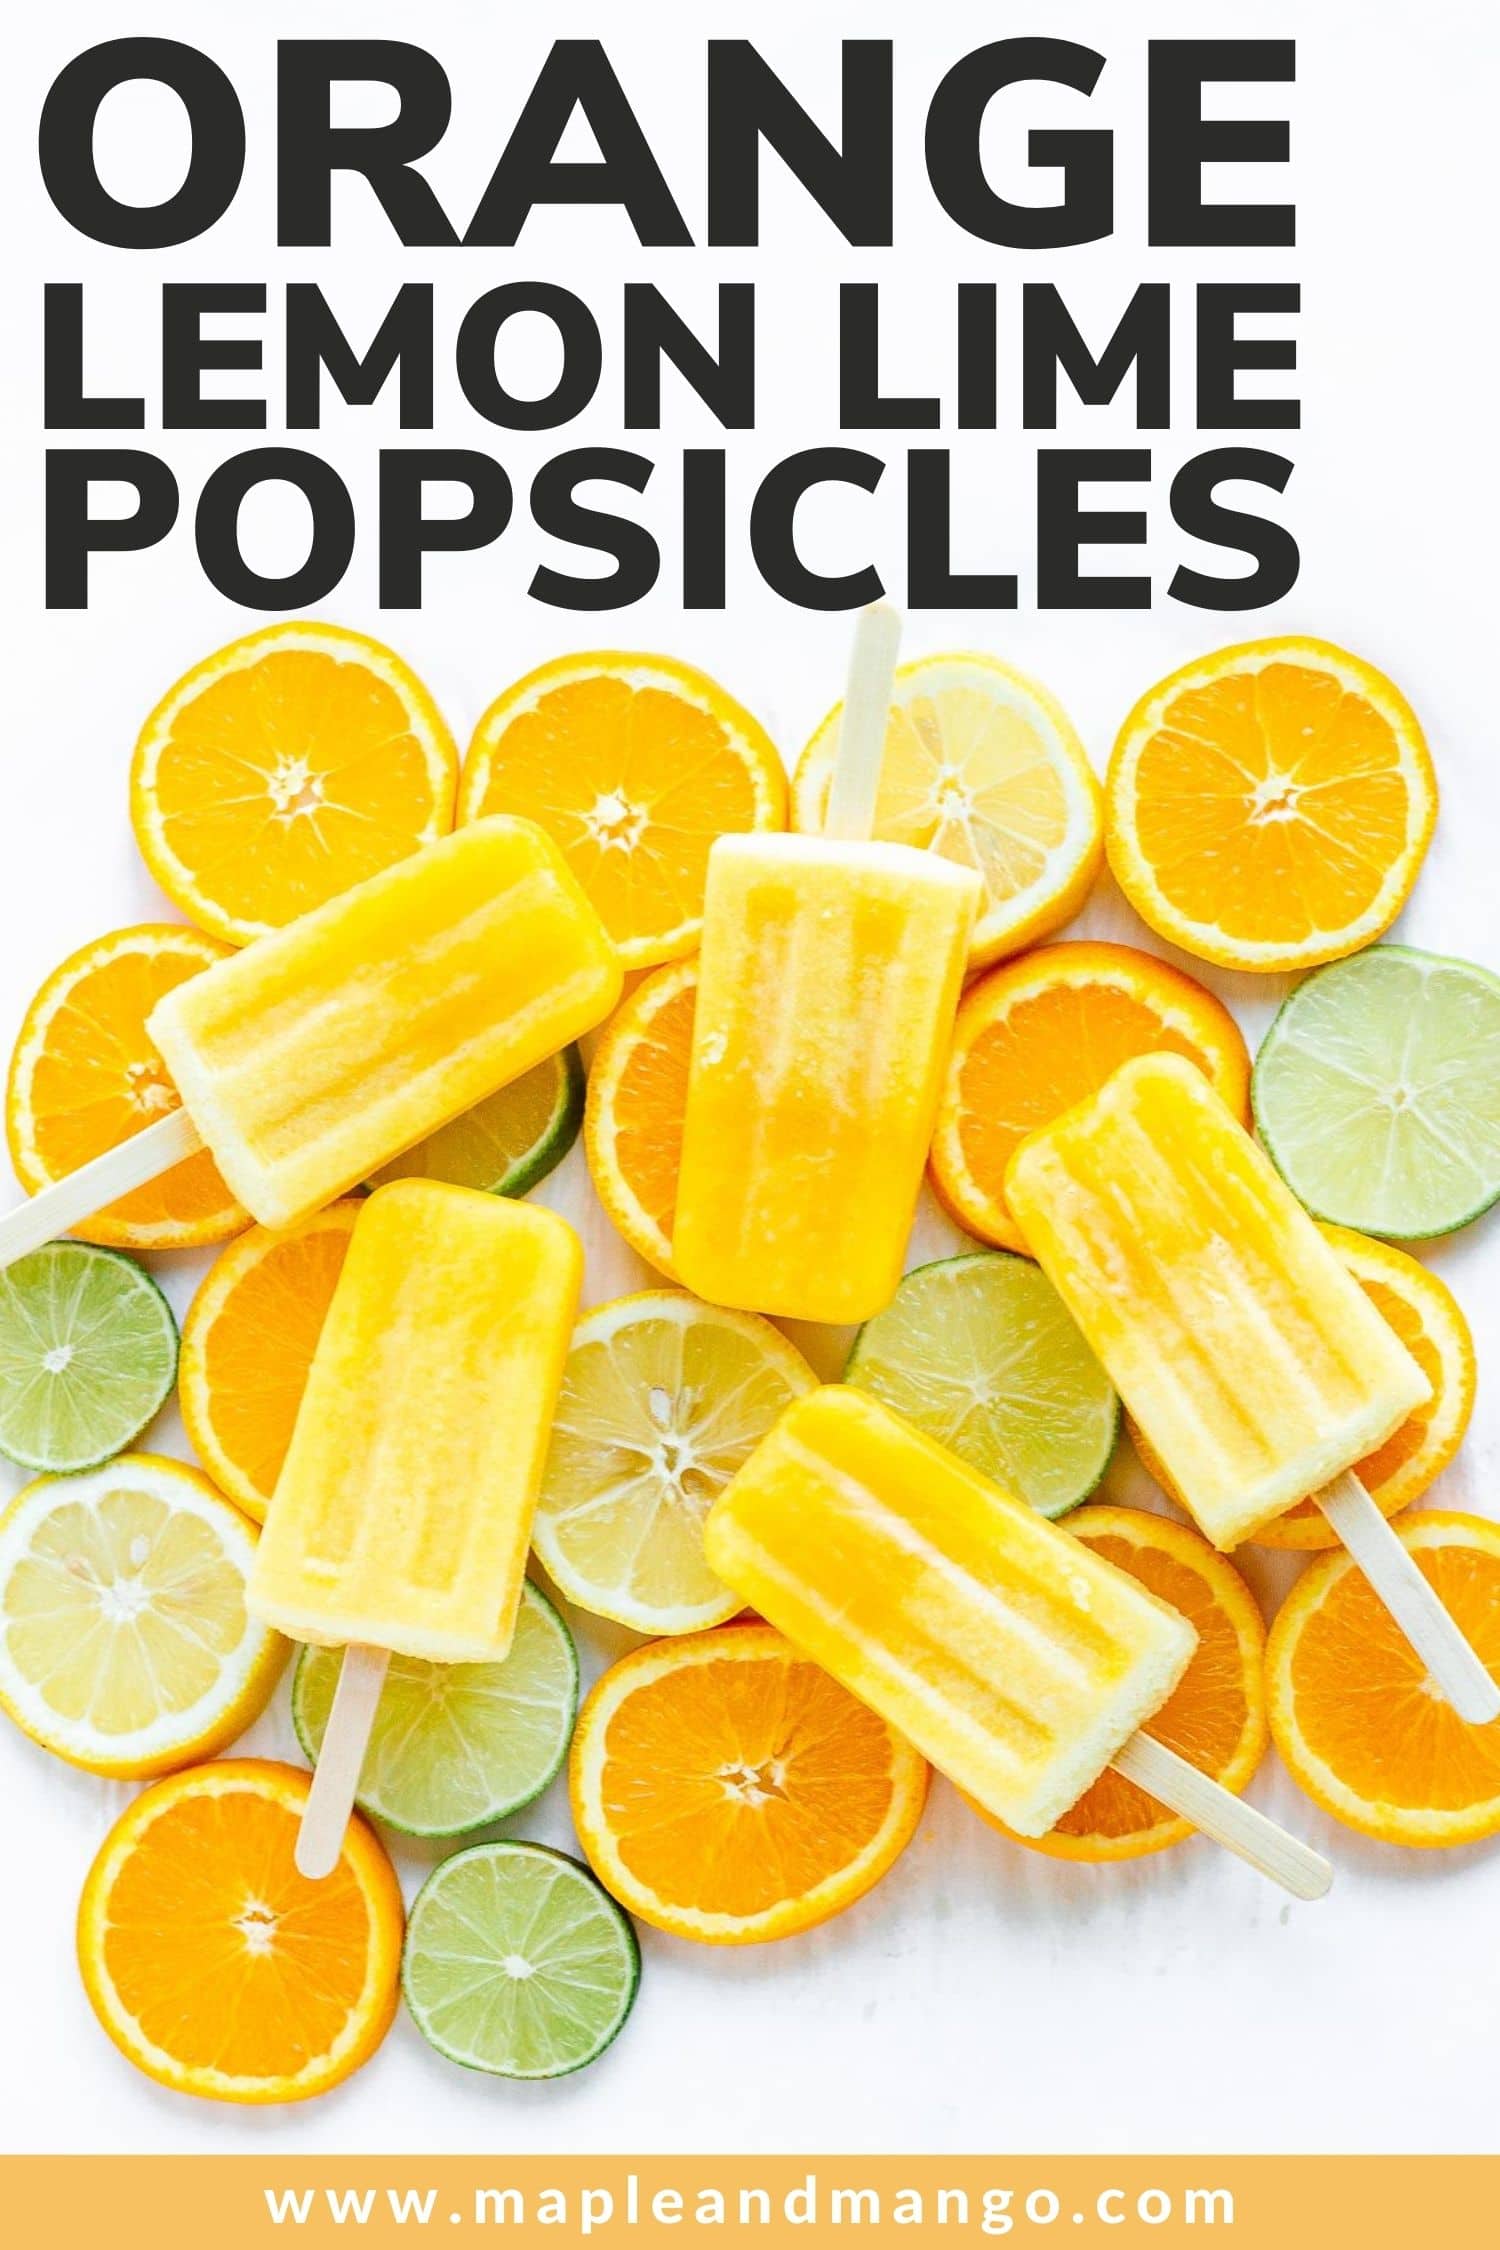
These Orange Lemon Lime Popsicles are bursting with fresh citrus flavors. A refreshing frozen treat that both kids and adults will love!
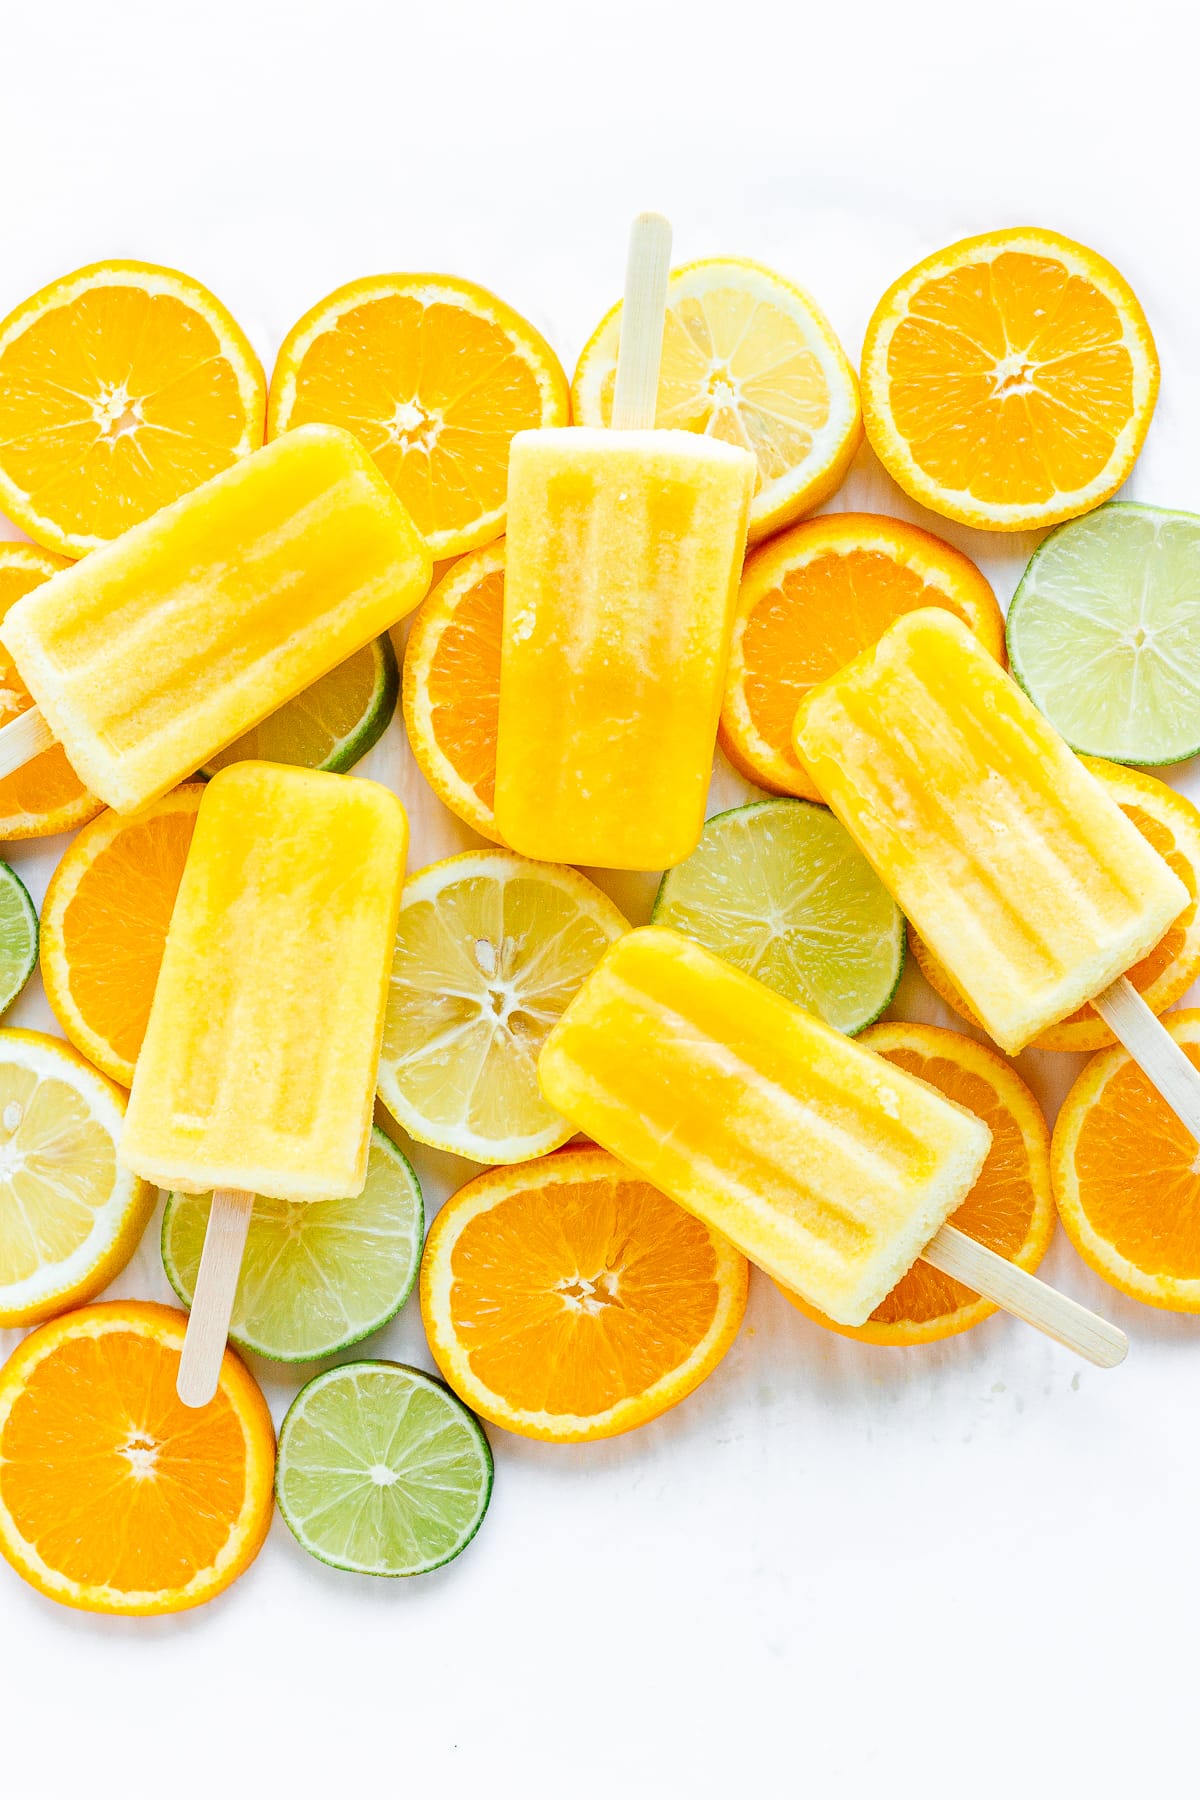
These homemade popsicles are the perfect treat for summer. If you love citrus flavors, then you need to try these!
I tend to crave citrus frozen treats on really hot days which is oddly specific but I just find them to be super refreshing and satisfying. So when I was recently enjoying one of my Fresh Citrus Margaritas, inspiration struck and this popsicle recipe was born. Yay! Just like the drink, these ice pops feature an orange lemon lime combination and use whole fruits instead of just juice.
Reasons Why I Love These Popsicles
- Made with a few simple, real food ingredients.
- Super refreshing – perfect for hot summer days!
- Perfect for both kids and adults.
- Delicious way to get a boost of vitamin C.
- Perfect texture – using whole fruits creates a “bite-able” texture instead of being rock hard like when only juice is used.
So grab your popsicle mold and let’s make these Orange Lemon Lime Popsicles!
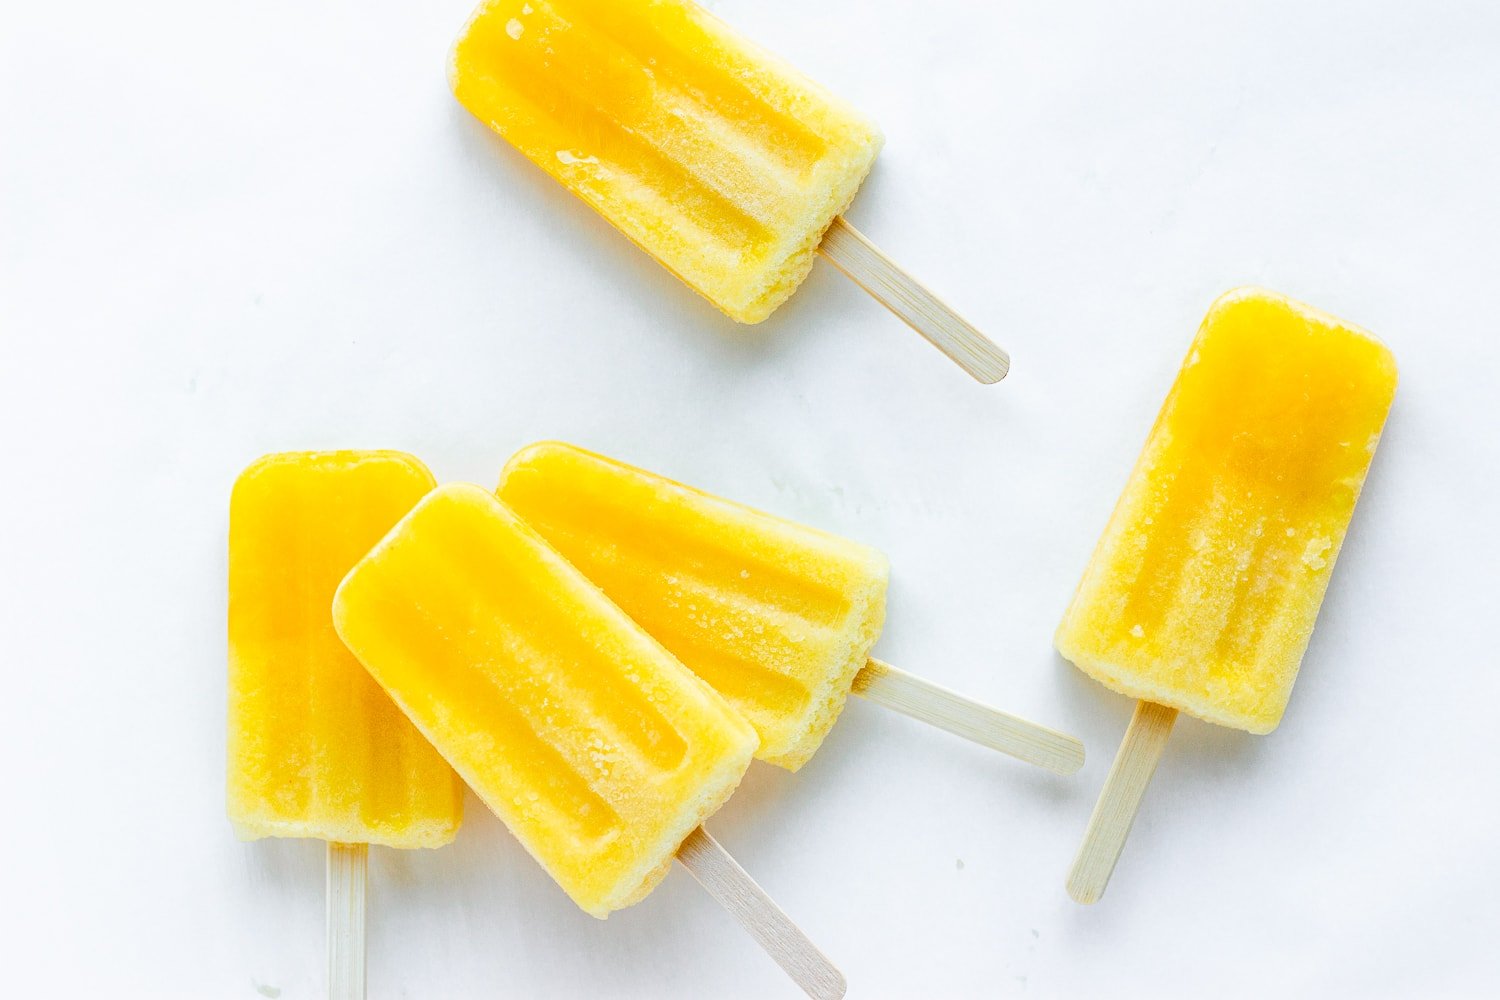
Ingredients You’ll Need
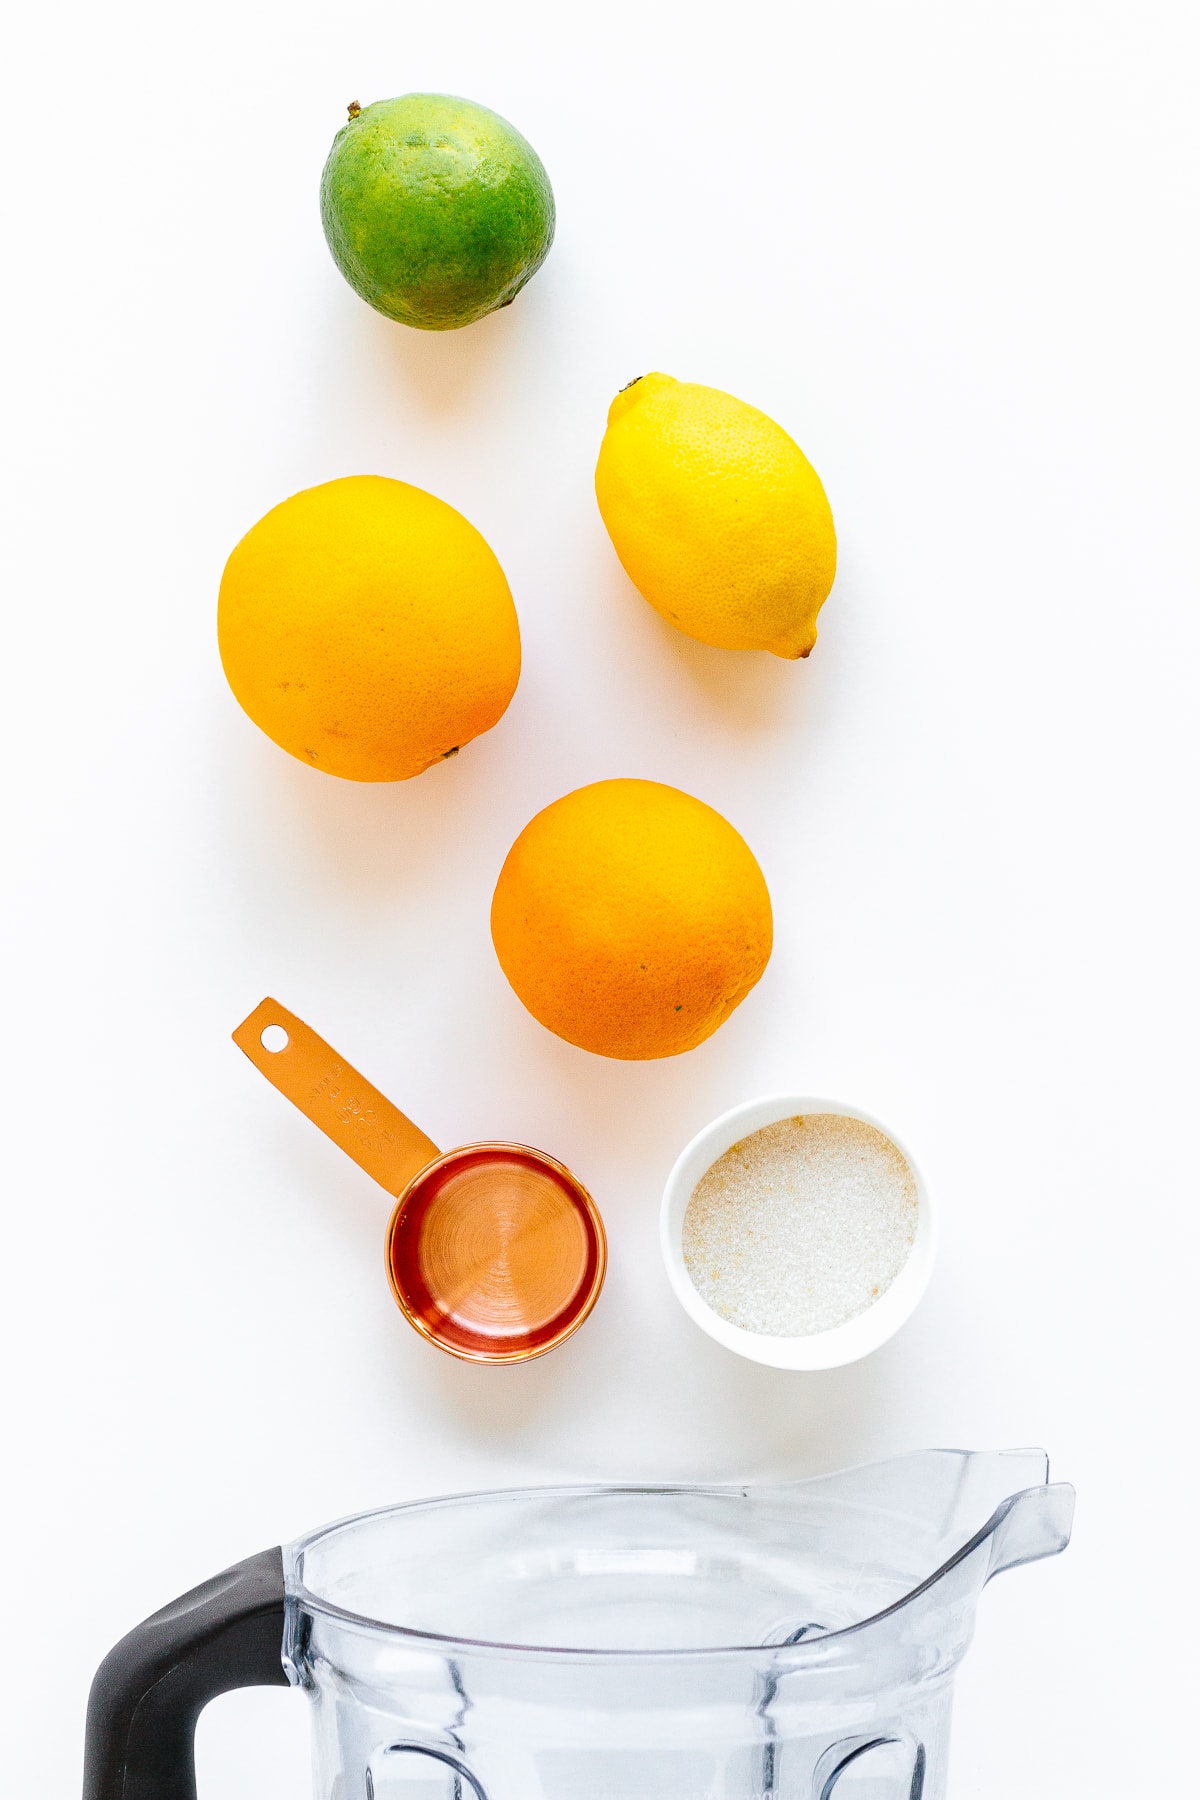
You only need a few simple ingredients to make these homemade popsicles:
- Citrus Fruit: A combination of 2 oranges, 1 lemon and 1 lime.
- Organic Cane Sugar: To add sweetness.
- Water or Coconut Water: A bit of liquid is needed to help it blend up.
Detailed ingredient list and directions located in the recipe card below.
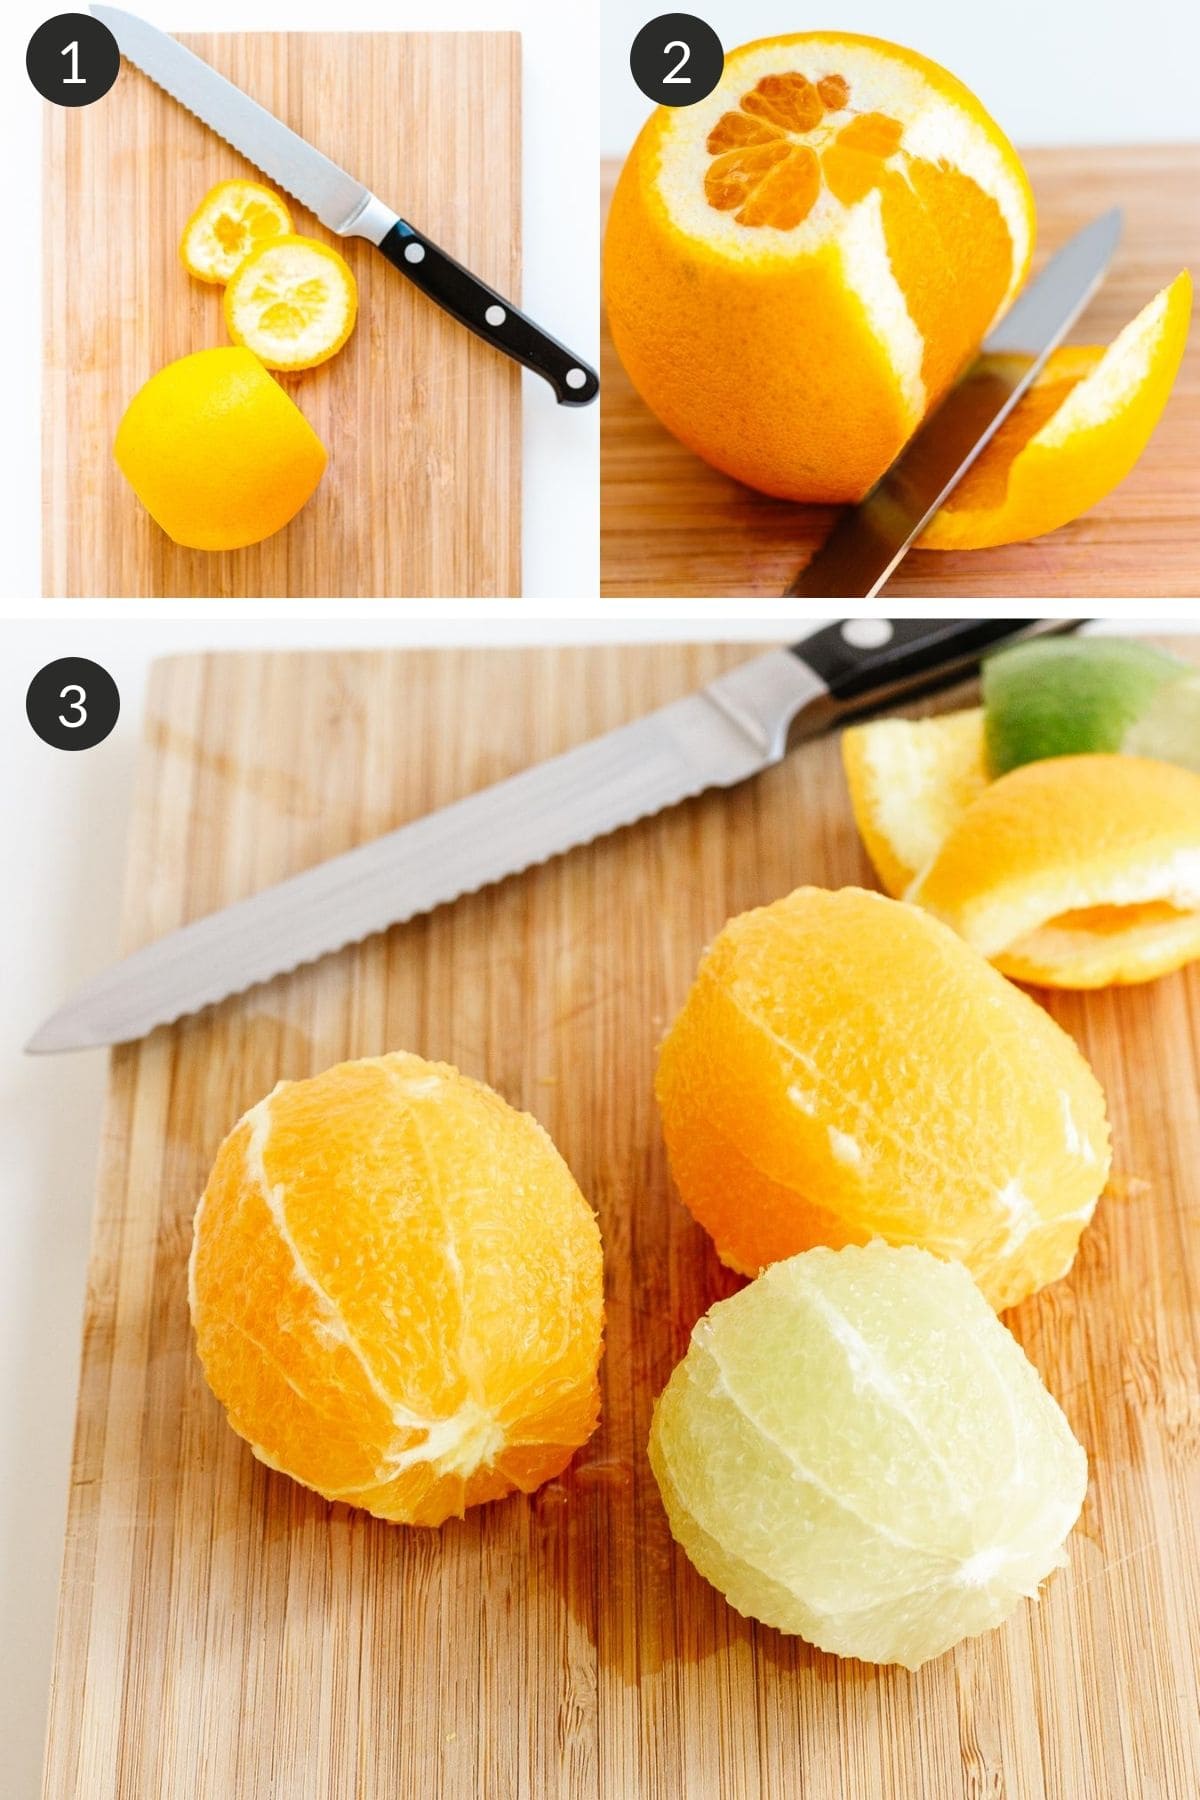
How To De-Pith Citrus
Let me show you how I peel the oranges and lime to make sure I remove the pith as well. Super easy! This recipe uses whole, peeled oranges and lime in the blended popsicle mixture. The pith (white stuff between the peel and the fruit) and seeds have a bitter taste which we do not want in our popsicles.
- Slice off the top and bottom ends of the citrus.
- Place fruit with one cut side down on your cutting board. Position your knife at the top of the fruit and cut downwards, following the contour of the fruit to slice away the peel and the pith. Try to cut off as little of the flesh as possible.
- Rotate and continue slicing away the peel and pith around the whole fruit. Repeat the process with remaining citrus. Note: At this point, I tend to cut them into chunks just to double check for any seeds to remove.
How To Make These Orange Lemon Lime Popsicles
These popsicles are so easy to make! Simply…
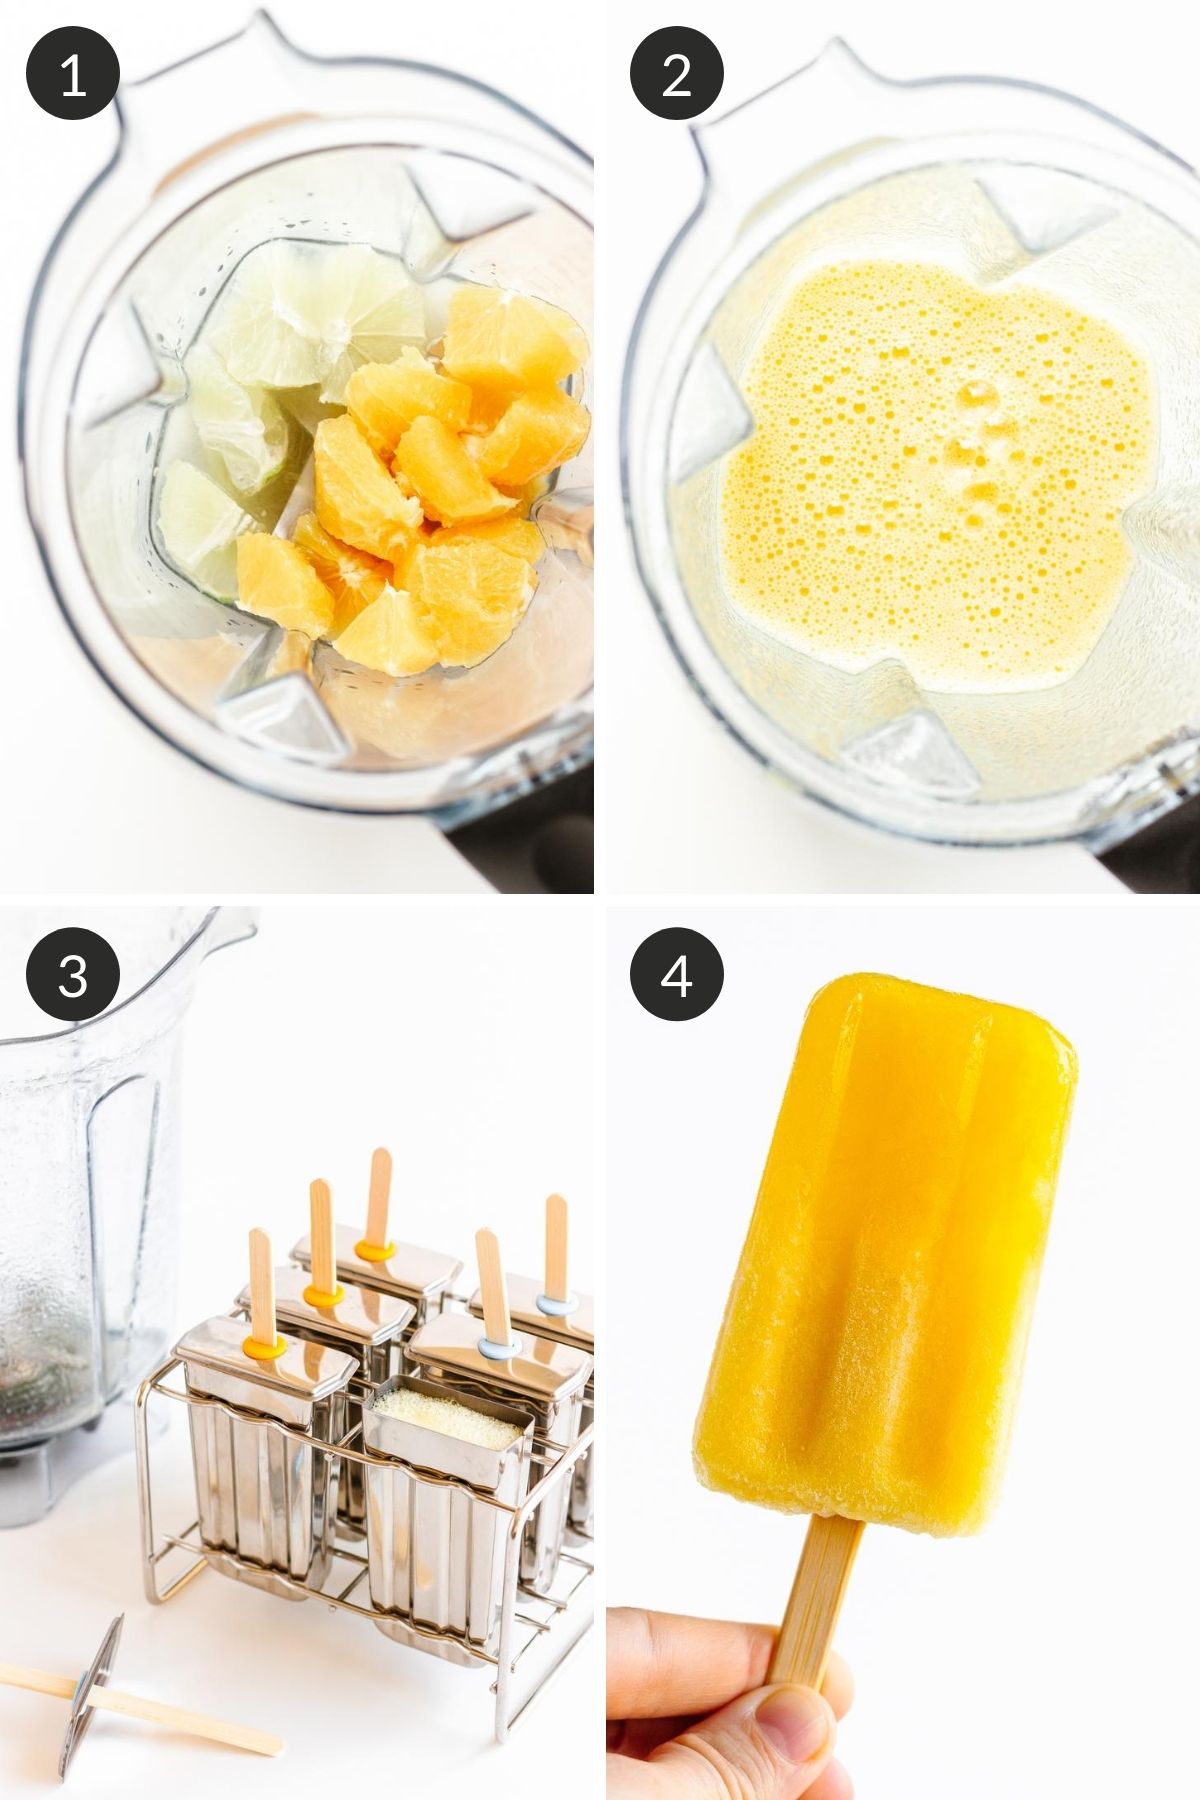
- Add Ingredients To Blender: Place all the ingredients into a blender. This is the Vitamix blender that I have used for years.
- Blend: Blend until smooth.
- Fill Molds: Pour mixture into popsicle molds. I absolutely love this stainless steel popsicle mold. Note: This recipe makes 6 popsicles using this mold – quantity will vary depending on the size of mold used.
- Freeze: Freeze for at least 4 hours (preferably overnight) and enjoy!
Helpful Tips + FAQs
- Make sure to seed citrus carefully! The seeds will make your popsicle mixture taste bitter if any are missed. Juice the lemon into a separate bowl before adding juice to the blender so that you can fish out any seeds first. Although I recommend using seedless oranges, they can still sometimes have a seed or two. I like to chop the peeled oranges and lime into a few chunks before adding to the blender to double check for any seeds.
- De-pith oranges and lime: The pith (white stuff between the peel and the fruit of citrus) also has a bitter taste. I show you how to peel and de-pith citrus further up in this post.
- Use a good popsicle mold: A good popsicle mold is key if you want to avoid frustration with homemade ice pops. Here are my picks for the best popsicle molds.
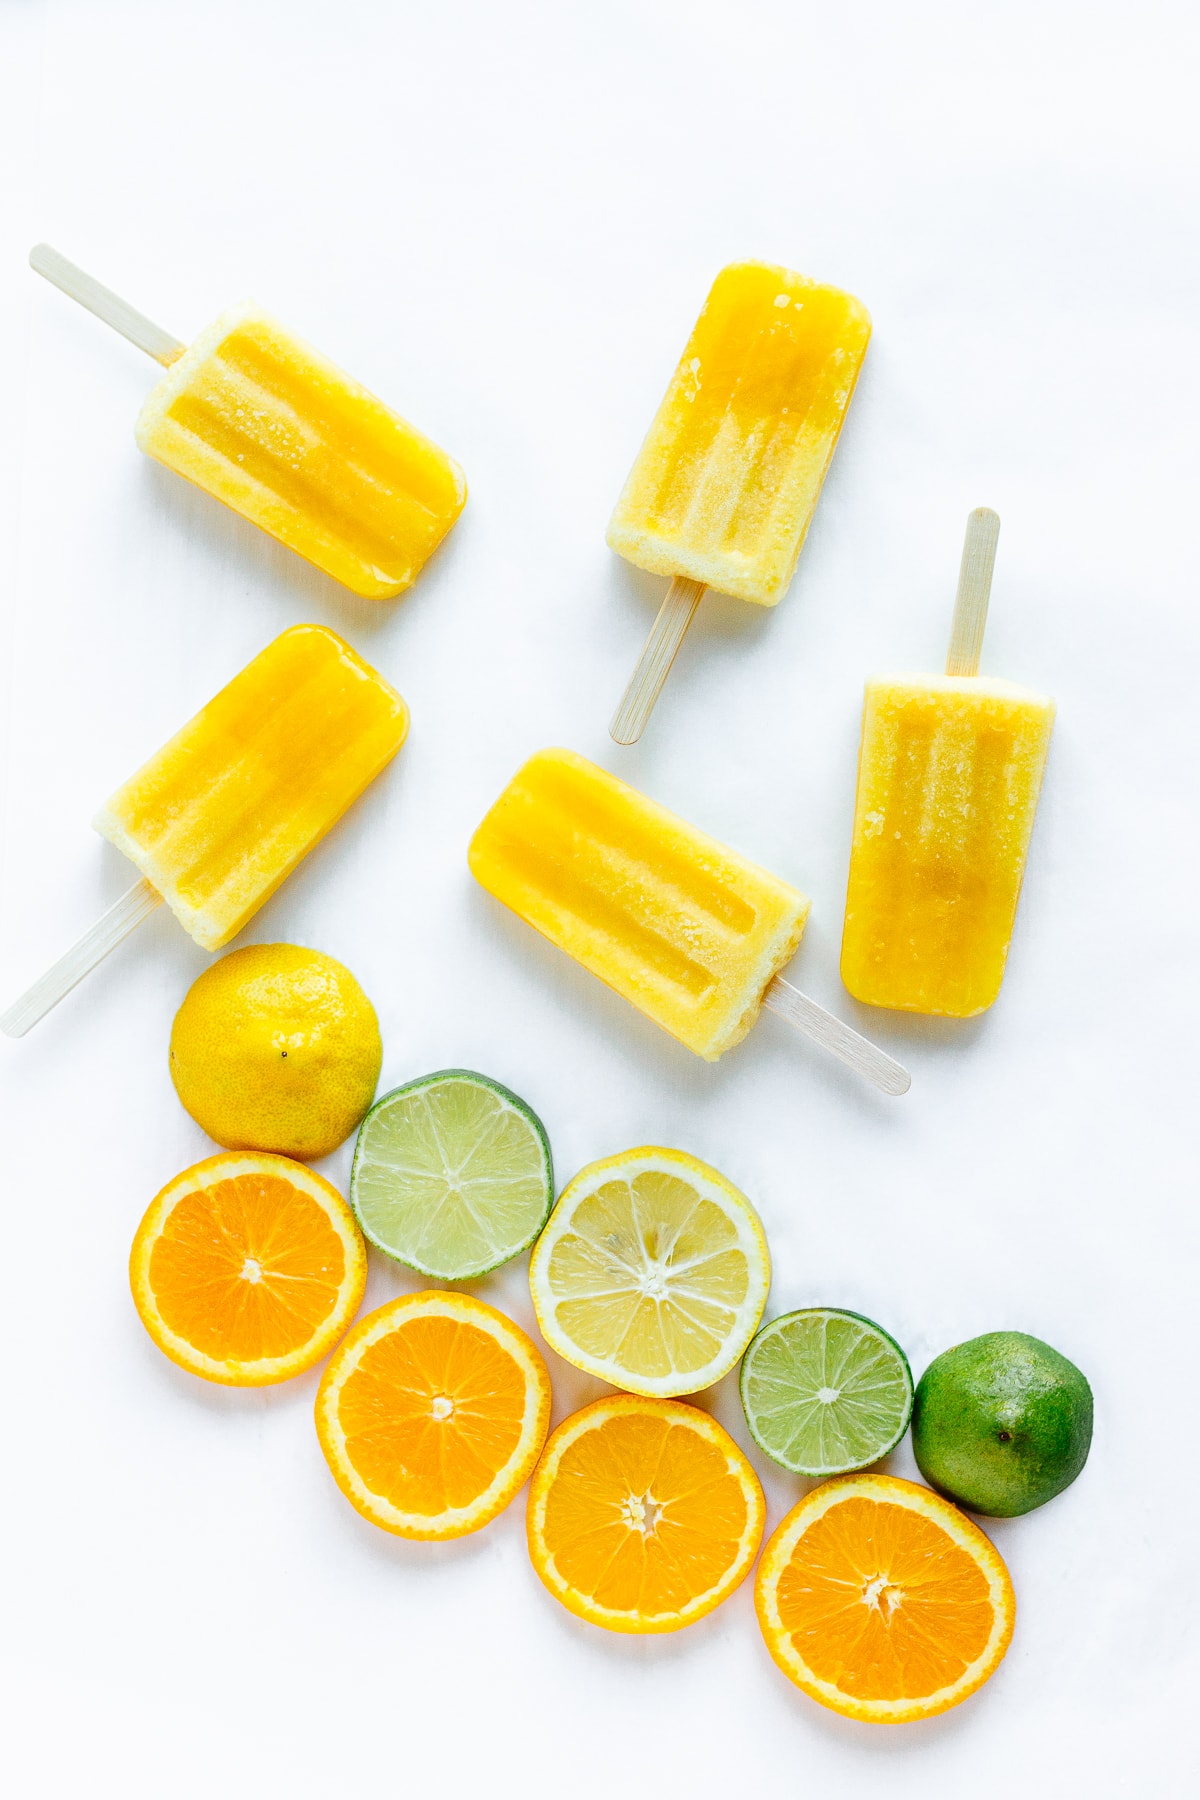
This recipe calls for some organic cane sugar as the sweetener. Although, I usually use honey or maple syrup in my homemade popsicles, I found that cane sugar tasted the best with the citrus flavors in this recipe. However, feel free to experiment with your preferred sweetener. Just note that it may change the popsicle texture.
It usually takes between 4-8 hours for them to freeze solid. Timing will depend on your freezer and the size of your popsicles. I usually just freeze overnight and enjoy the next day.
Keep them stored in the popsicle mold or wrap each popsicle up using plastic wrap or reusable beeswax food wrap and store in a freezer bag or airtight container.
Not very long around here! You can store them in the freezer for 1-2 months. They won’t go bad but can start to develop a frosty texture if stored for too long.
More Popsicle Recipes
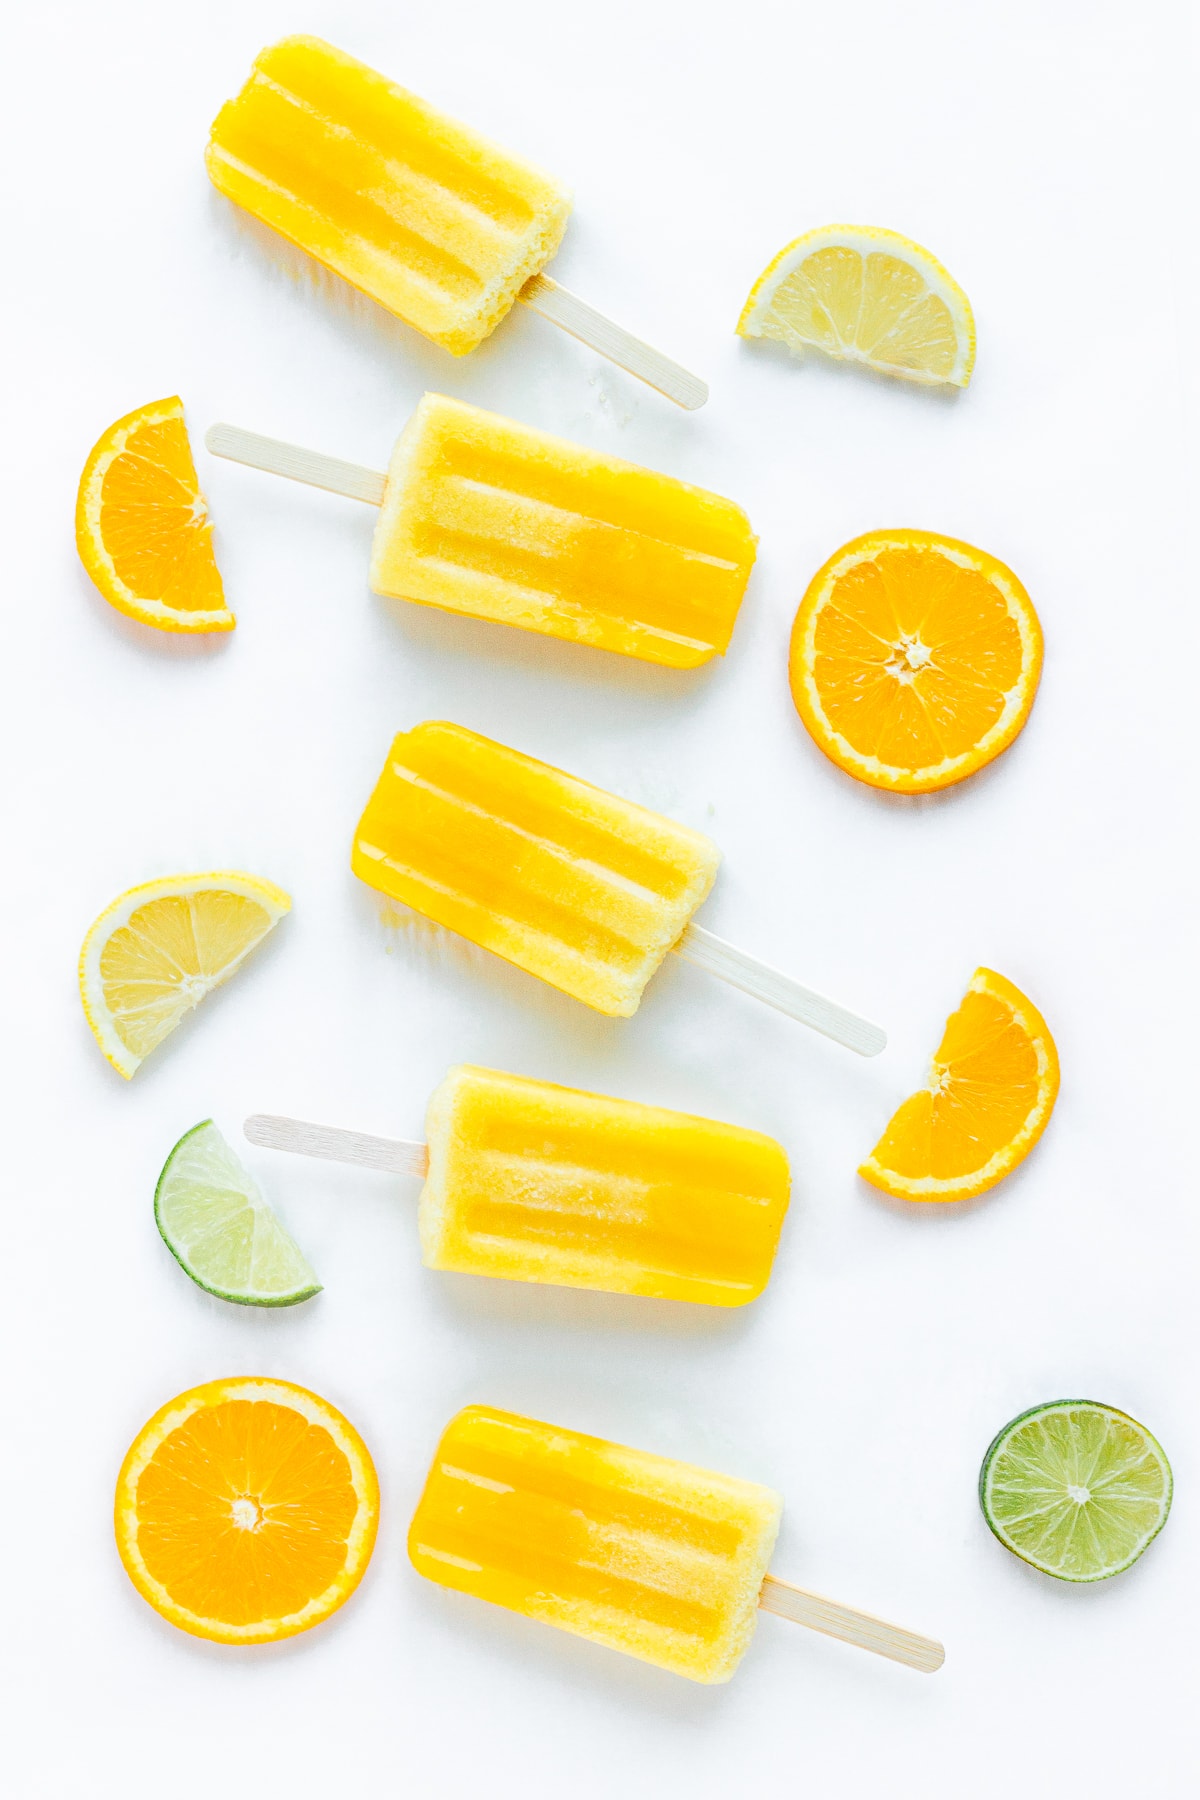
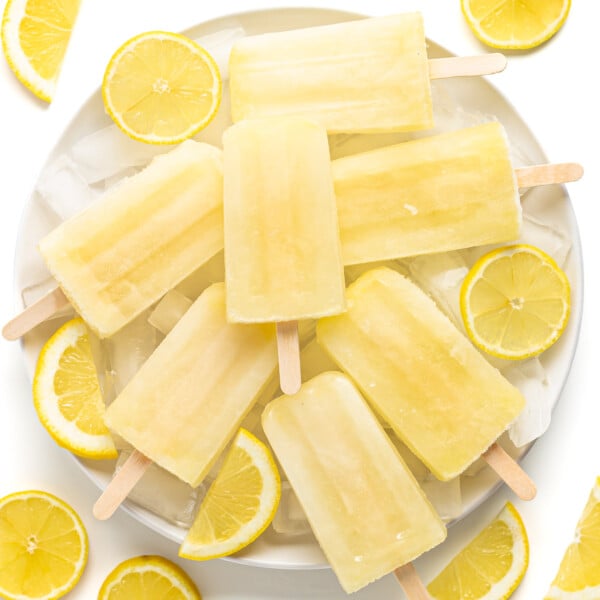
Here are a few more refreshing homemade popsicle recipes to enjoy…
I hope you enjoy this popsicle recipe! Let me know in the comments below if you give them a try.
Orange Lemon Lime Popsicles
- Prep Time: 5 min
- Total Time: 5 min (plus freeze time)
- Yield: 6 1x
- Category: Dessert
- Method: Freeze
- Cuisine: American
- Diet: Vegetarian
Description
These Orange Lemon Lime Popsicles are bursting with fresh citrus flavors. A refreshing frozen treat that both kids and adults will love!
Ingredients
- 2 seedless oranges
- 1 lime
- 1 lemon, juiced (approx. 2–3 tablespoons lemon juice)
- 1/4 cup water (or coconut water)
- 1/4 cup organic cane sugar (or to taste)
Instructions
- Peel the oranges and lime: Use a knife to slice off the peel and pith (see notes). Cut into chunks and inspect for seeds, removing any that are found.
- Blend: Add ingredients to a blender in the following order – fresh lemon juice, water, sugar, peeled oranges and lime. Blend until smooth.
- Fill popsicle molds: Pour mixture into popsicle molds.
- Freeze: Freeze for at least 4 hours (preferably overnight) and enjoy!
Notes
- How to peel and de-pith oranges and lime: See the section of the post called How To De-Pith Citrus (includes explanation and pictures).
- Double check for seeds: The popsicle mixture will be bitter if any seeds get blended in. Juice the lemon in a separate bowl before adding to the blender so that it is easy to remove any seeds first. I also like to cut the peeled oranges and lime into chunks first to check for seeds (even seedless oranges can still sometimes have a seed or two in them).
- Popsicle Molds: Using a good mold is the key to avoiding frustration. Here are my picks for the best popsicle molds. This is the stainless steel popsicle mold that I used here – my absolute favorite! Recipe makes 6 popsicles using this mold but quantity will vary depending on the size of your mold.
- Storage: Keep popsicles stored in the popsicle mold or wrap each one up in plastic wrap or reusable beeswax food wrap and store in a freezer bag or airtight container. Store in freezer for 1-2 months.
⬇ PIN it for later! ⬇


I love how healthy, clean and simple these are~! And thanks for the tip about removing the piths. I also liked your popsicle mold review – I’ve been in the market for a while and wondered if the metal ones were worth it!
It is definitely the best mold that I have ever used – LOVE how easily the popsicles come out….and they look super cute too!
My daughter loves these, and so do I. They are so refreshing and flavorful. Can’t wait to make another batch!
That makes me so happy! Glad to hear that you both love them.
totally summer ready with this recipe!
Yes! So refreshing for summer!
Just so very refreshing and perfect for summers right now! Love the cute Popsicle moulds too!
I agree – these are perfect for hot days!
These look gorgeous and delicious. Also so easy to make.
Thanks so much!
These are gorgeous and so refreshing! Thanks also for the popsicle mold suggestions, I’ve been looking for a new set and your first pick is exactly what I’m after!
You’re welcome! I am so in love with that popsicle mold – definitely pricier than plastic molds but should last forever. The popsicles just slide right out after a few seconds under water and I love how they are all individual! After using so many horrible ones for years, this mold is a lot of fun to use:)
Great recipe.
Super easy to make.
Thanks! Glad you enjoyed it!